
When it’s time to upgrade the floors in your commercial space, one of the most important—and often misunderstood—steps is the flooring demo. Removing existing floors might sound simple, but in commercial environments, it’s a precise and strategic process that directly impacts the success of the new floor installation.
From understanding what to expect to planning for downtime and safety, knowing what’s involved in commercial flooring demo can help your project run smoothly from start to finish.
In this blog, we’ll walk you through each step of the commercial flooring demo process, so you can make informed decisions and avoid costly surprises.

Why Commercial Flooring Demo Matters
Before any new floor can be installed—whether it’s epoxy, polished concrete, or tile—the existing surface needs to be completely removed and prepared. If demo is rushed or done improperly, it can leave behind residue, uneven patches, or moisture issues that affect the bond and longevity of your new flooring.
In commercial spaces, flooring demo also has to take other factors into account:
- High foot traffic or work schedules
- Safety and dust control
- Noise levels
- Adhesive or material left behind from previous flooring
- Structural condition of the concrete below
A professional demo process ensures the slab is clean, sound, and ready for the next phase—without creating unnecessary damage or delays.
Step 1: Site Evaluation and Planning
Every demo project begins with a site evaluation. This step helps the contractor determine what type of flooring is currently installed, what equipment will be needed to remove it, and how much labor will be involved.
What’s evaluated:
- Type of existing flooring (VCT, tile, wood, carpet, epoxy, etc.)
- Thickness and layers of flooring or adhesives
- Condition of the concrete substrate
- Accessibility of the space (stairs, elevators, etc.)
- Work schedule and business hours to minimize disruption
This is also when plans are made for staging equipment, removing debris, and setting up safety measures.
Step 2: Preparing the Space
Before demo can begin, the work area must be cleared and prepped.
This includes:
- Moving furniture or machinery out of the way
- Protecting walls, equipment, and other surfaces from dust or debris
- Setting up dust containment systems or barriers (especially in sensitive environments like healthcare, food, or retail)
- Ensuring proper ventilation if adhesives or coatings are present
This step ensures the demolition process won’t create unnecessary mess or damage.
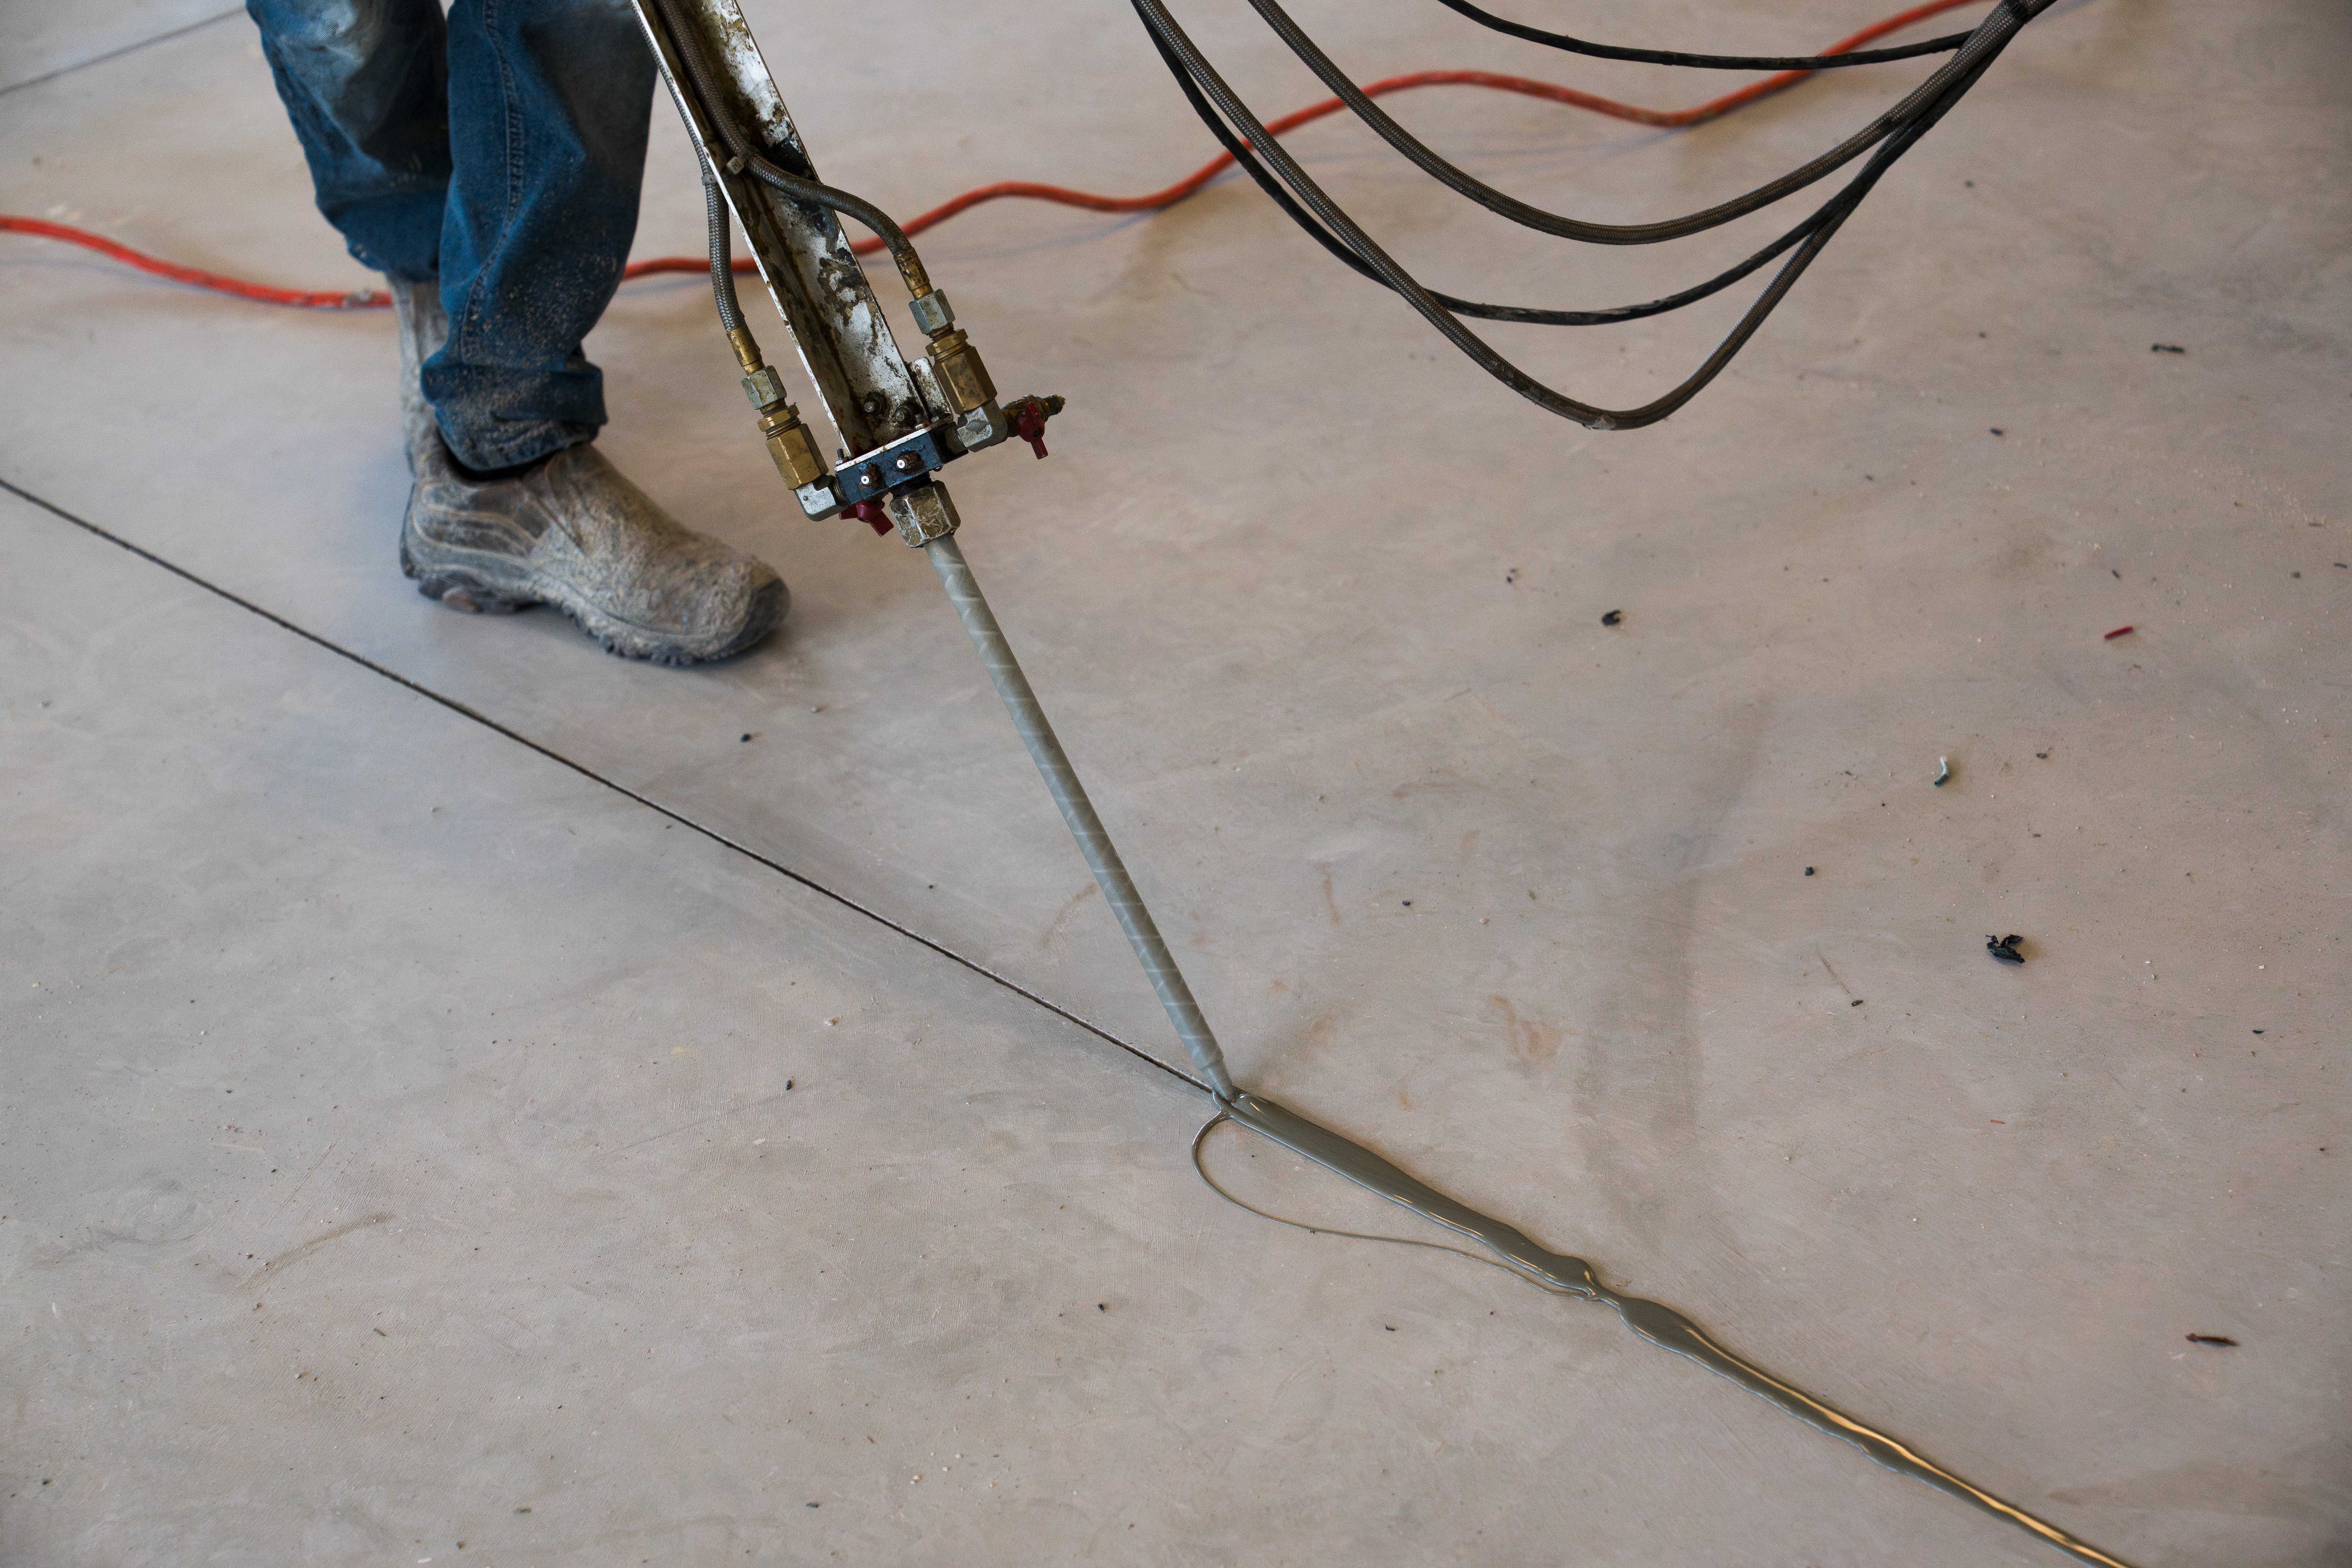
Step 3: Removal of Existing Flooring
With the space prepped, crews begin removing the old flooring with the least amount of damage to the concrete as possible. The method used depends on the type of flooring material:
- Tile or ceramic is typically removed using chipping hammers or jackhammers
- VCT or sheet vinyl may be lifted using floor scrapers or ride-on demo machines
- Carpet is cut and rolled out in sections, with adhesives scraped off after
- Hardwood may require pry bars, floor scrapers, or saws
- Epoxy or coatings are ground off using diamond grinders or scarifiers
Some materials come off easily, while others require more aggressive methods—especially if multiple layers have been added over time.
Step 4: Adhesive and Residue Removal
Once the top layer of flooring is removed, many commercial spaces are left with glue, mastic, or coatings that were used to bond the flooring to the concrete. This residue must be removed completely to ensure a clean bond for the new flooring.
Common tools include:
- Concrete grinders
- Shot blasters
- Chemical adhesive removers (in low-ventilation environments)
This step is critical. Skipping adhesive removal can lead to bubbling, peeling, or failed installation down the line.
Step 5: Concrete Surface Preparation
After demo, the concrete slab must be prepped to receive the new flooring. Even if it looks clean, small imperfections, pits, or moisture issues can interfere with performance.
Surface prep often includes:
- Grinding or shot blasting to create surface profile (texture)
- Patching or crack repair if concrete is damaged
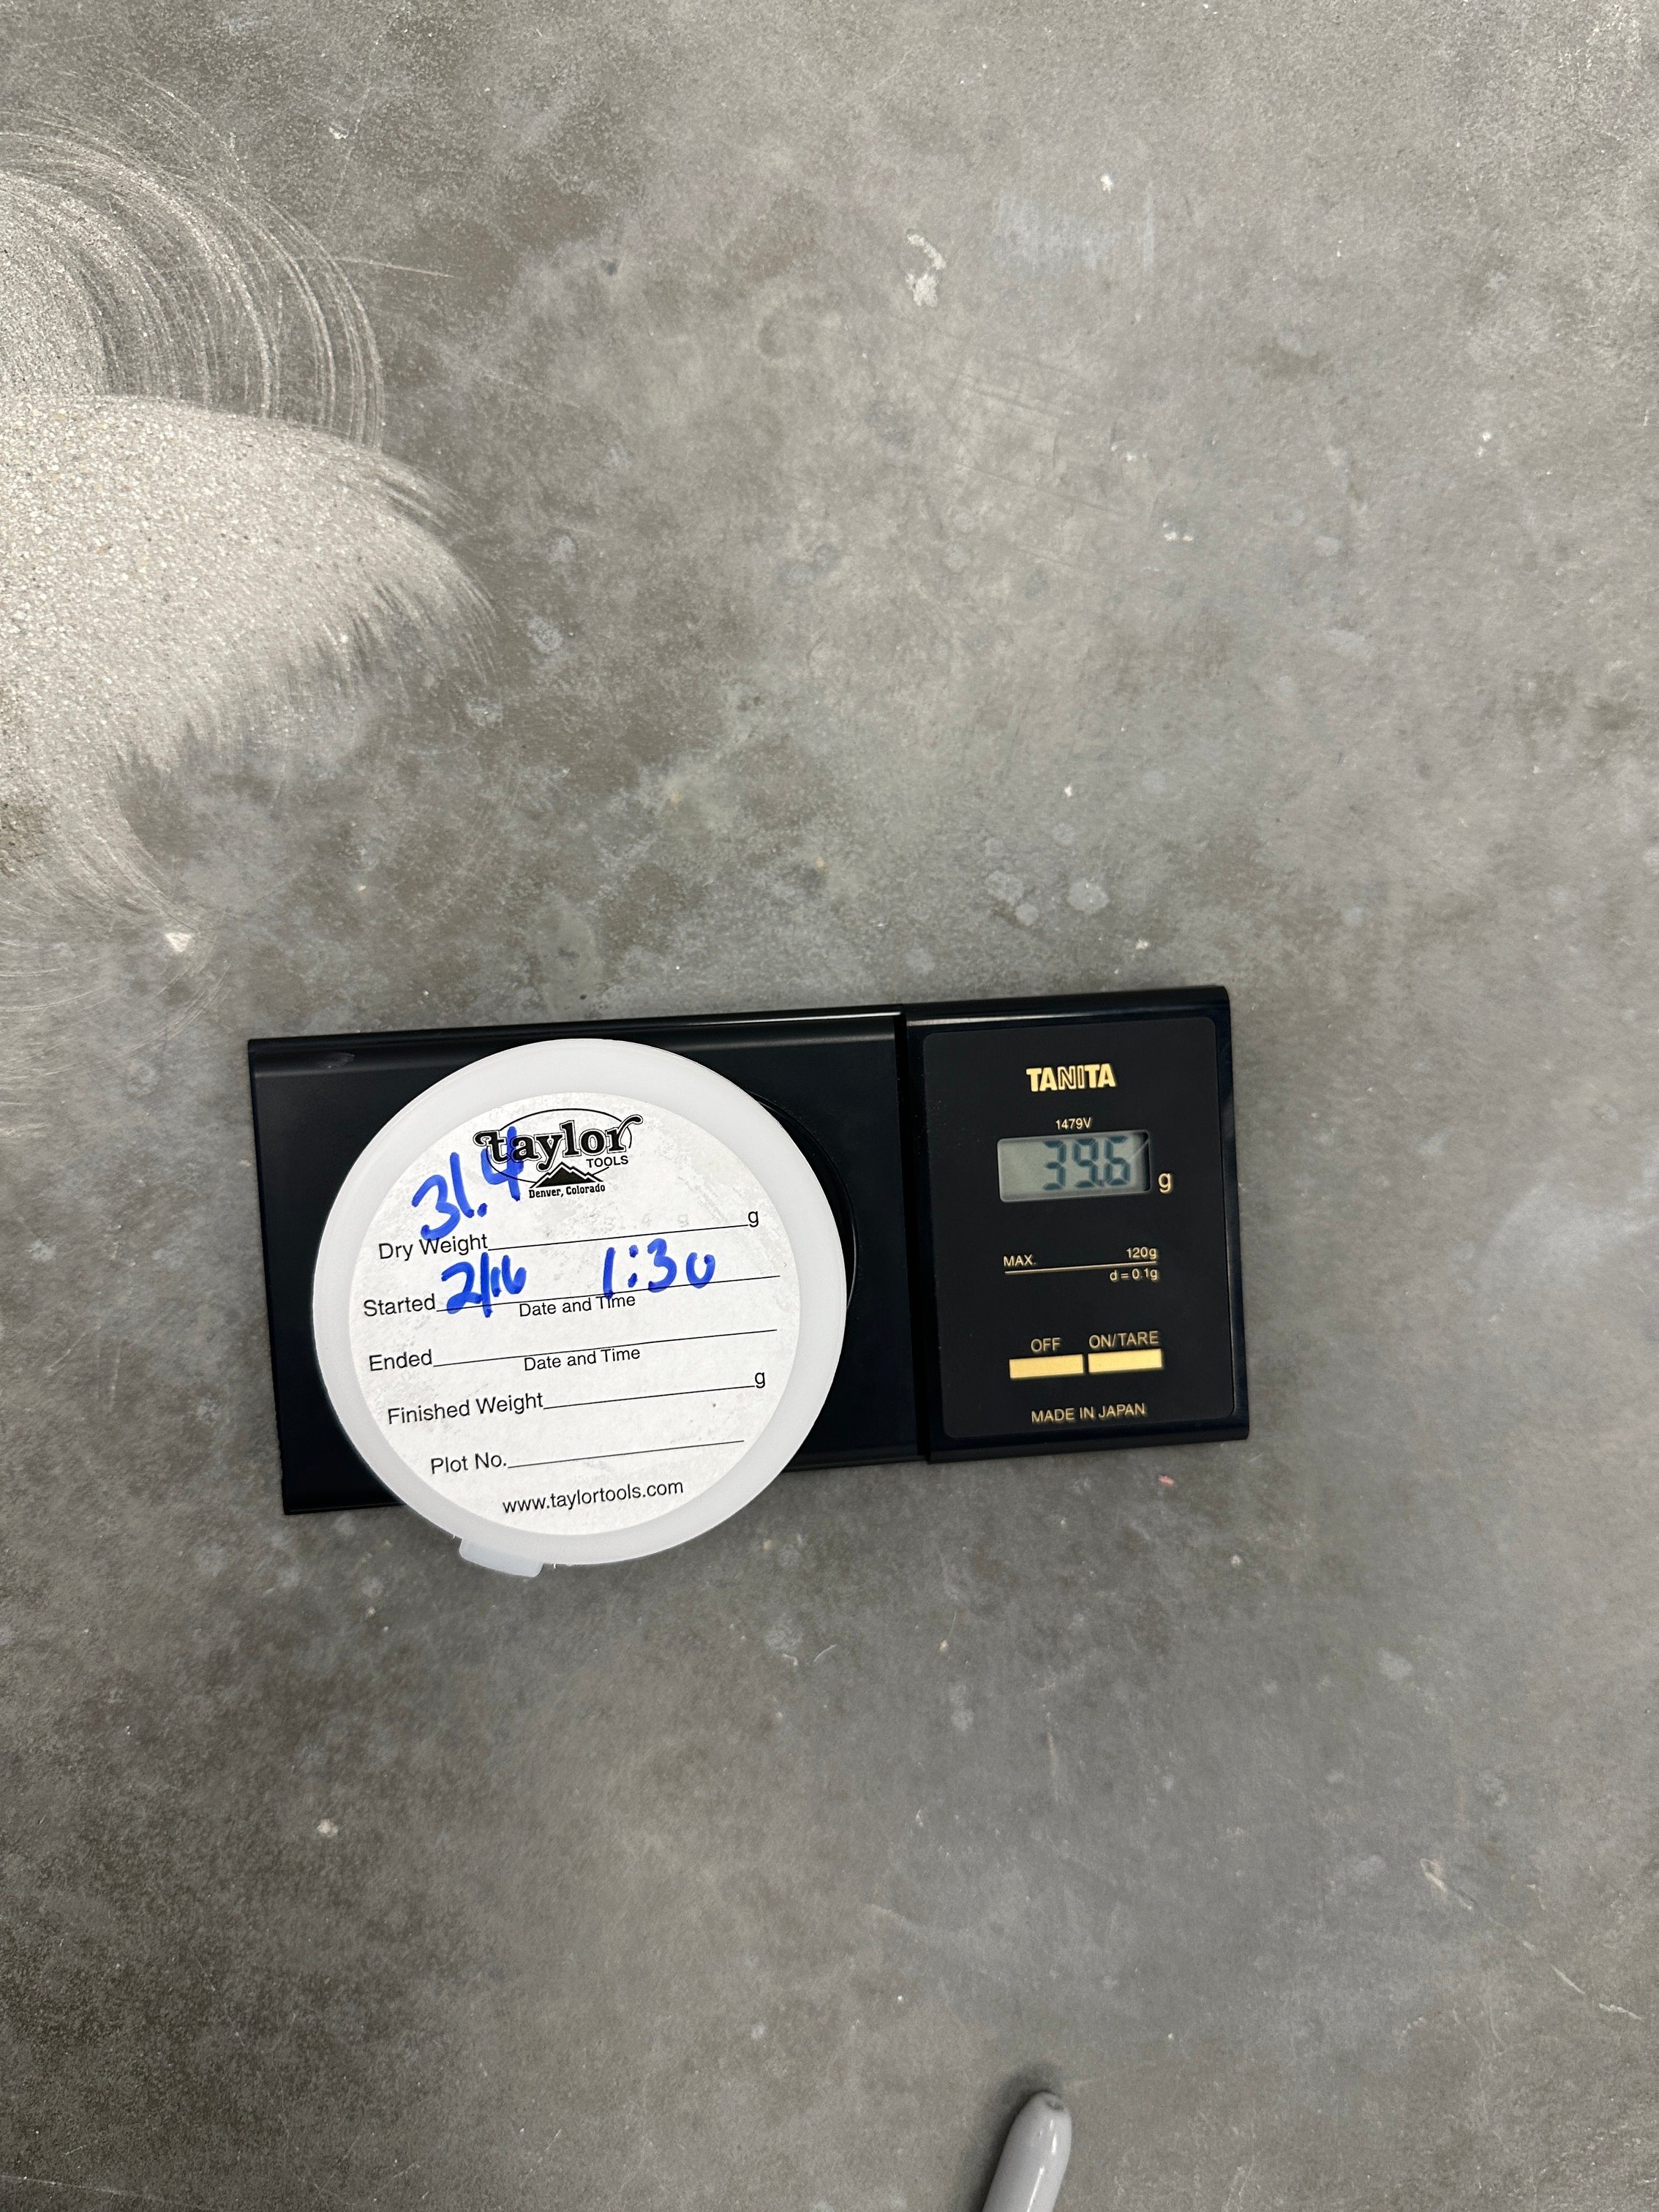
- Moisture testing to check for high vapor emission rates
- Cleaning and vacuuming to remove dust and debris
The goal is to create a surface that’s smooth, sound, and properly profiled for adhesion—whether you’re installing epoxy, polish, or tile.
Step 6: Waste Removal and Clean-Up
A major part of demo is removing the debris. Professional flooring contractors handle this step efficiently to keep the project moving.
This includes:
- Hauling away broken tile, carpet, wood, and adhesive
- Sweeping and vacuuming the slab
- Disposing of waste according to environmental and safety standards
Depending on the size of the project, dumpsters may be used or debris may be transported off-site.
Step 7: Final Inspection and Handover
Before the flooring installation begins, the contractor will walk through the site with you to ensure:
- The demo is complete and meets project goals
- The surface is properly prepped and clean
- Any issues with the concrete (like cracking or moisture) are identified
Once approved, the space is ready for the new commercial flooring system to be installed.
What About Business Downtime?
One of the biggest concerns during demo is how it will impact your day-to-day operations. Flooring demo can be noisy, dusty, and disruptive—especially in office buildings, retail spaces, warehouses, or healthcare facilities.
However, many contractors can phase the work, schedule off-hours labor, or work room by room to minimize impact. The key is to communicate your scheduling needs early during the planning stage.
Final Thoughts
Commercial flooring demo is more than just tearing out old materials—it’s a strategic process that sets the foundation for your new floor system. When done properly, it ensures your investment performs well, lasts longer, and meets your expectations.
Whether you’re upgrading from tile to epoxy or removing worn-out VCT in a retail space, understanding what’s involved in demo helps you plan better and avoid surprises.
If you want more information about flooring demo, visit CustomCrete’s Flooring Demo solution page.
Topics:


.jpg?width=6139&height=4093&name=CC100396%20(1).jpg)


.jpg?width=1200&height=1600&name=Copy%20of%20IMG_1457%20(1).jpg)


