
A membrane layer installation typically happens after the concrete has been evaluated, prepared, and repaired, but before the main coating and finish layers are installed. Depending on the system, the process may include surface preparation, crack repairs, primer, the membrane itself, curing, and additional coating layers.
With nearly 20 years of experience and over 1 million square feet installed, CustomCrete has worked with multi-layer commercial and industrial flooring systems designed around different concrete conditions. While installation varies by membrane and manufacturer, this article walks through the general process and explains why each step matters.
Key Takeaways
- Concrete must be properly evaluated, repaired, and prepared before installing most membrane systems.
- The membrane is only one part of the complete flooring system and may be installed between a primer and subsequent coating layers.
- Installation methods, thicknesses, and cure times vary, so the manufacturer's requirements should always guide the project.

Step 1: Evaluate the Existing Concrete
Before installation begins, the contractor needs to understand the condition of the concrete slab. Adding a membrane doesn't eliminate underlying concrete problems.
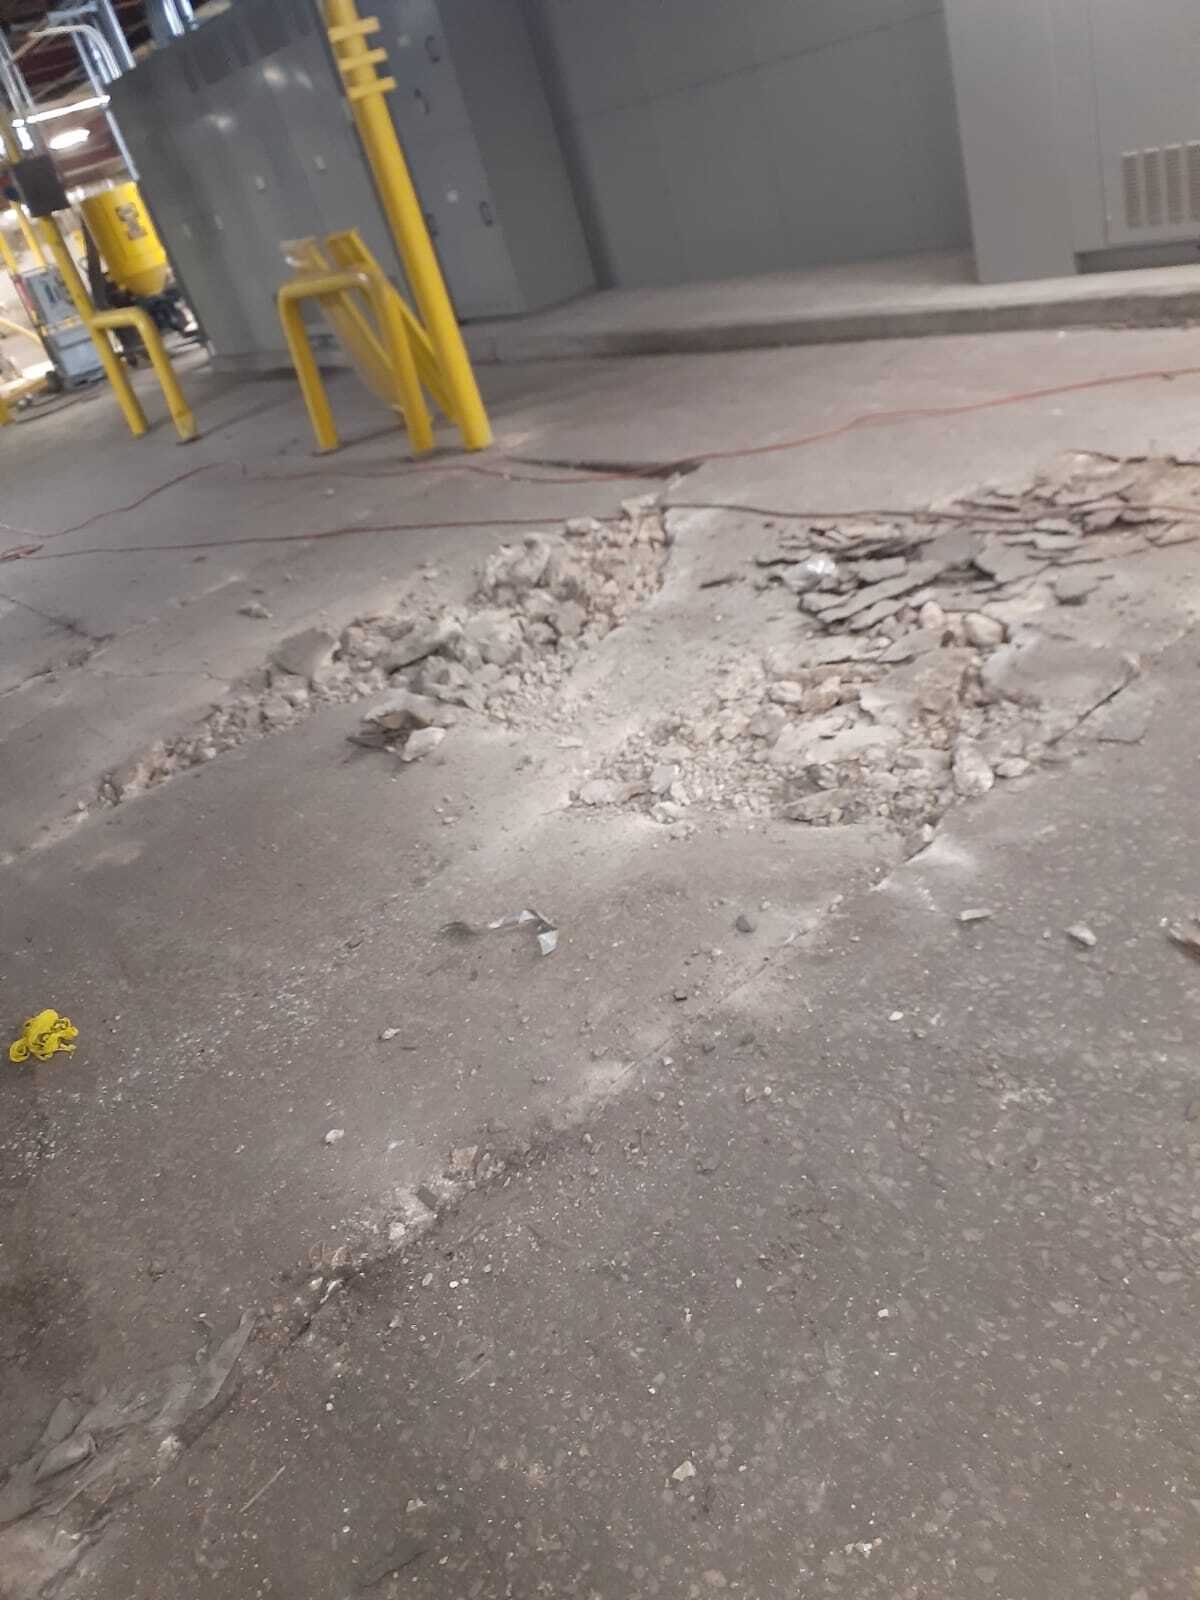
The evaluation may identify cracks, spalling, damaged joints, previous coatings, moisture concerns, contamination, or other conditions that could interfere with the new flooring system. The contractor should also consider why the membrane is being installed in the first place.
Some membranes are intended to provide waterproofing. Others may help isolate cracks or accommodate limited substrate movement. Knowing the goal helps determine the appropriate membrane, preparation requirements, and complete flooring system.
Step 2: Prepare the Concrete Surface
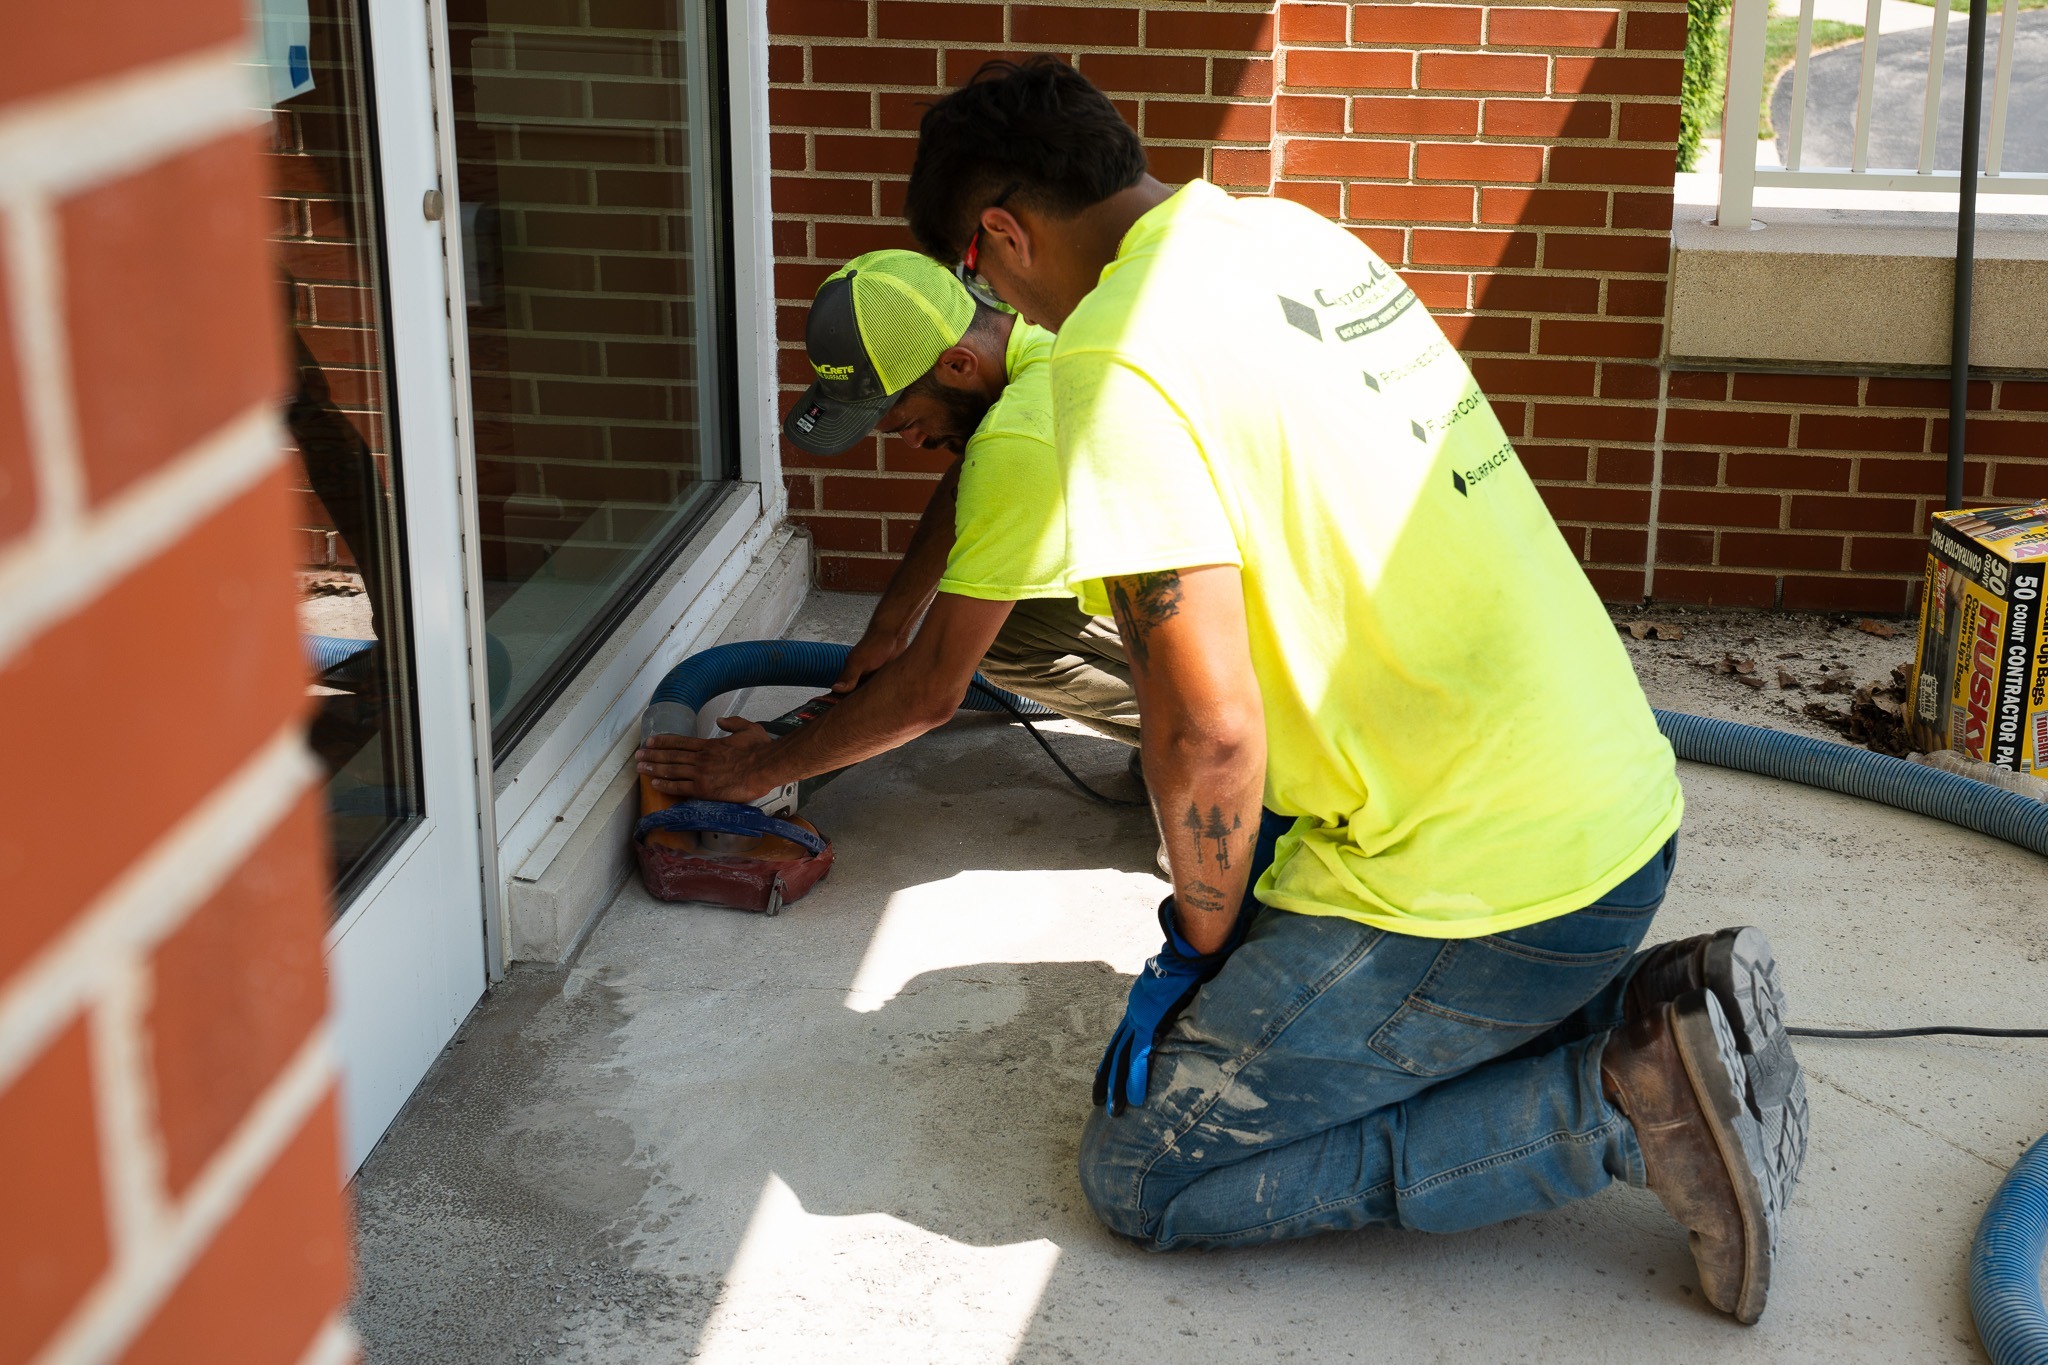
Surface preparation creates the foundation for the membrane layer installation. If the membrane or primer can't properly bond to the substrate, adding more layers above it won't solve the problem.
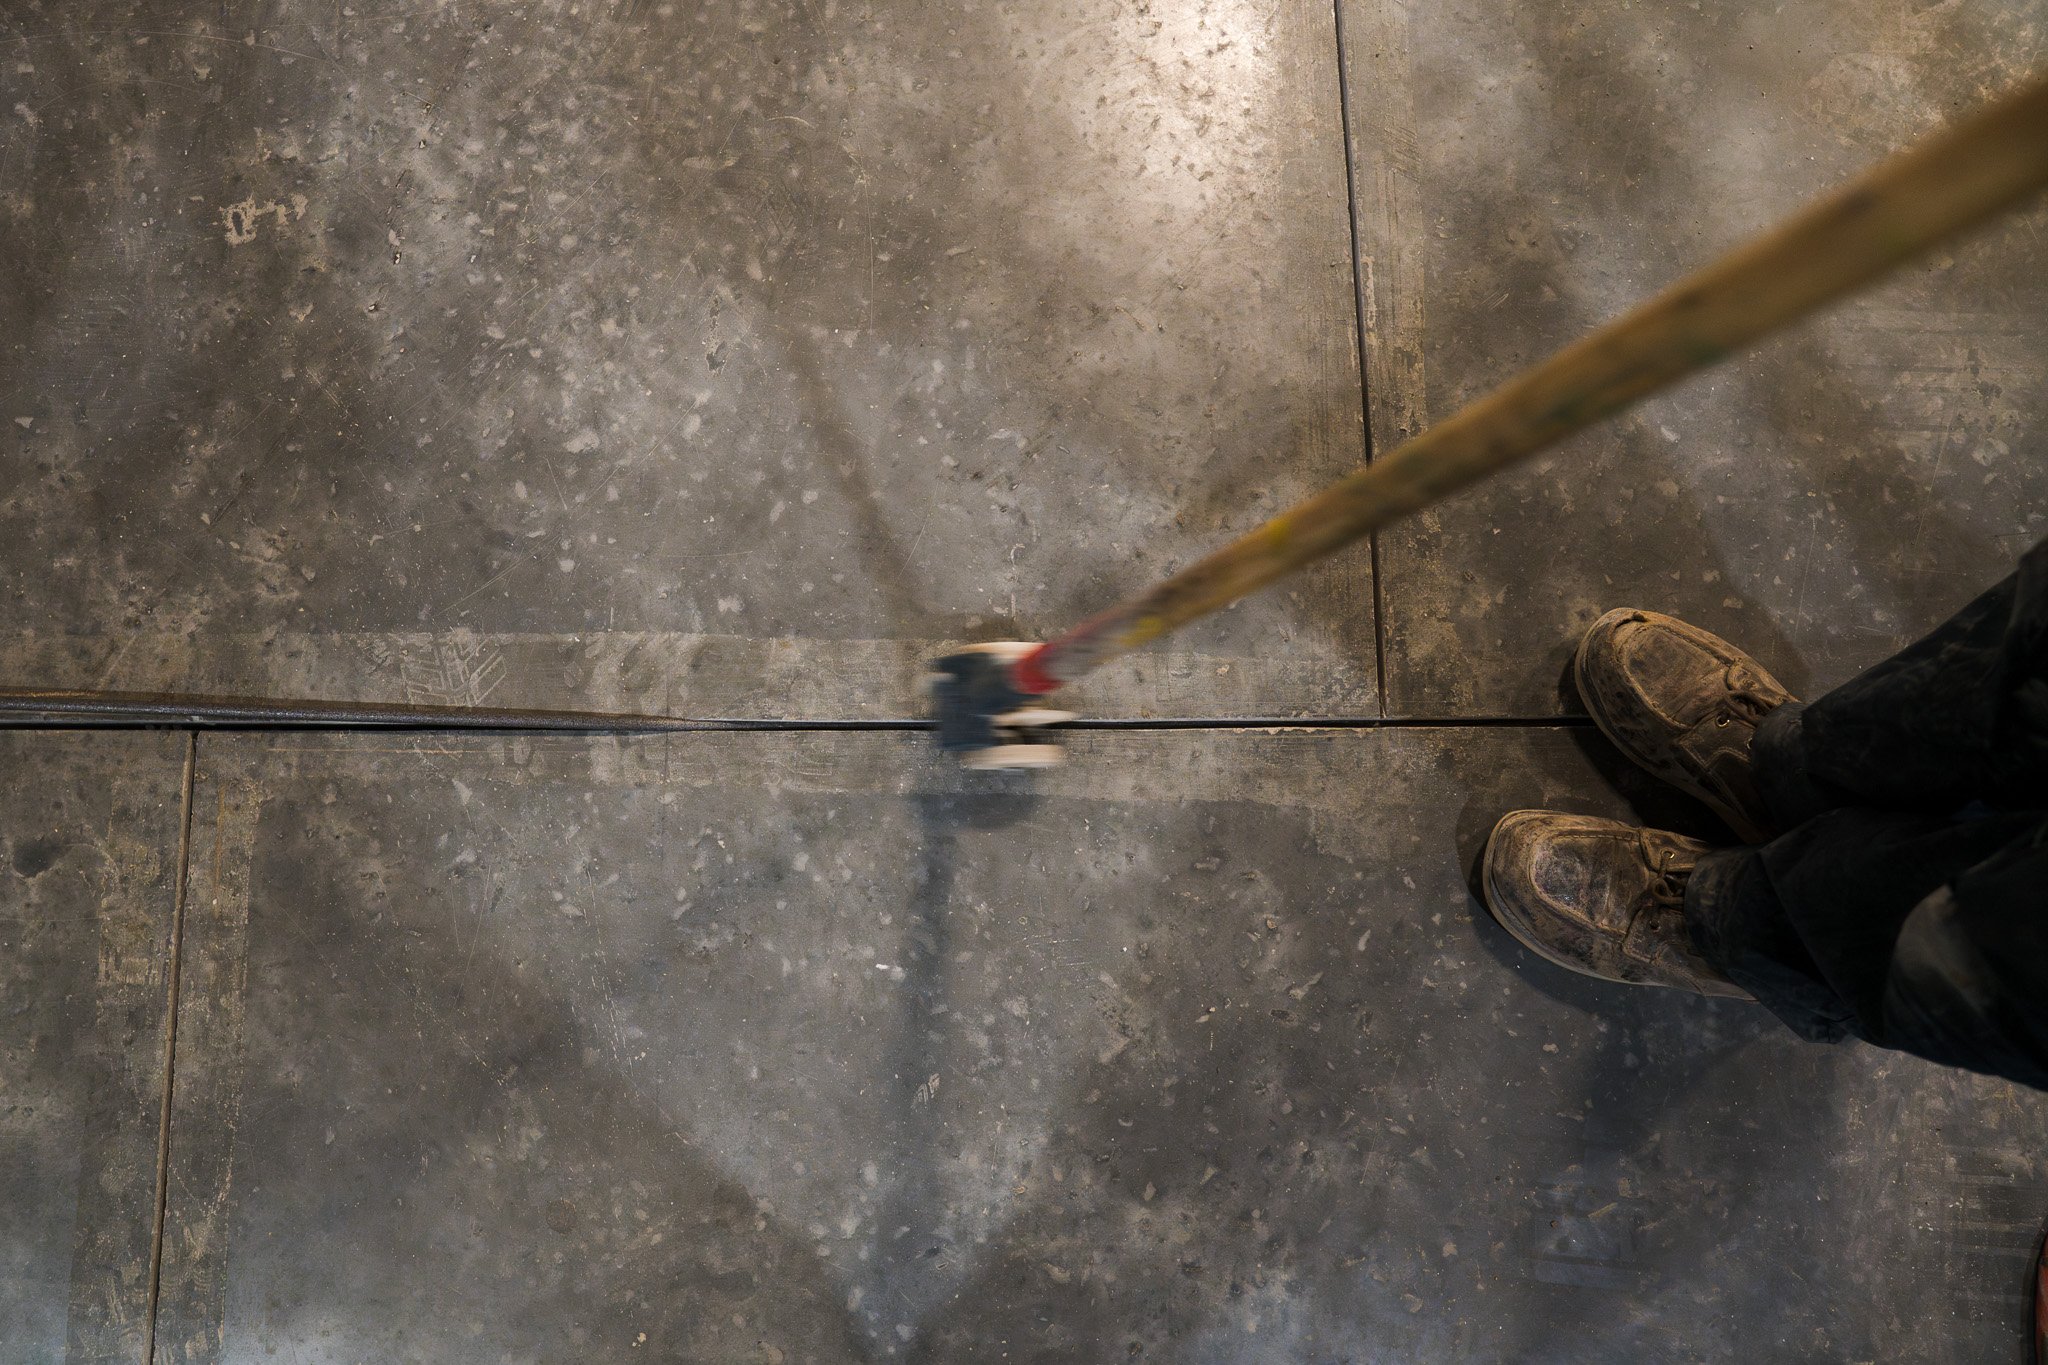
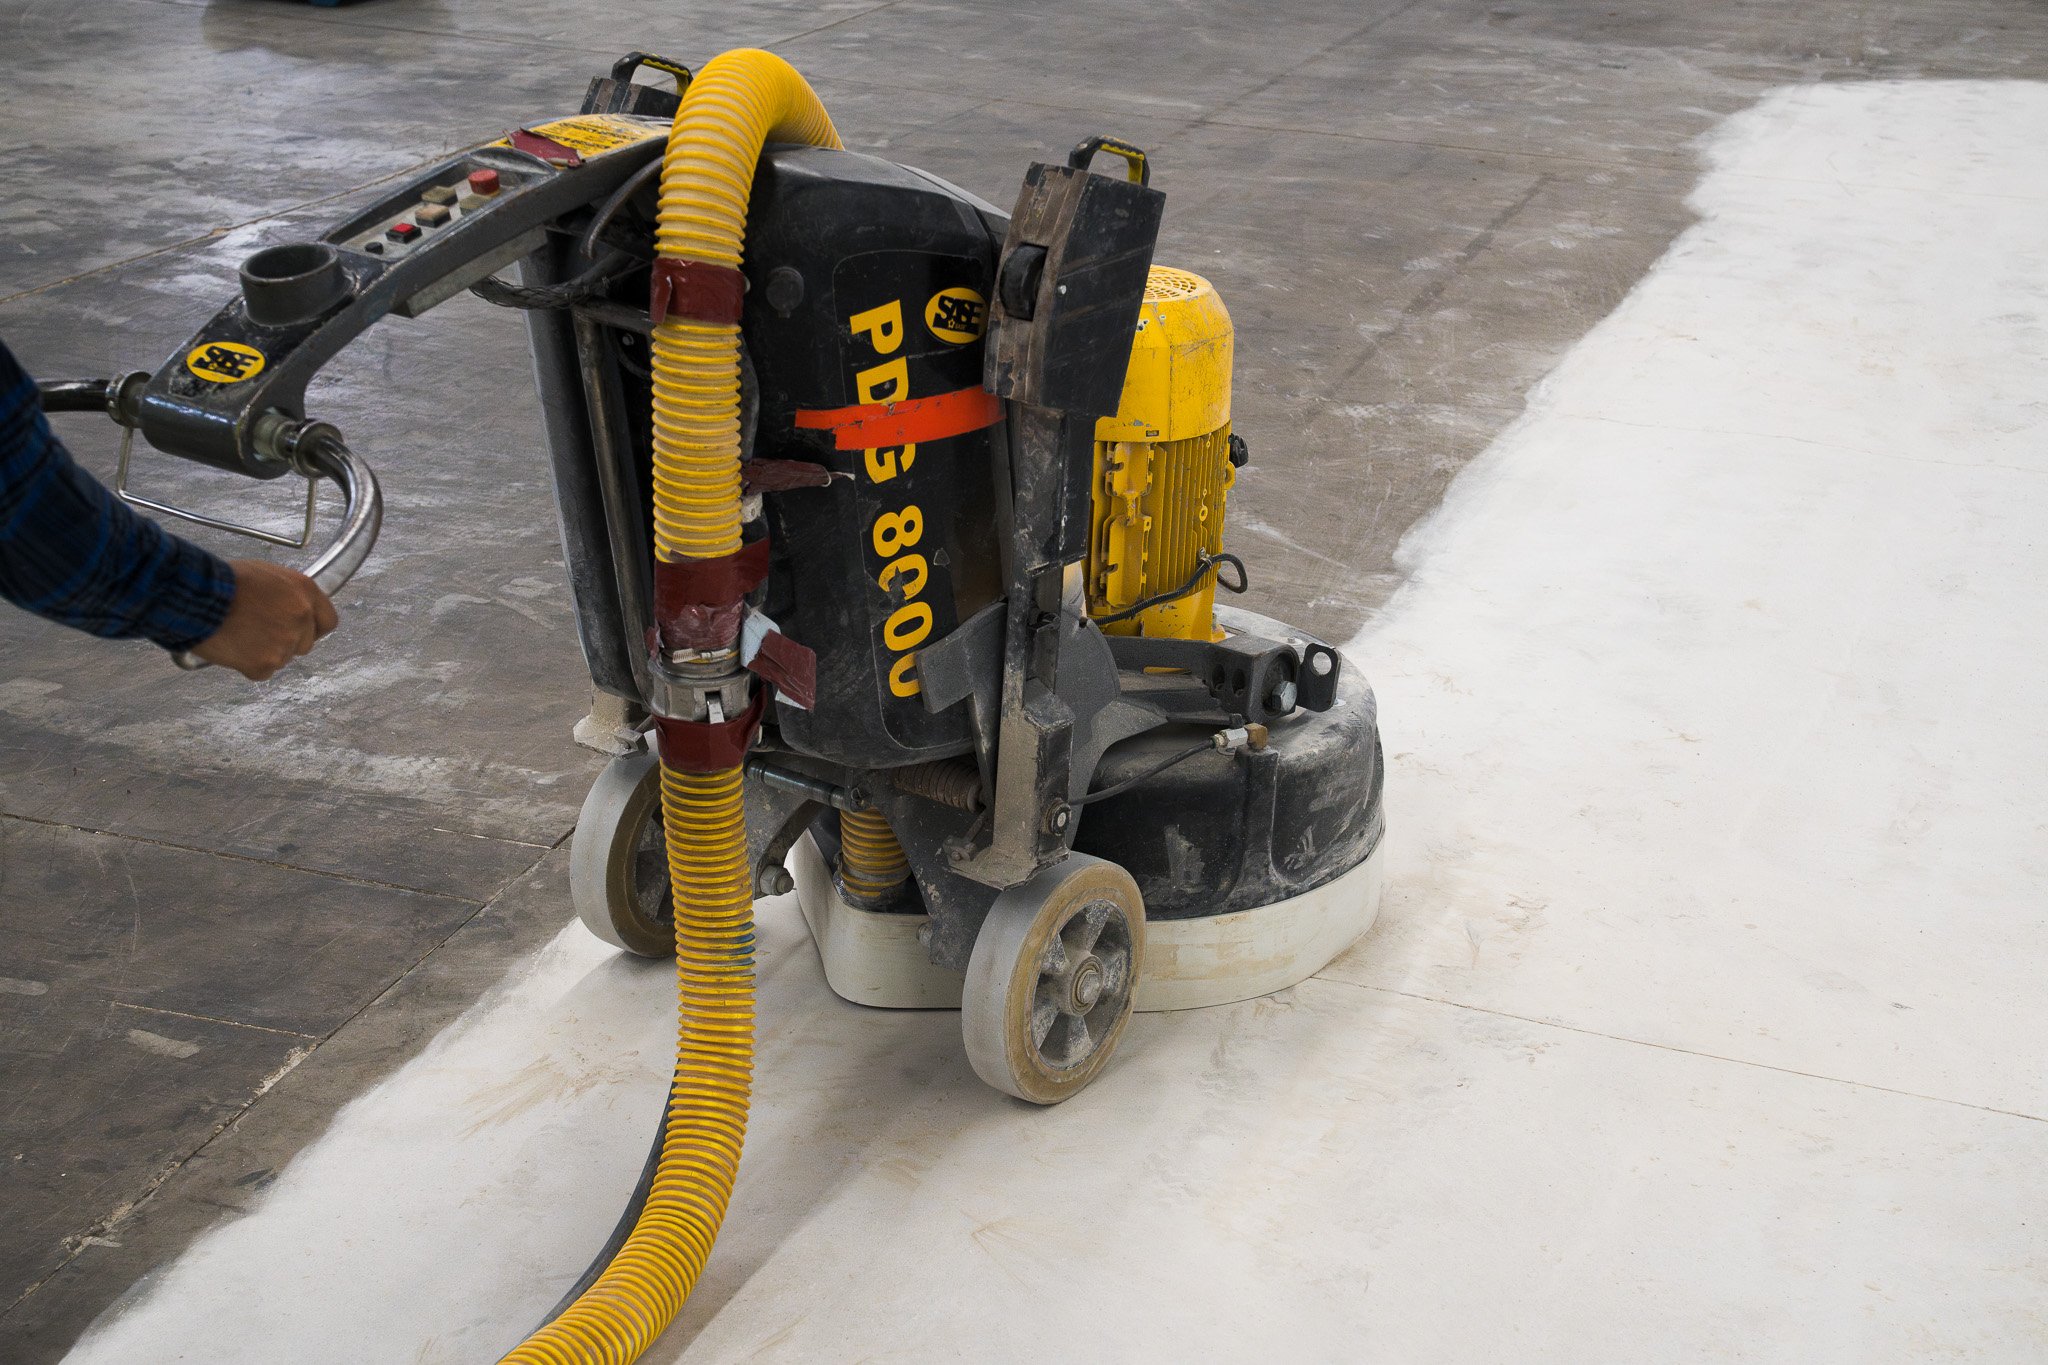
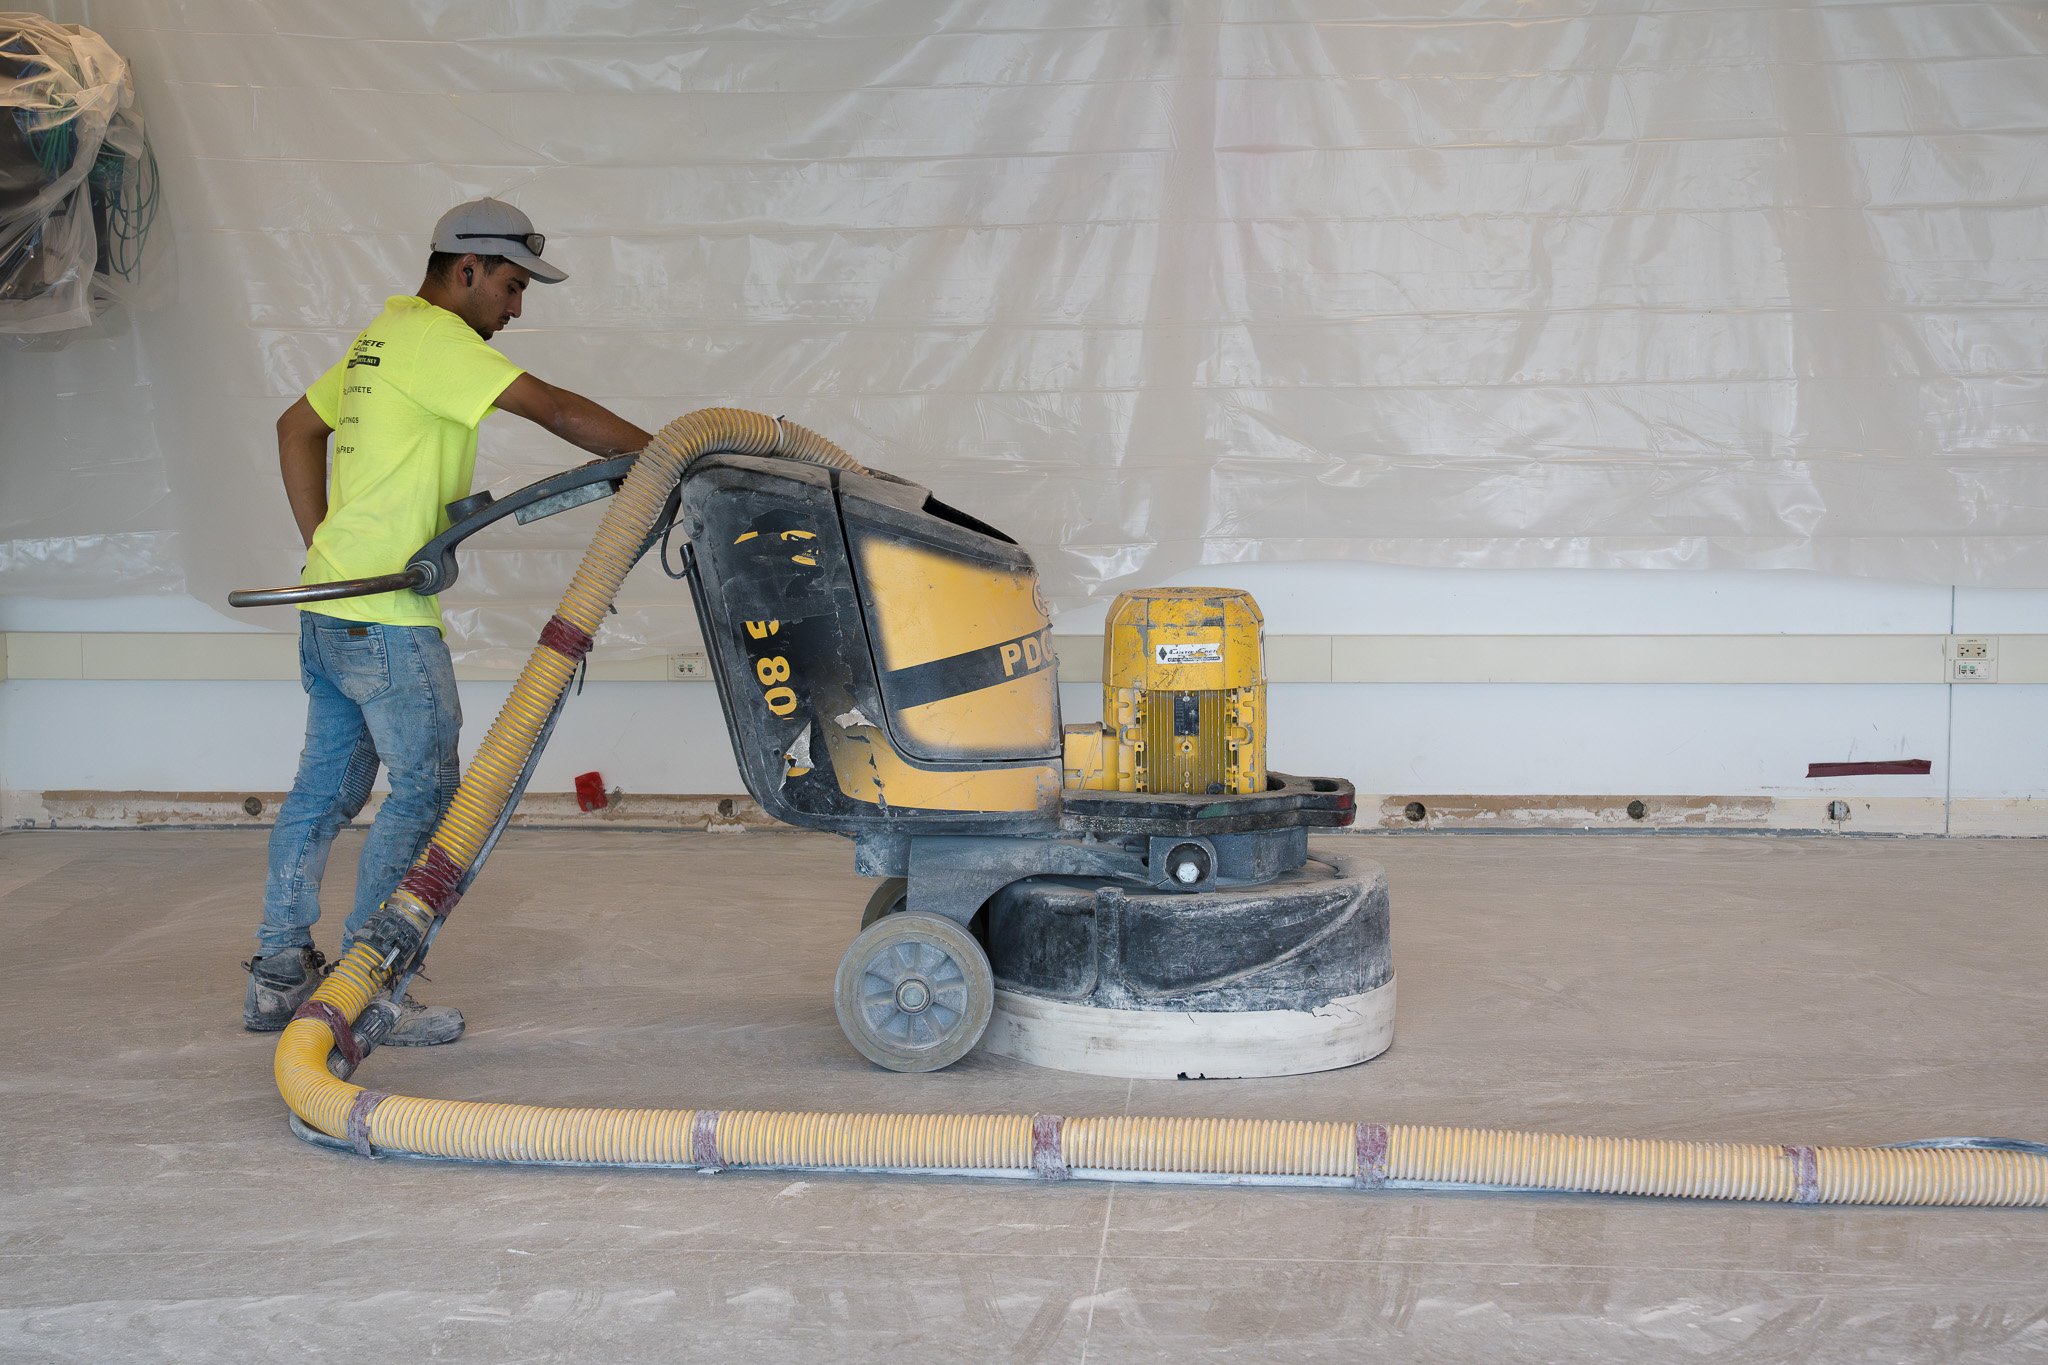
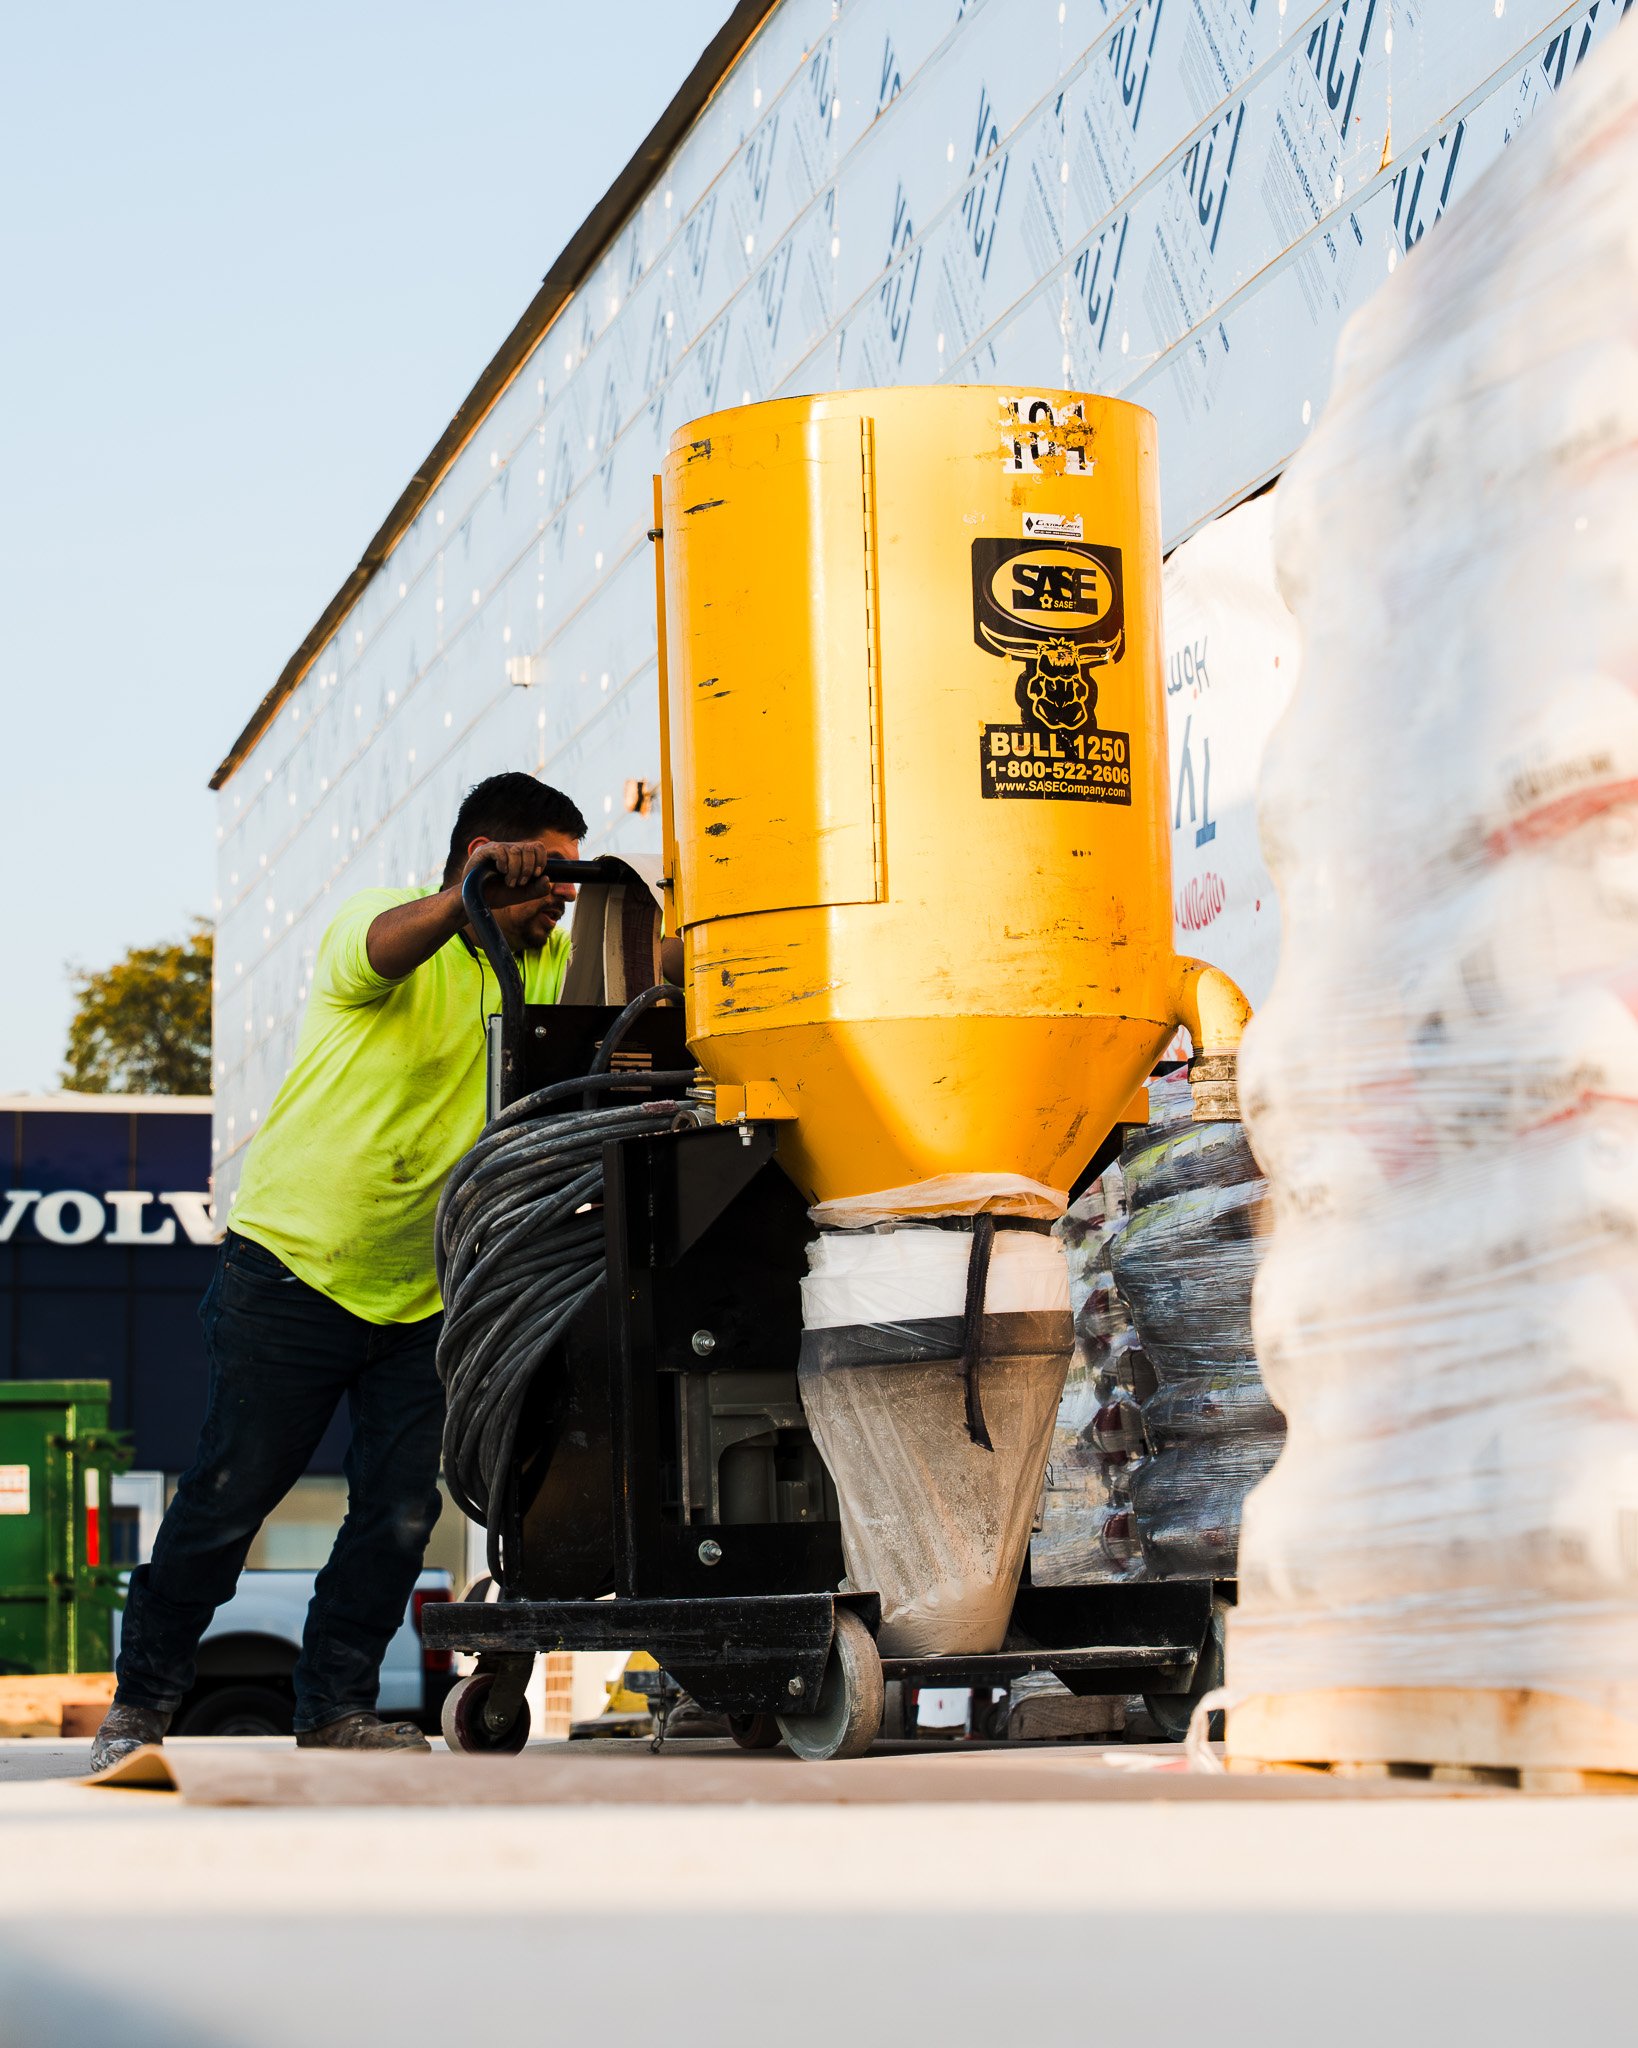
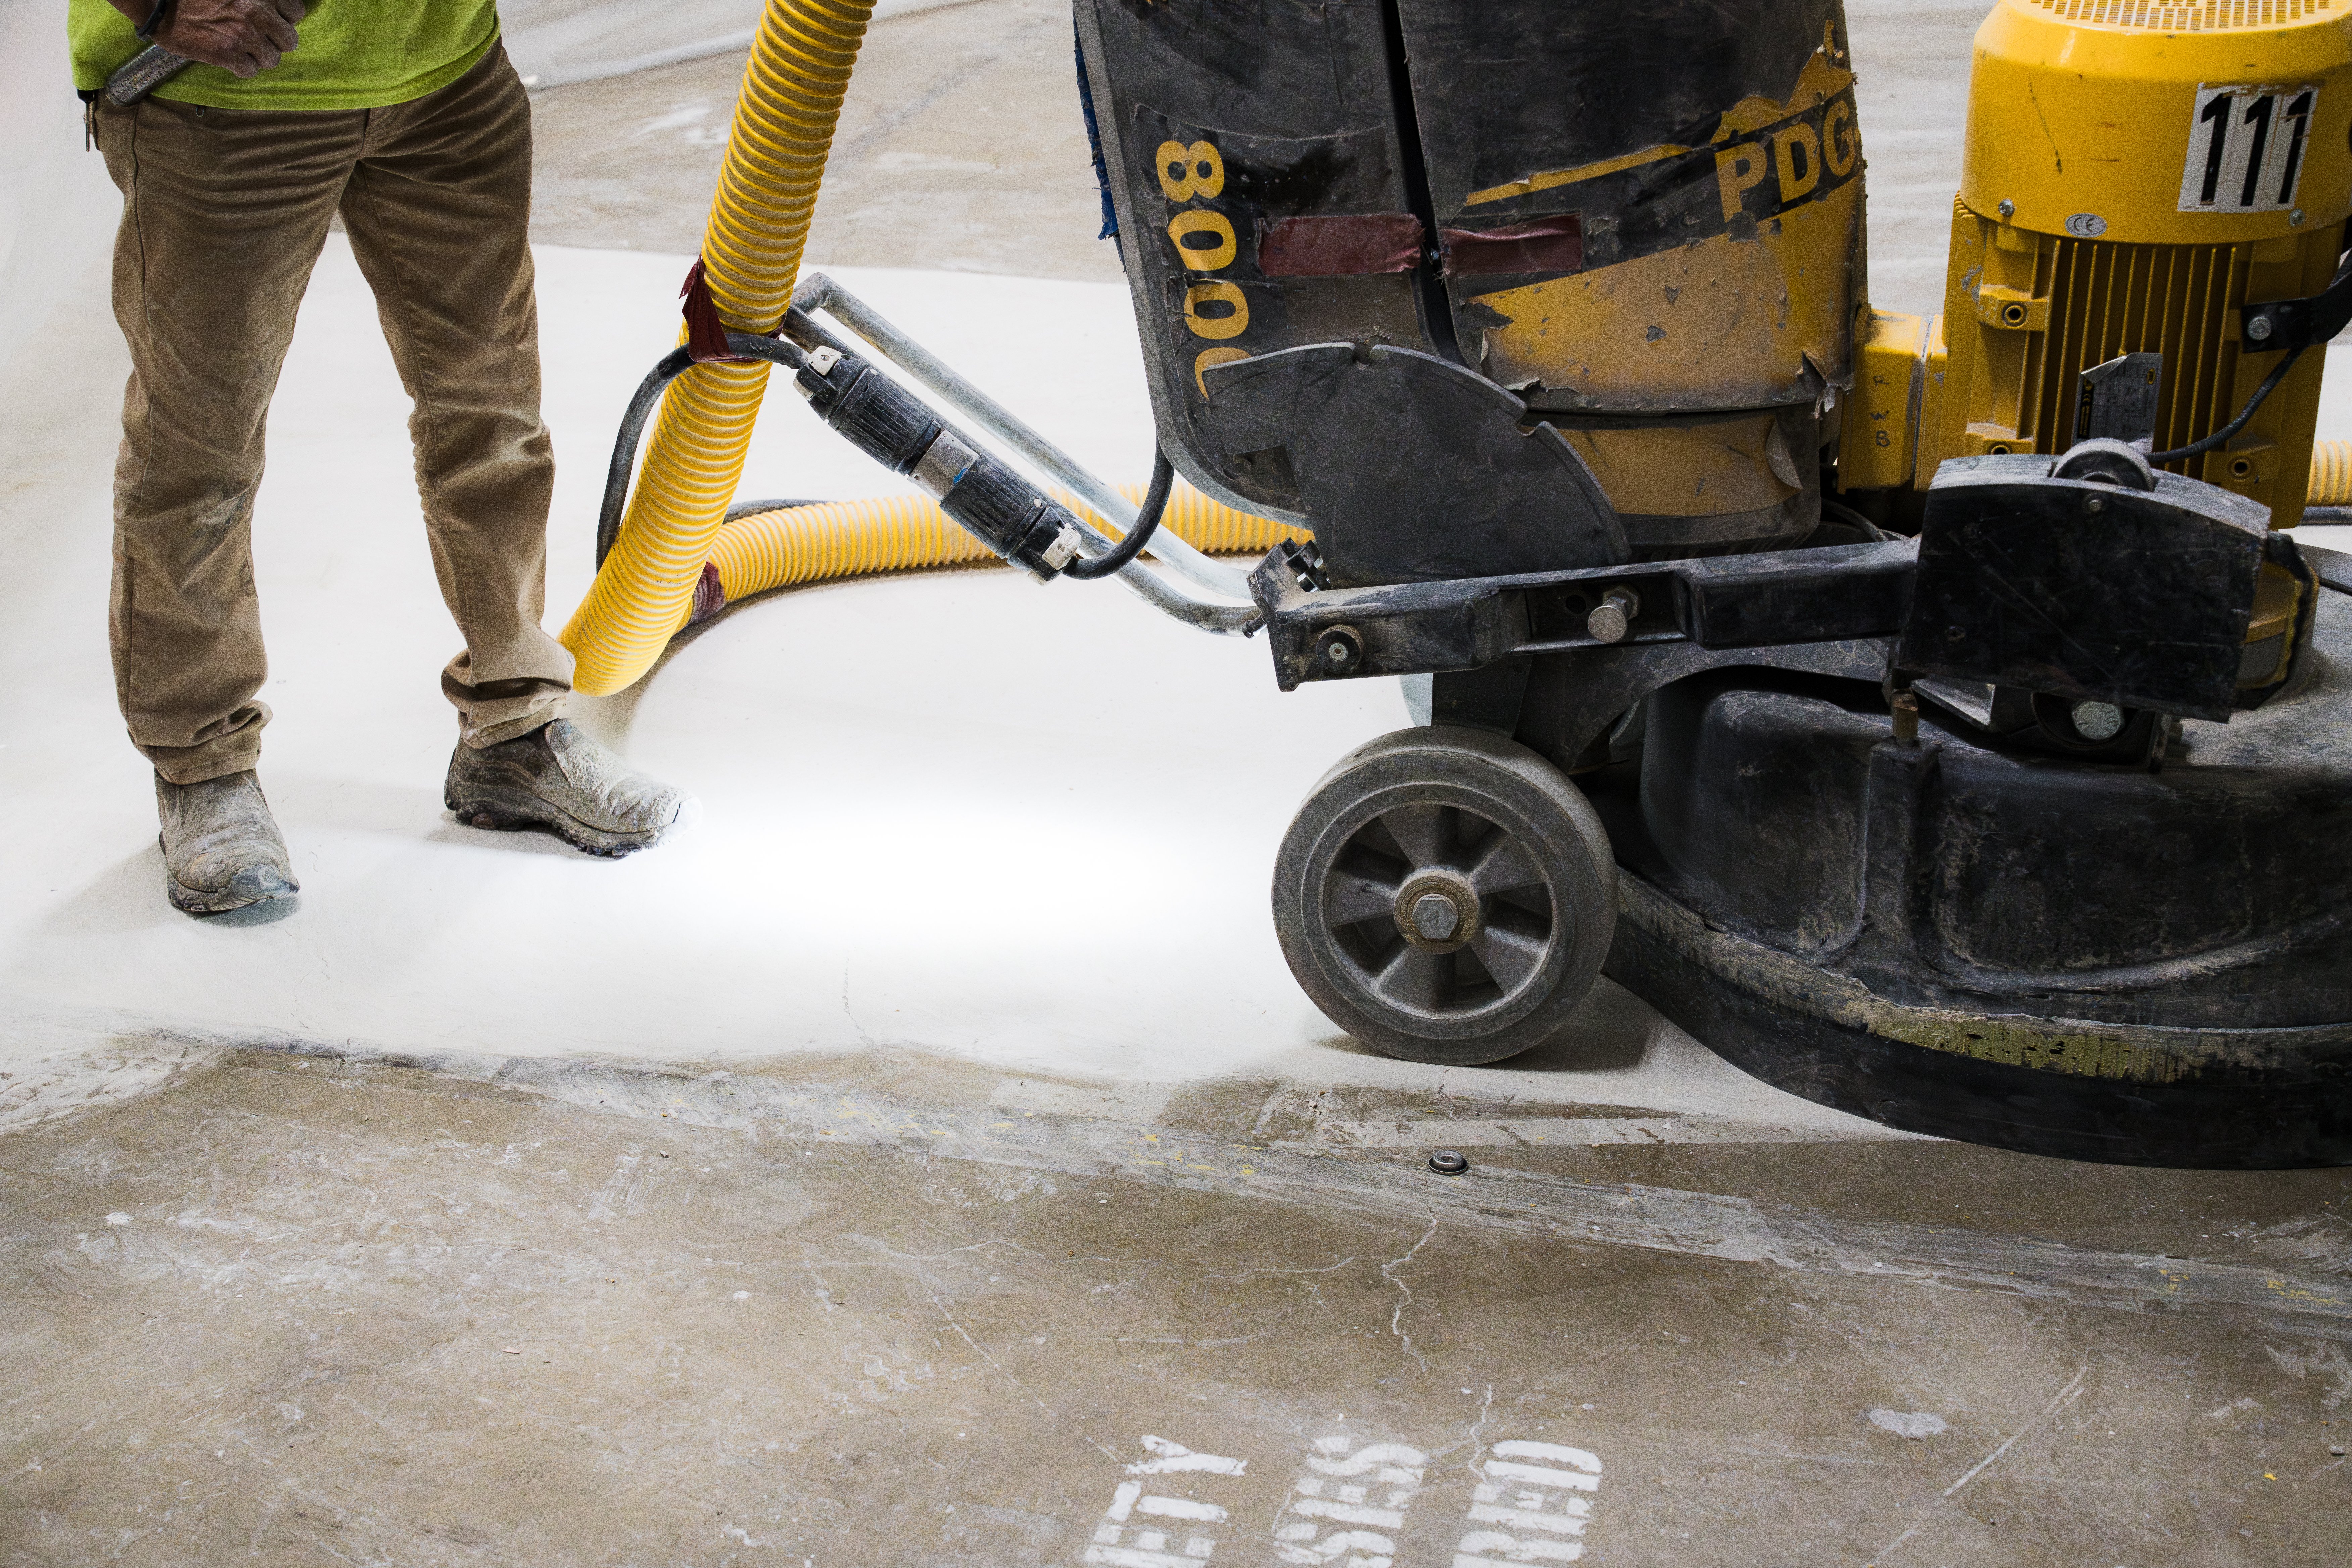
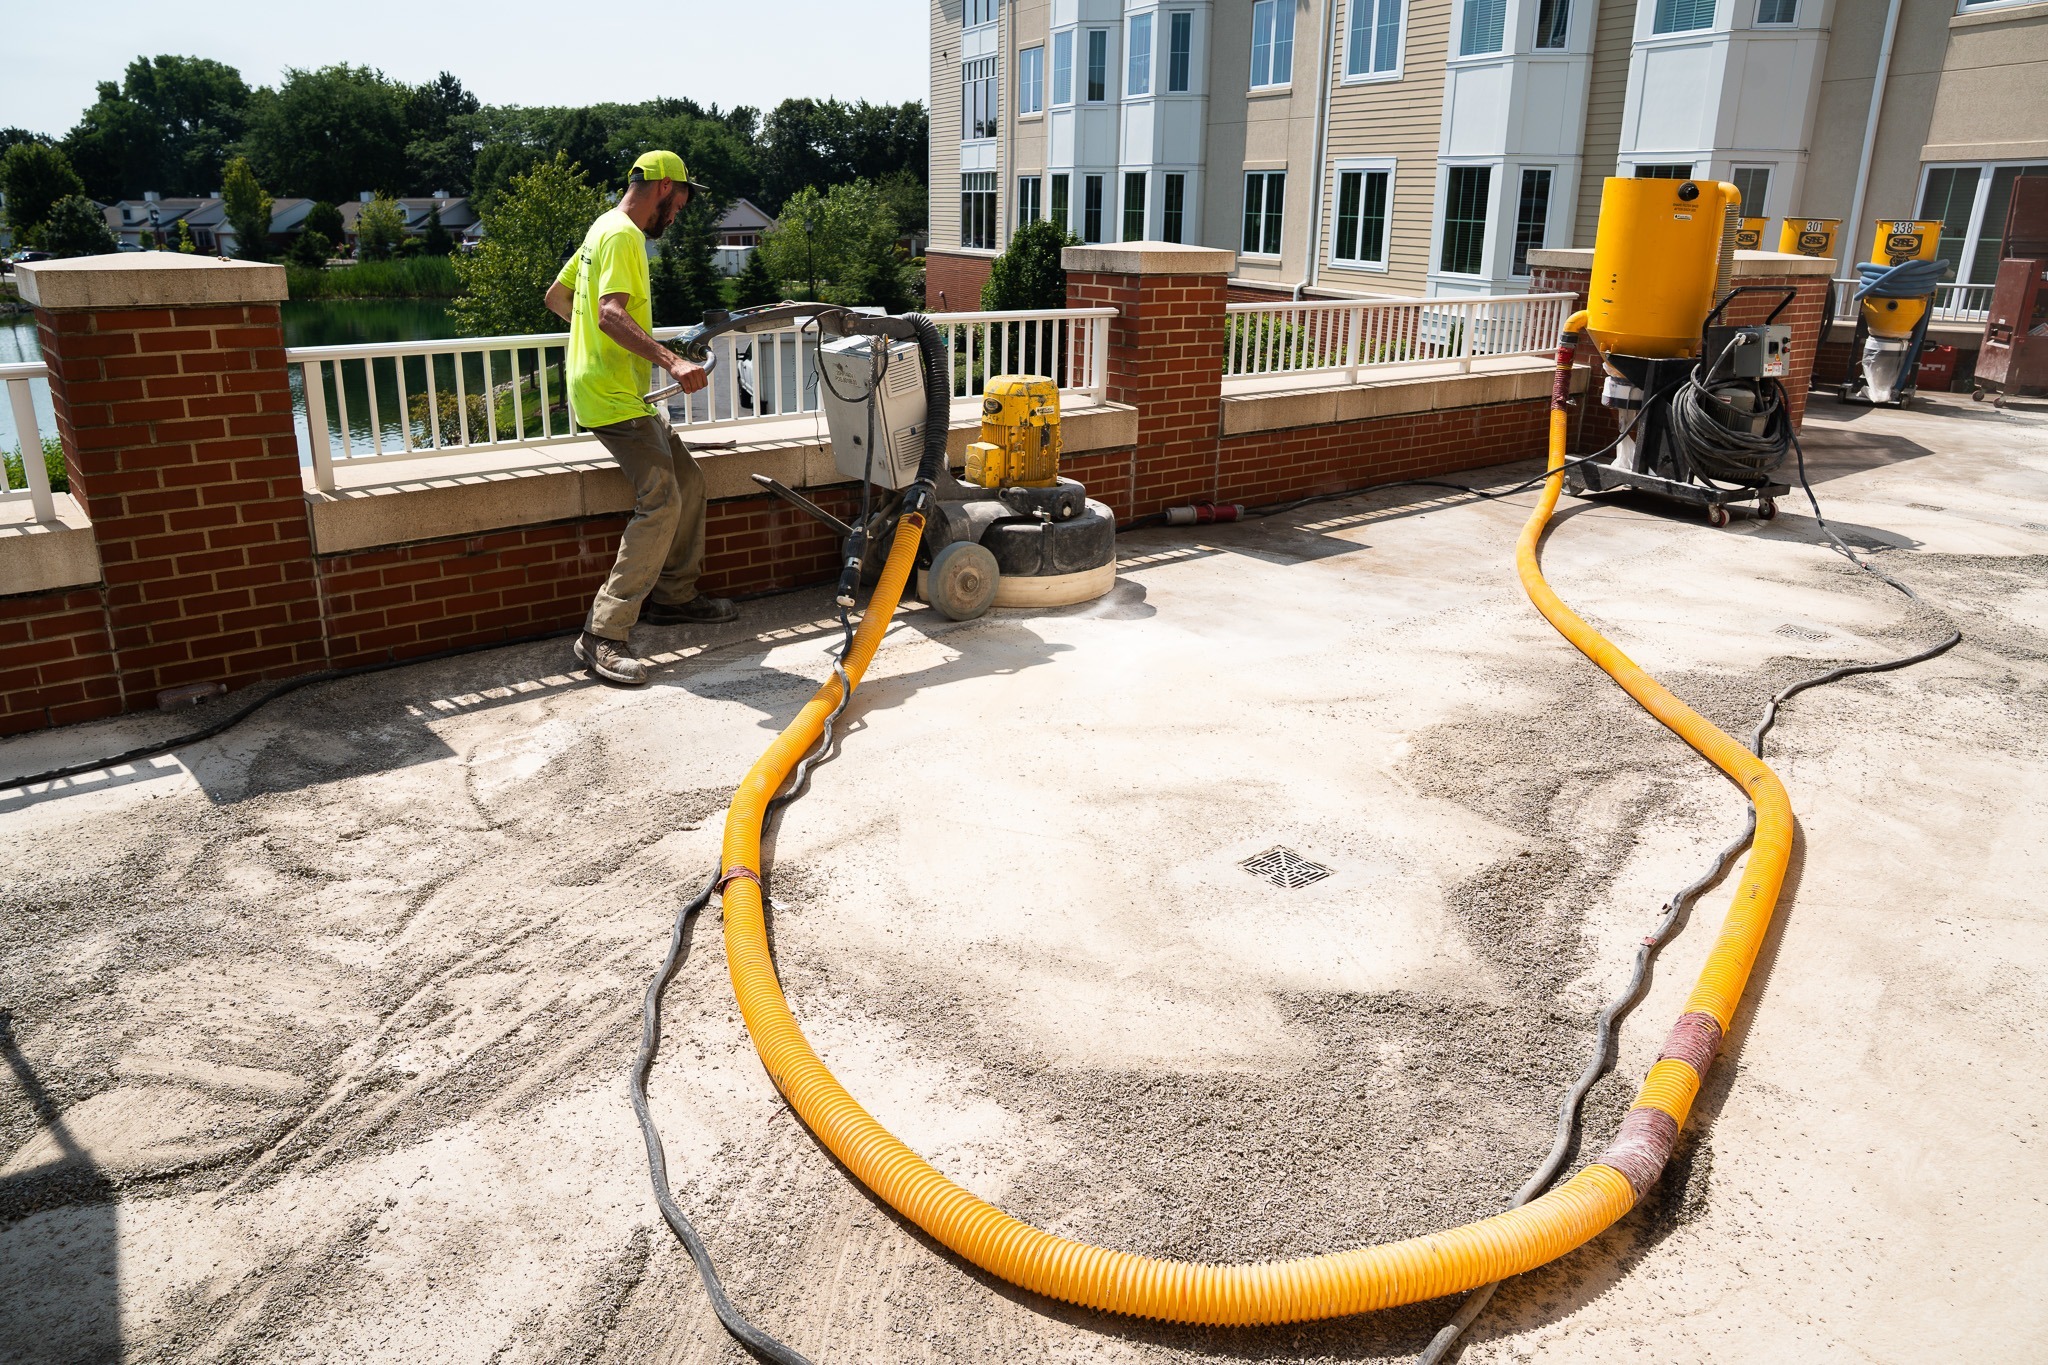
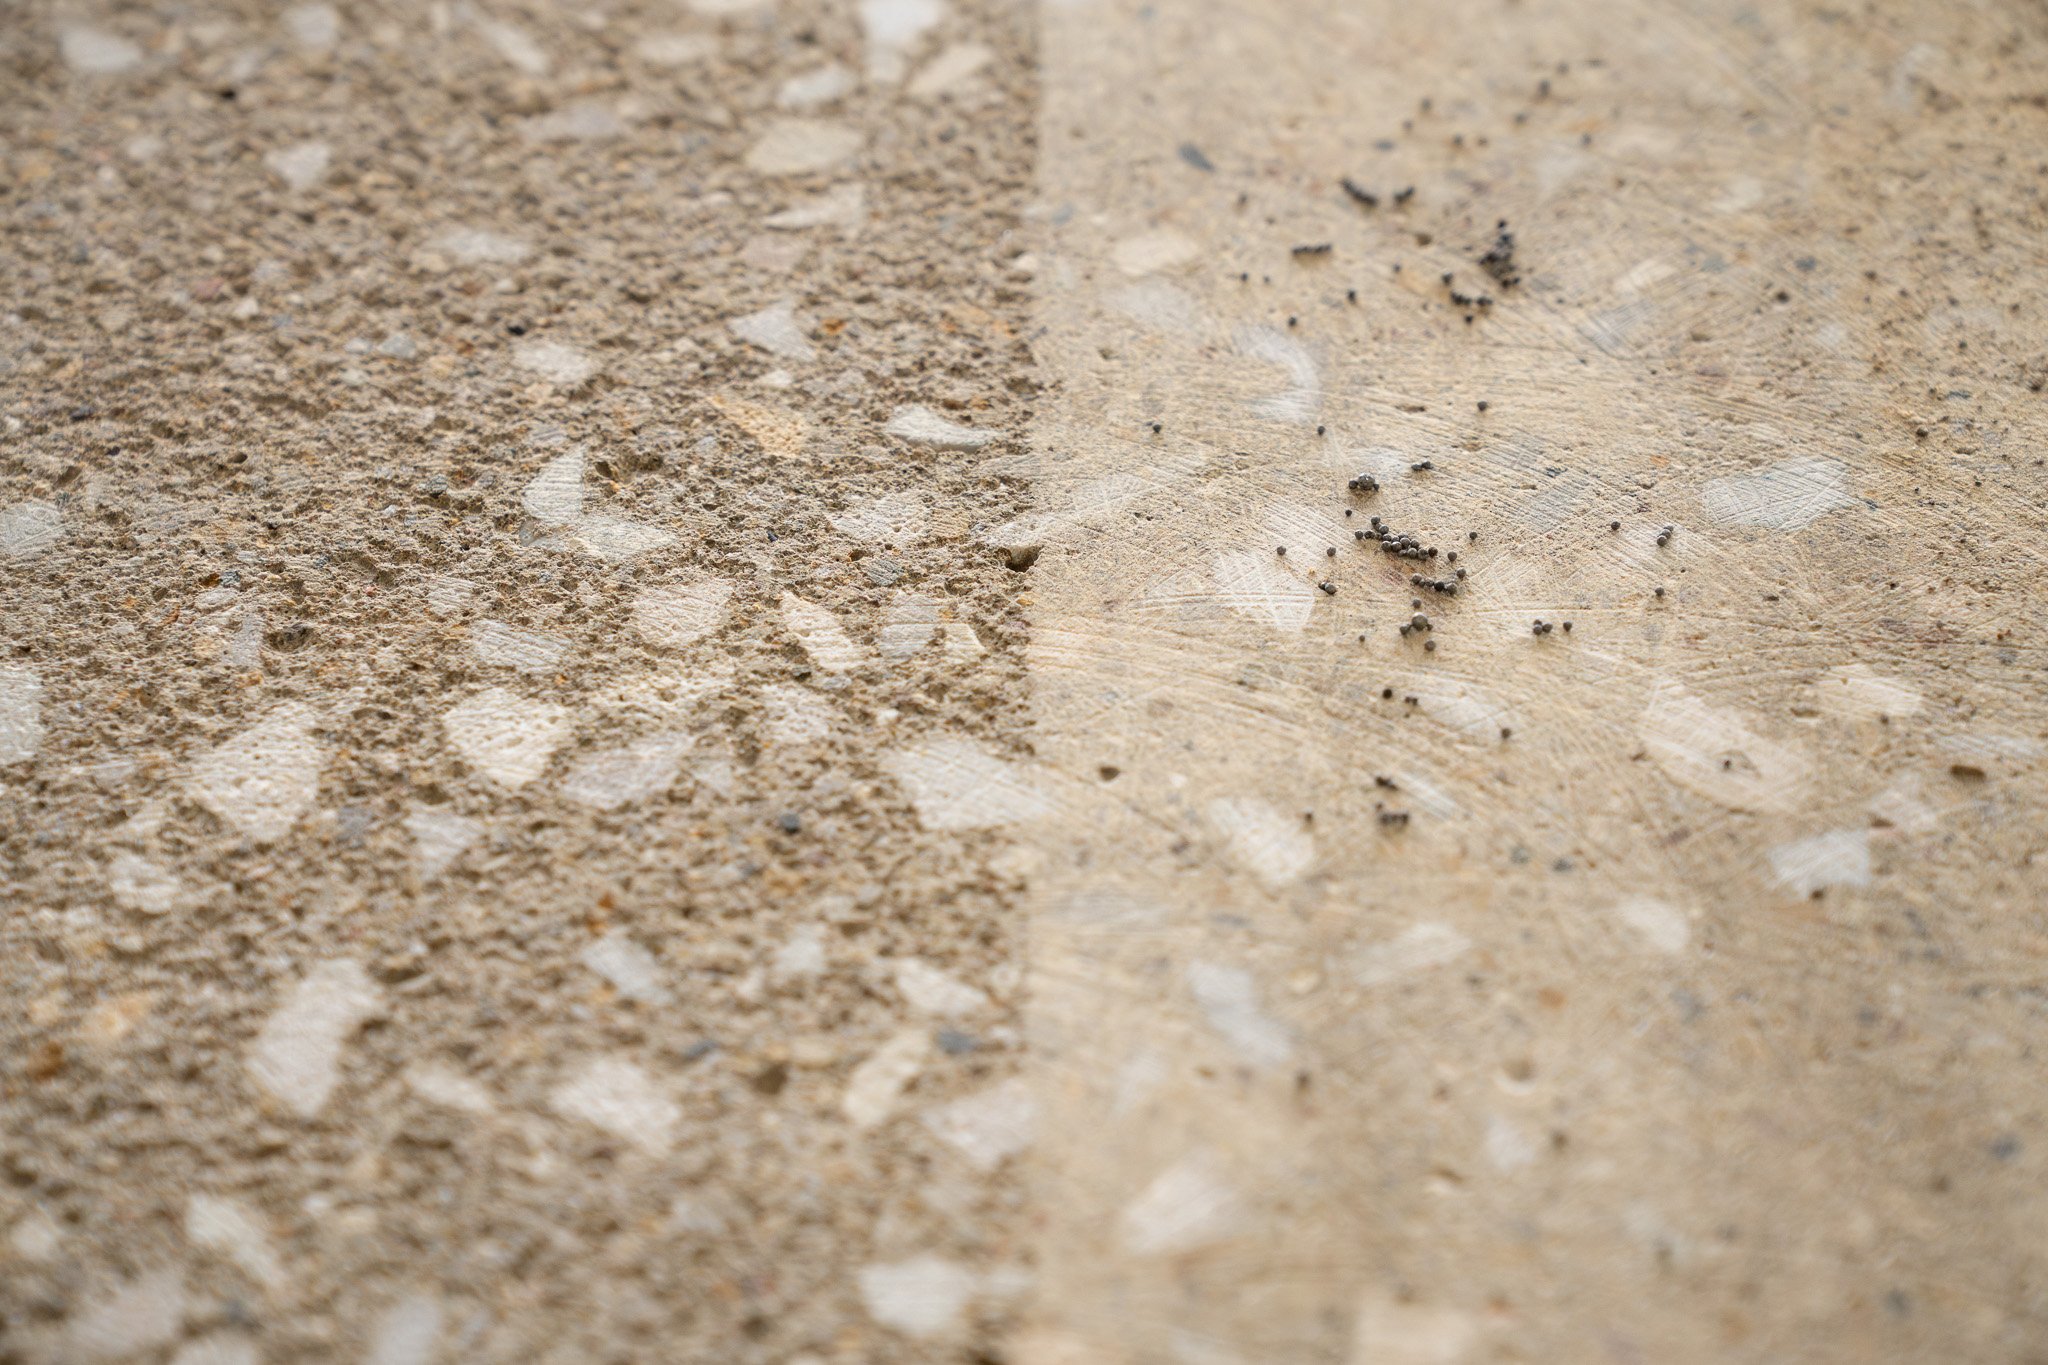
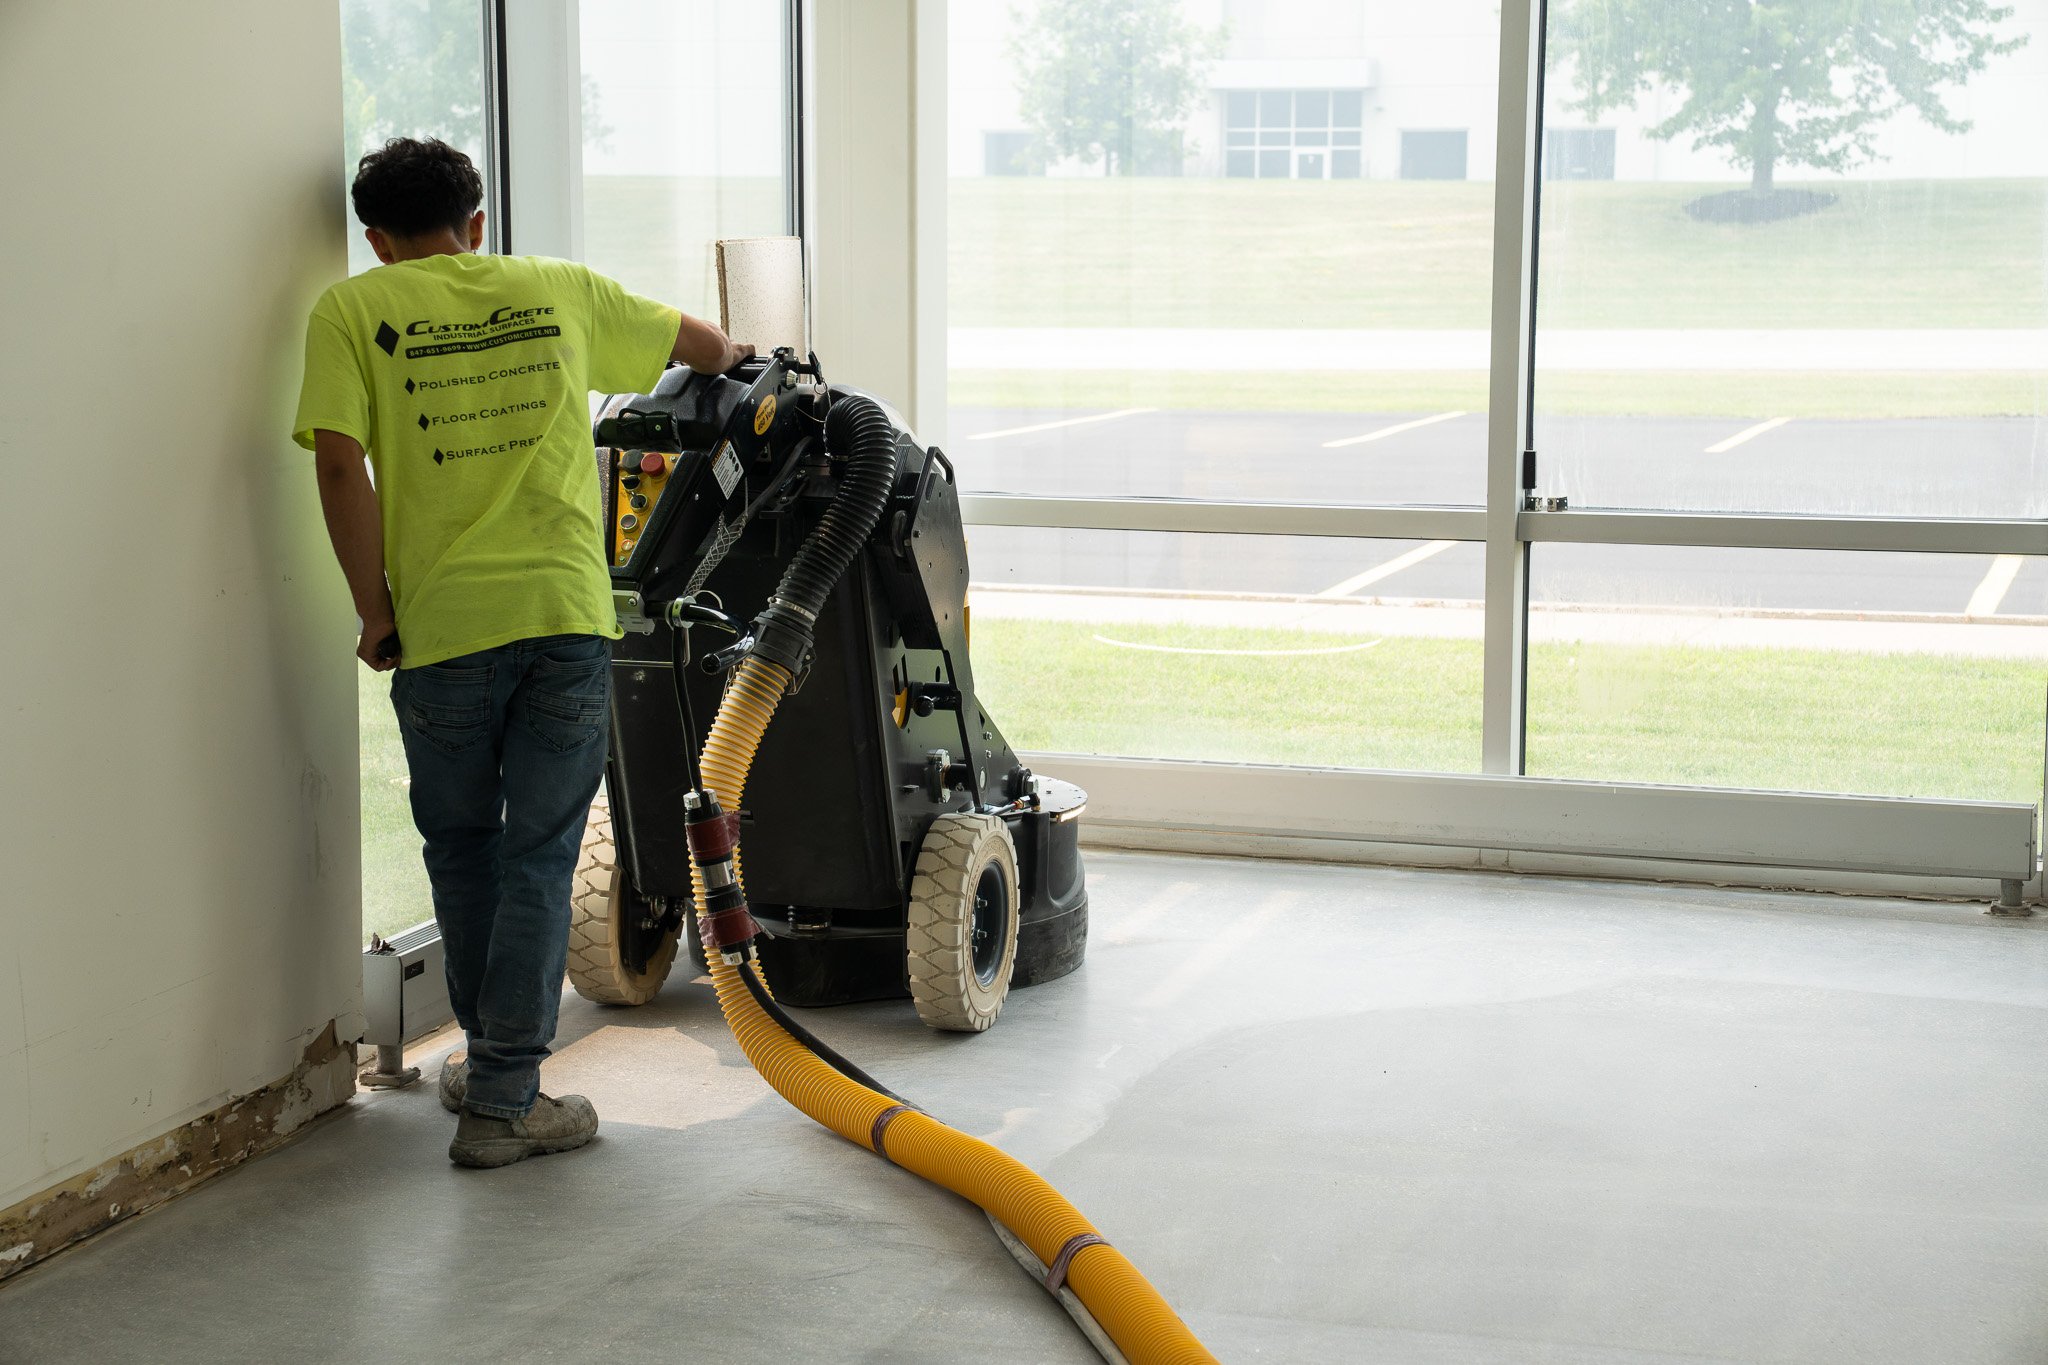
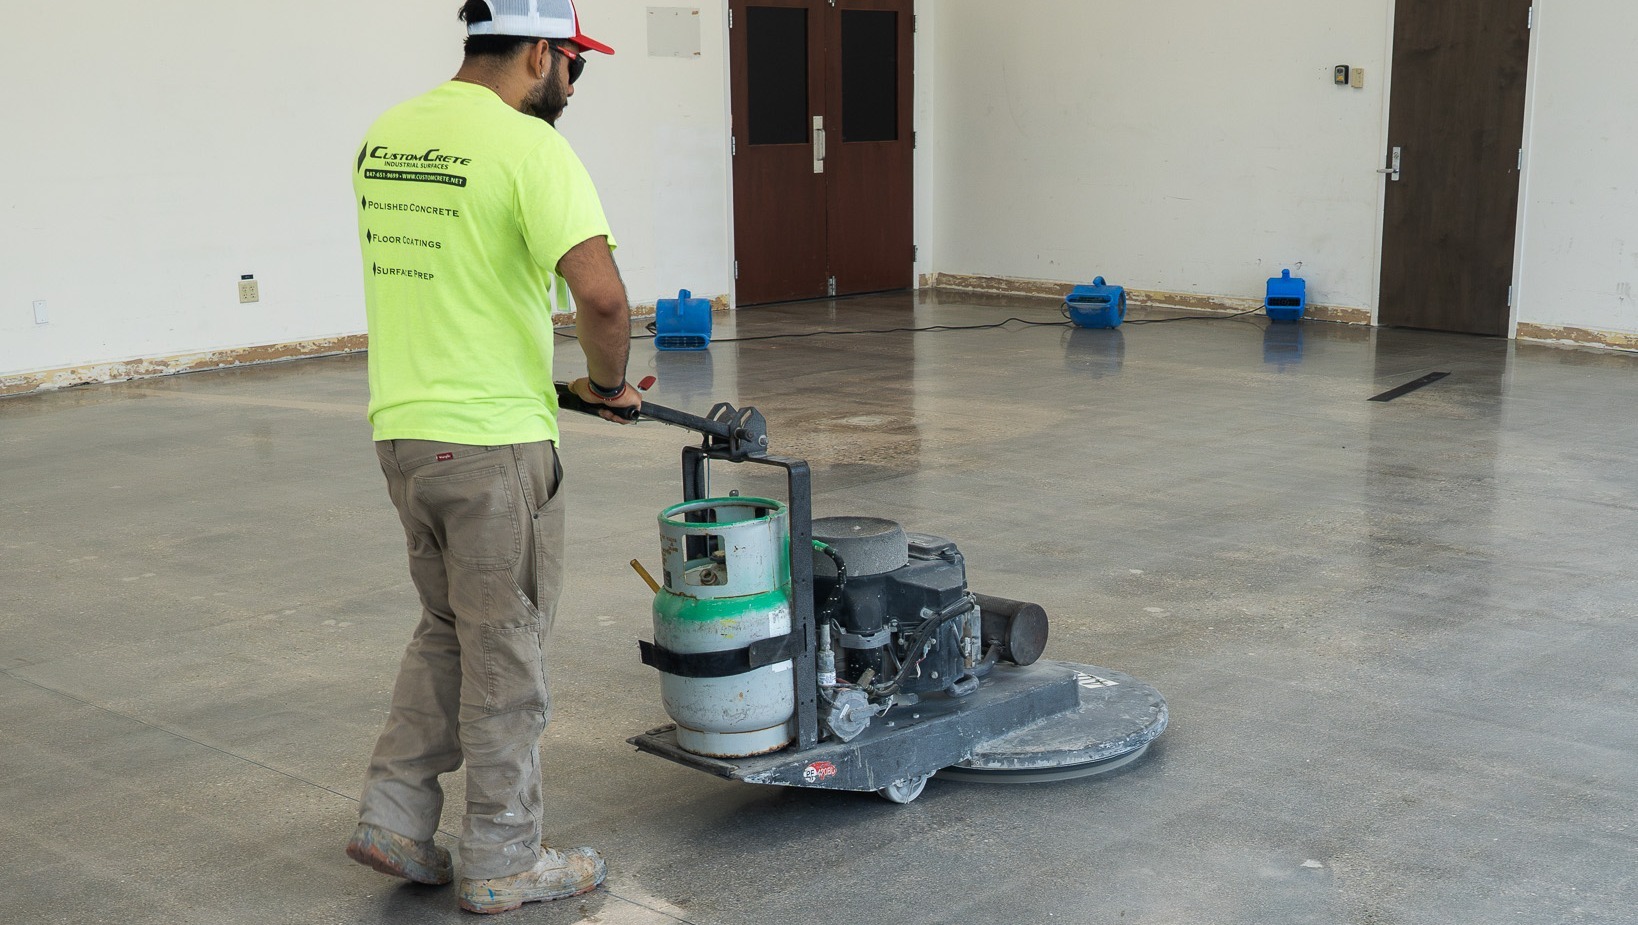
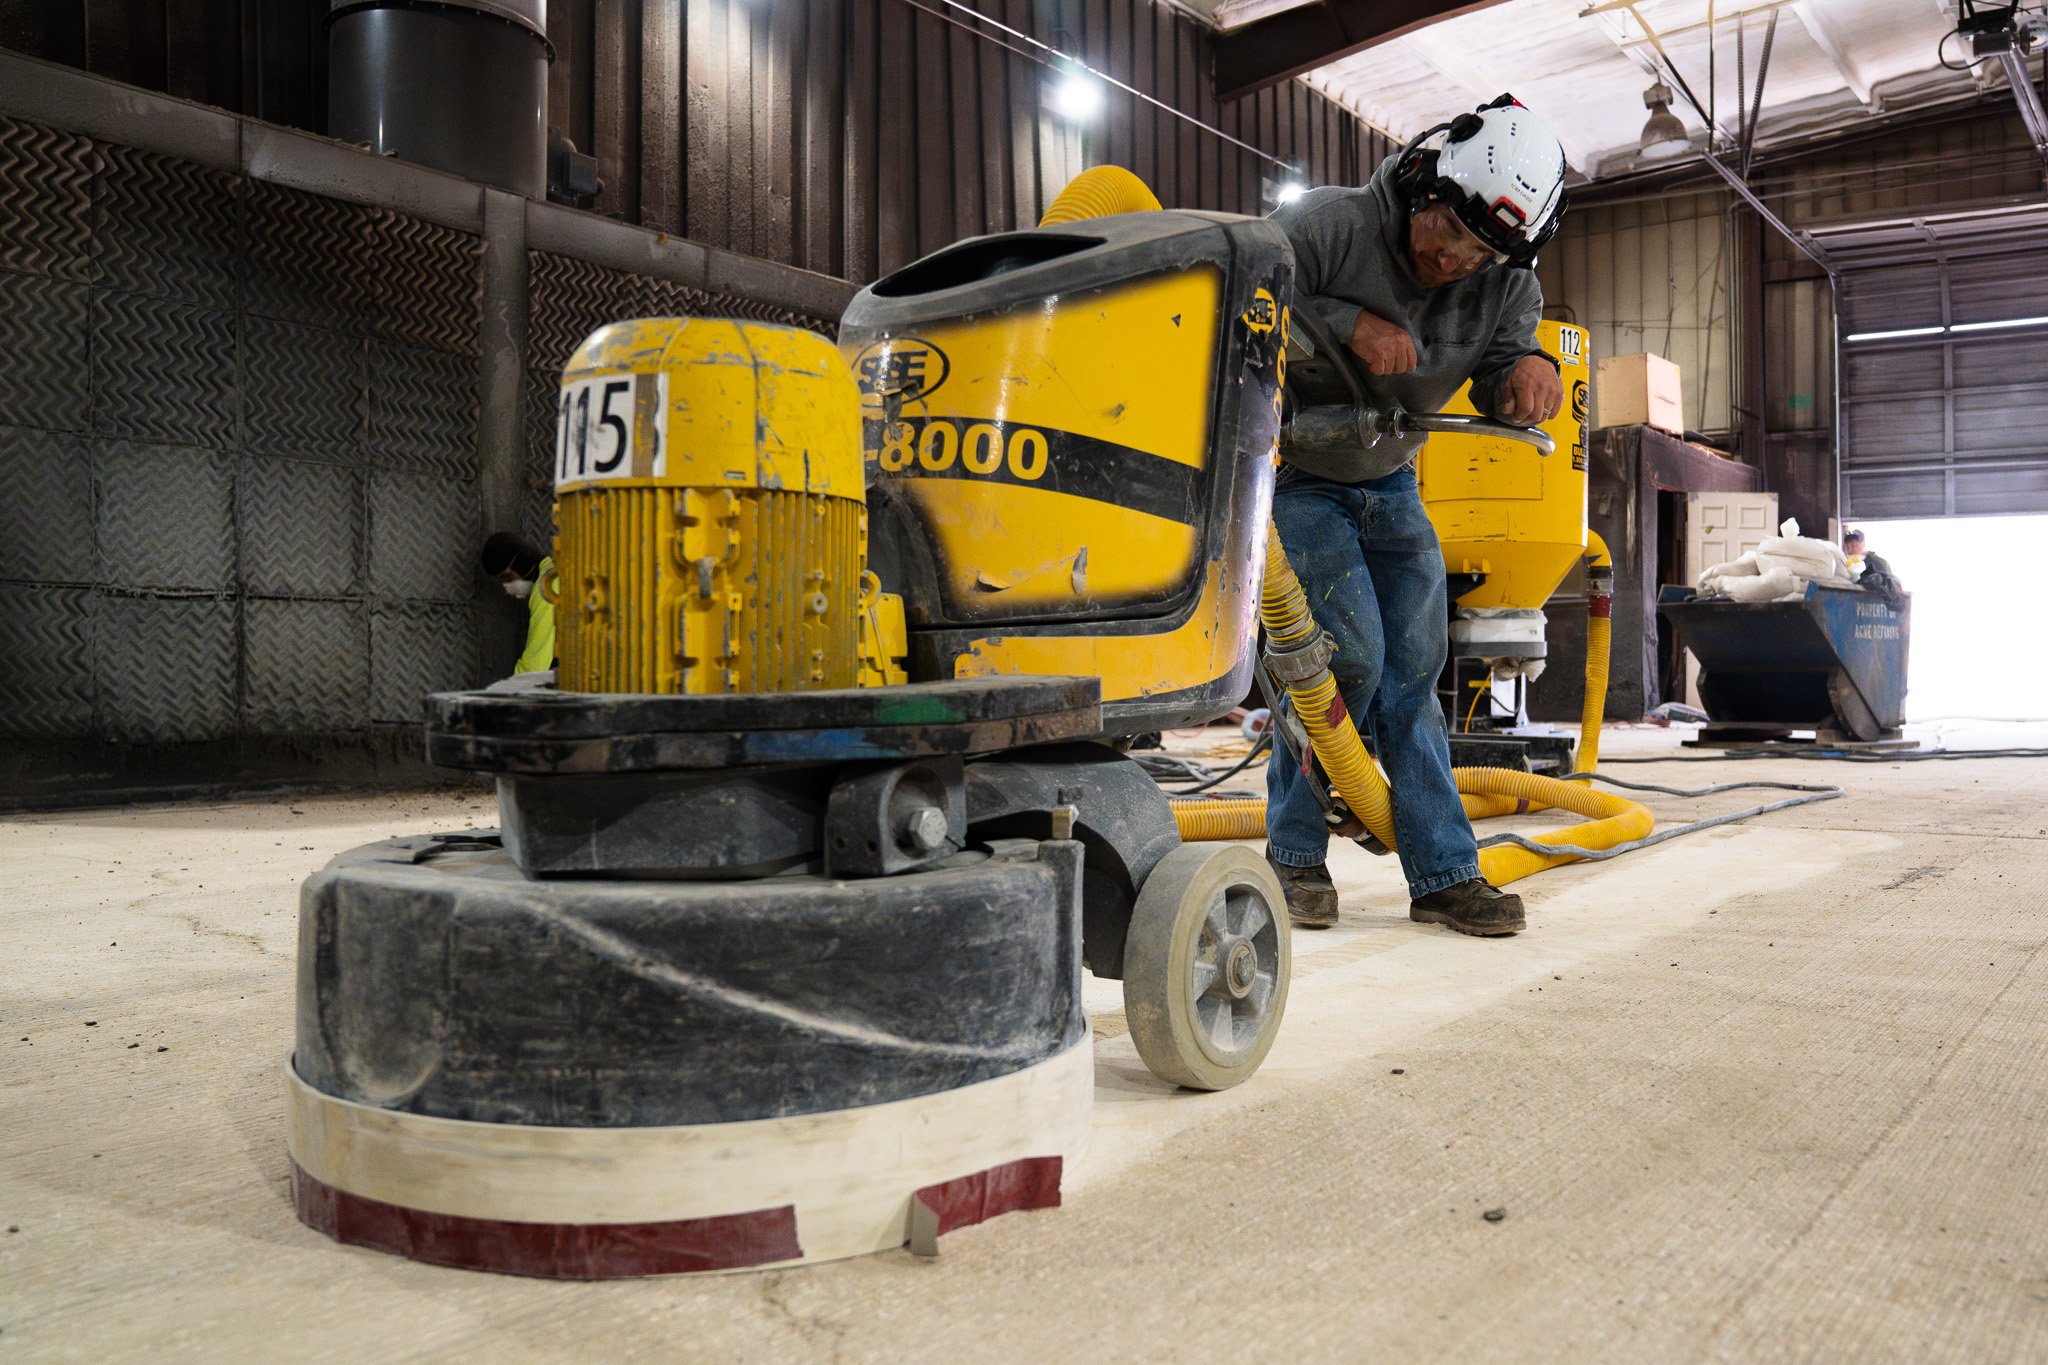
Preparation commonly involves mechanically profiling the concrete through methods such as diamond grinding or shot blasting. Existing coatings, adhesives, contaminants, or weak material may also need to be removed.
The required concrete surface profile depends on the products being installed. Manufacturers typically provide preparation requirements for their systems, so contractors should follow those specifications rather than assuming the same preparation method works for every membrane.
Once preparation is complete, dust and debris need to be thoroughly removed before the next step.
Step 3: Repair Cracks and Damaged Concrete
A membrane can help manage certain cracks, but that doesn't mean cracks and damaged areas should simply be covered.
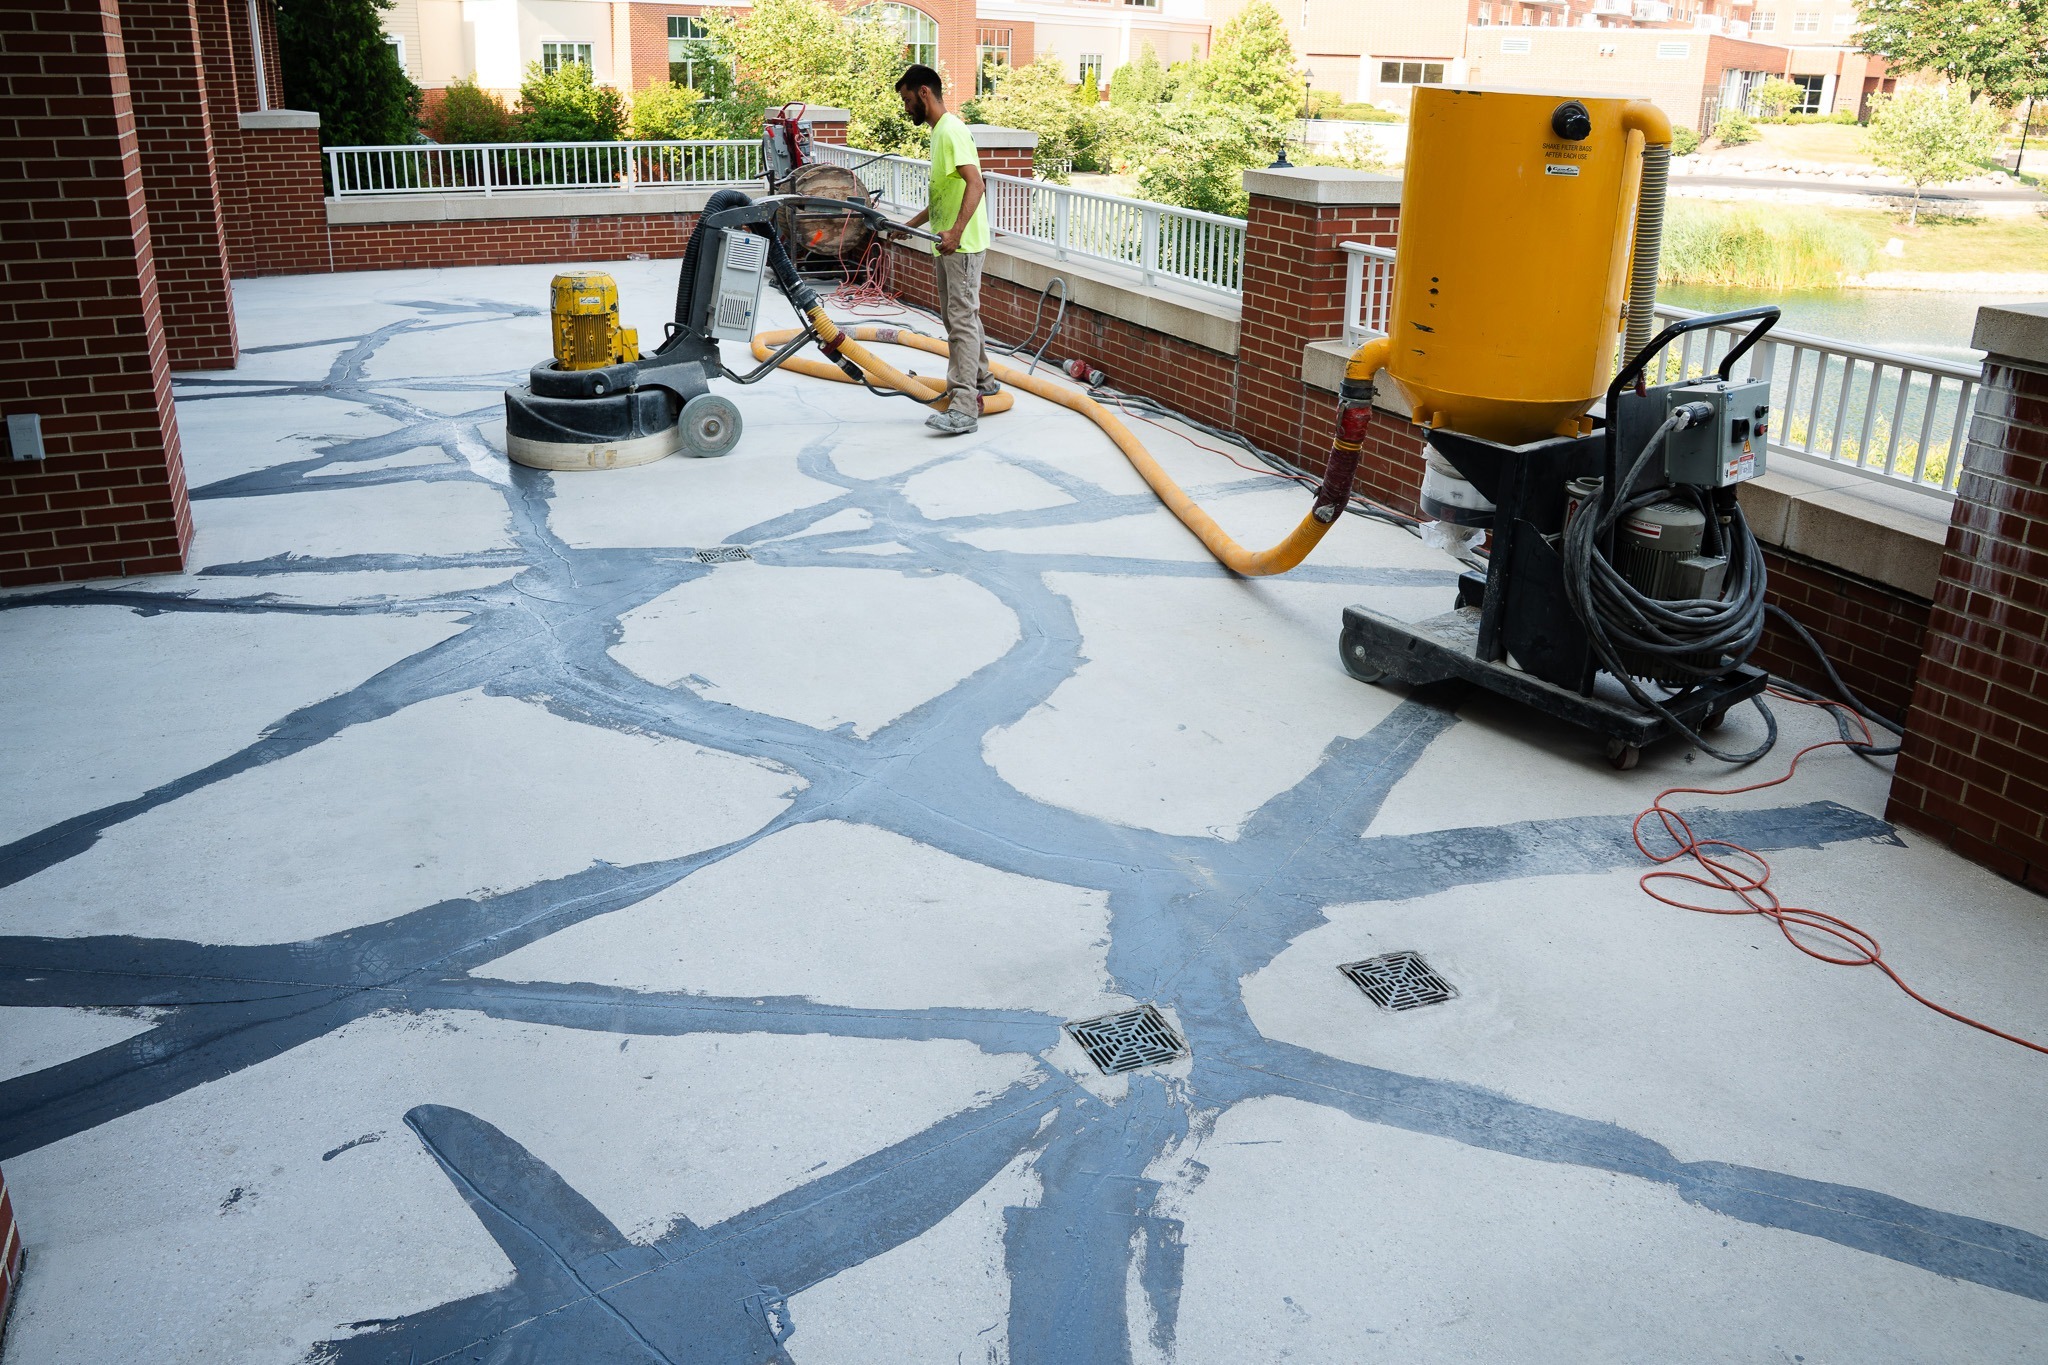
Spalls, holes, deteriorated concrete, and other defects may need to be repaired first to create a sound substrate. Cracks may also require cleaning, routing, filling, or another treatment depending on their condition and the membrane system.
This step is also where expectations need to be realistic. Some flexible membranes can bridge or isolate limited crack movement, but they aren't a solution for every structural or moving crack. Expansion joints and other intentionally moving joints may require separate treatment.
Step 4: Apply the Primer When Required
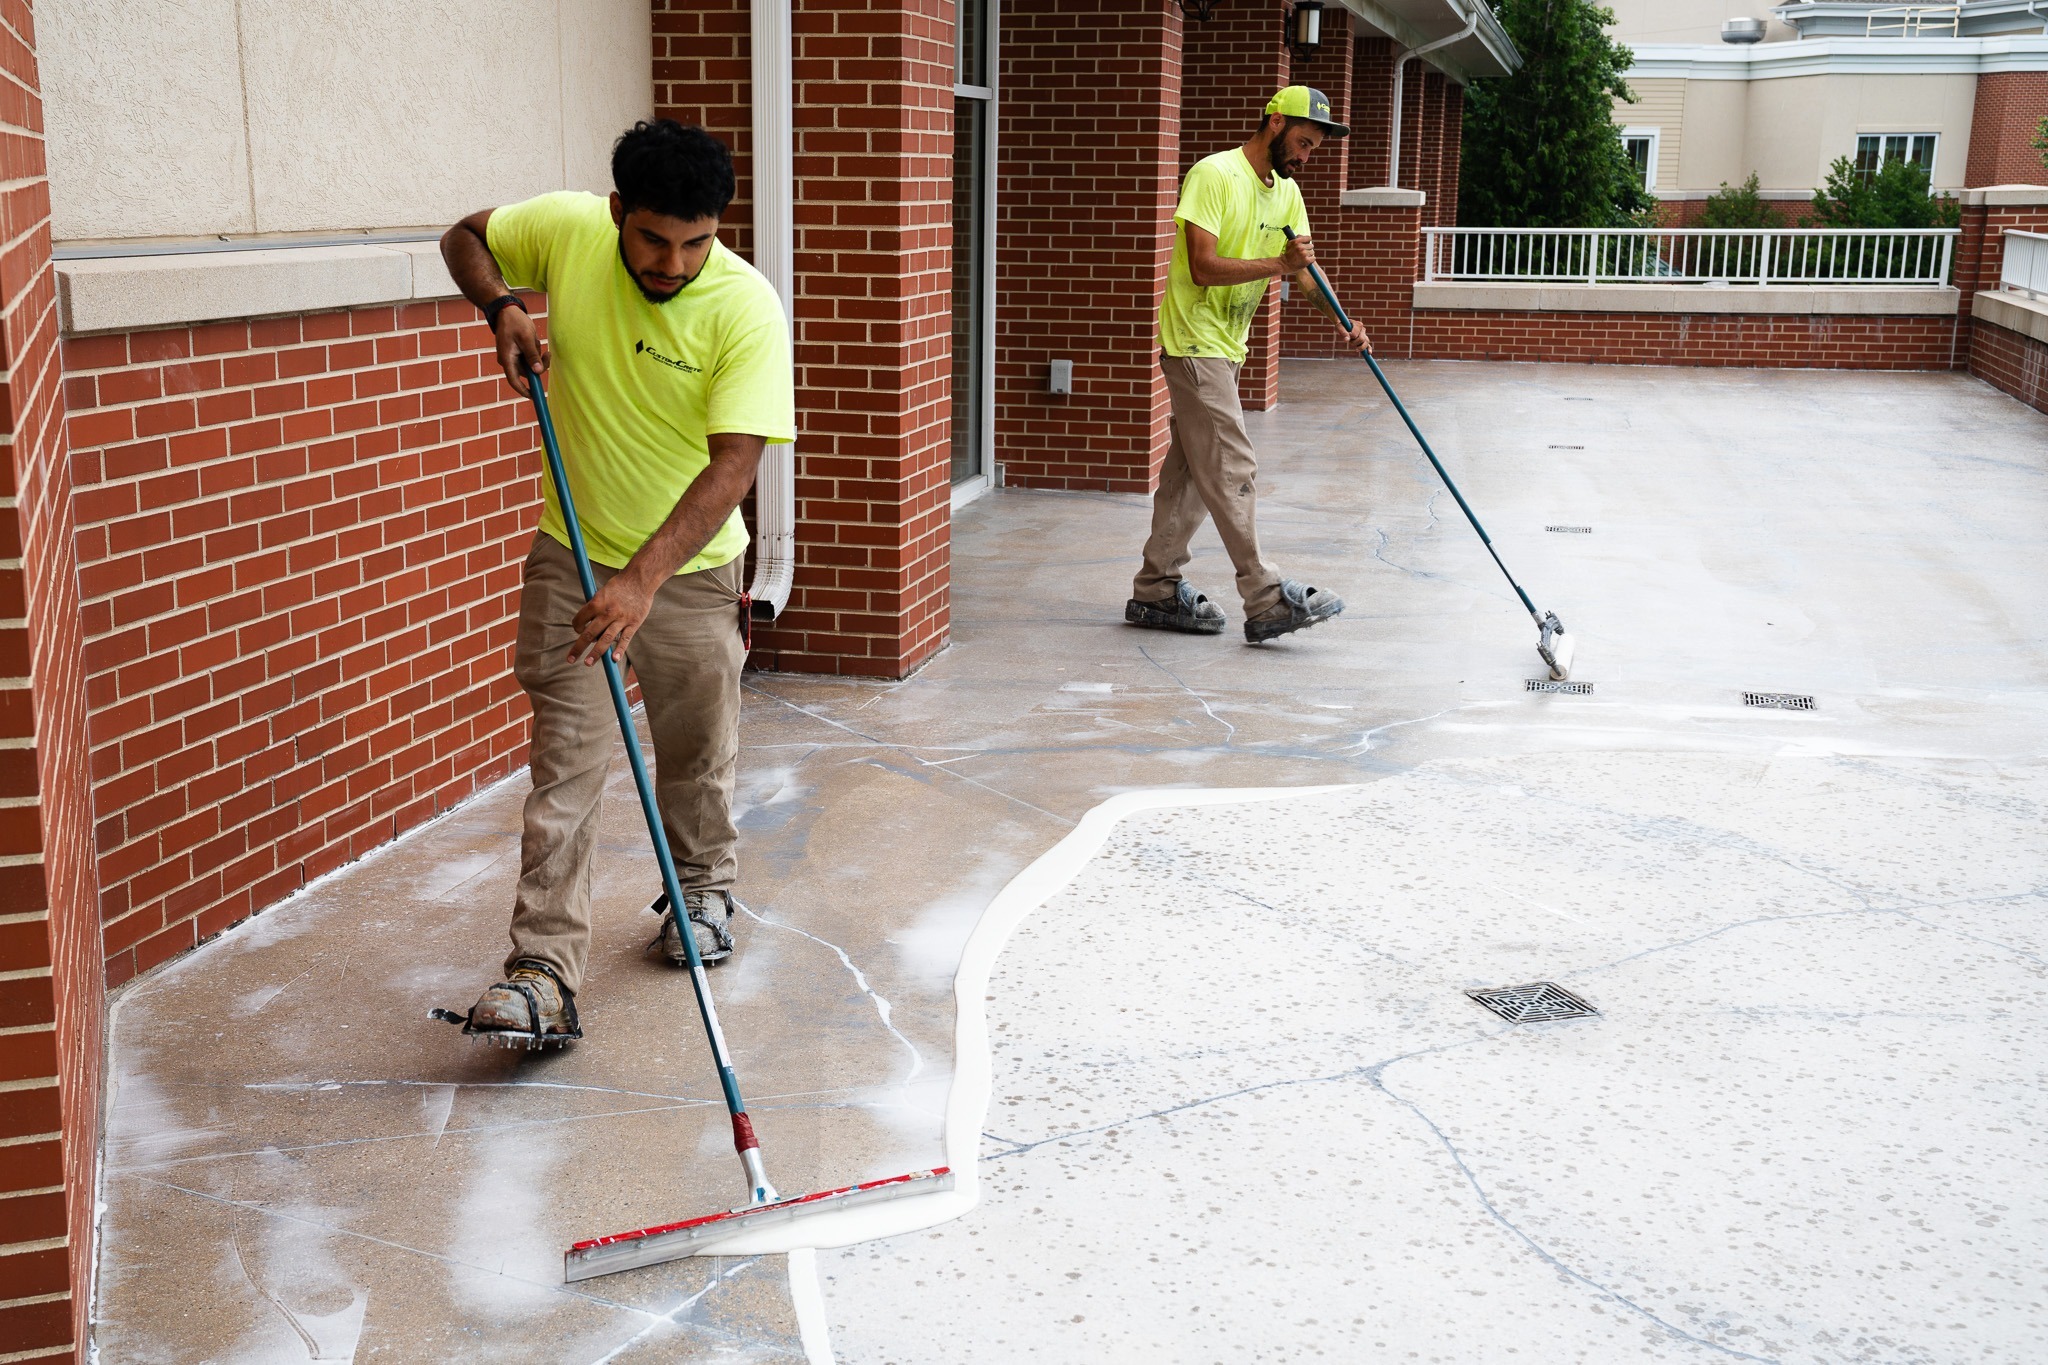
Once the concrete is prepared and repaired, some membrane systems require a primer. The primer is generally applied directly to the prepared substrate to promote adhesion between the concrete and the layers that follow.
Primer requirements vary. Some membranes are designed as part of systems with specific primers, while others may have different installation requirements.
Application rates and recoat windows matter here. Applying too much or too little material, allowing a primer to cure beyond its recoat window, or using incompatible products can affect how the overall system bonds.
Step 5: Install the Membrane Layer
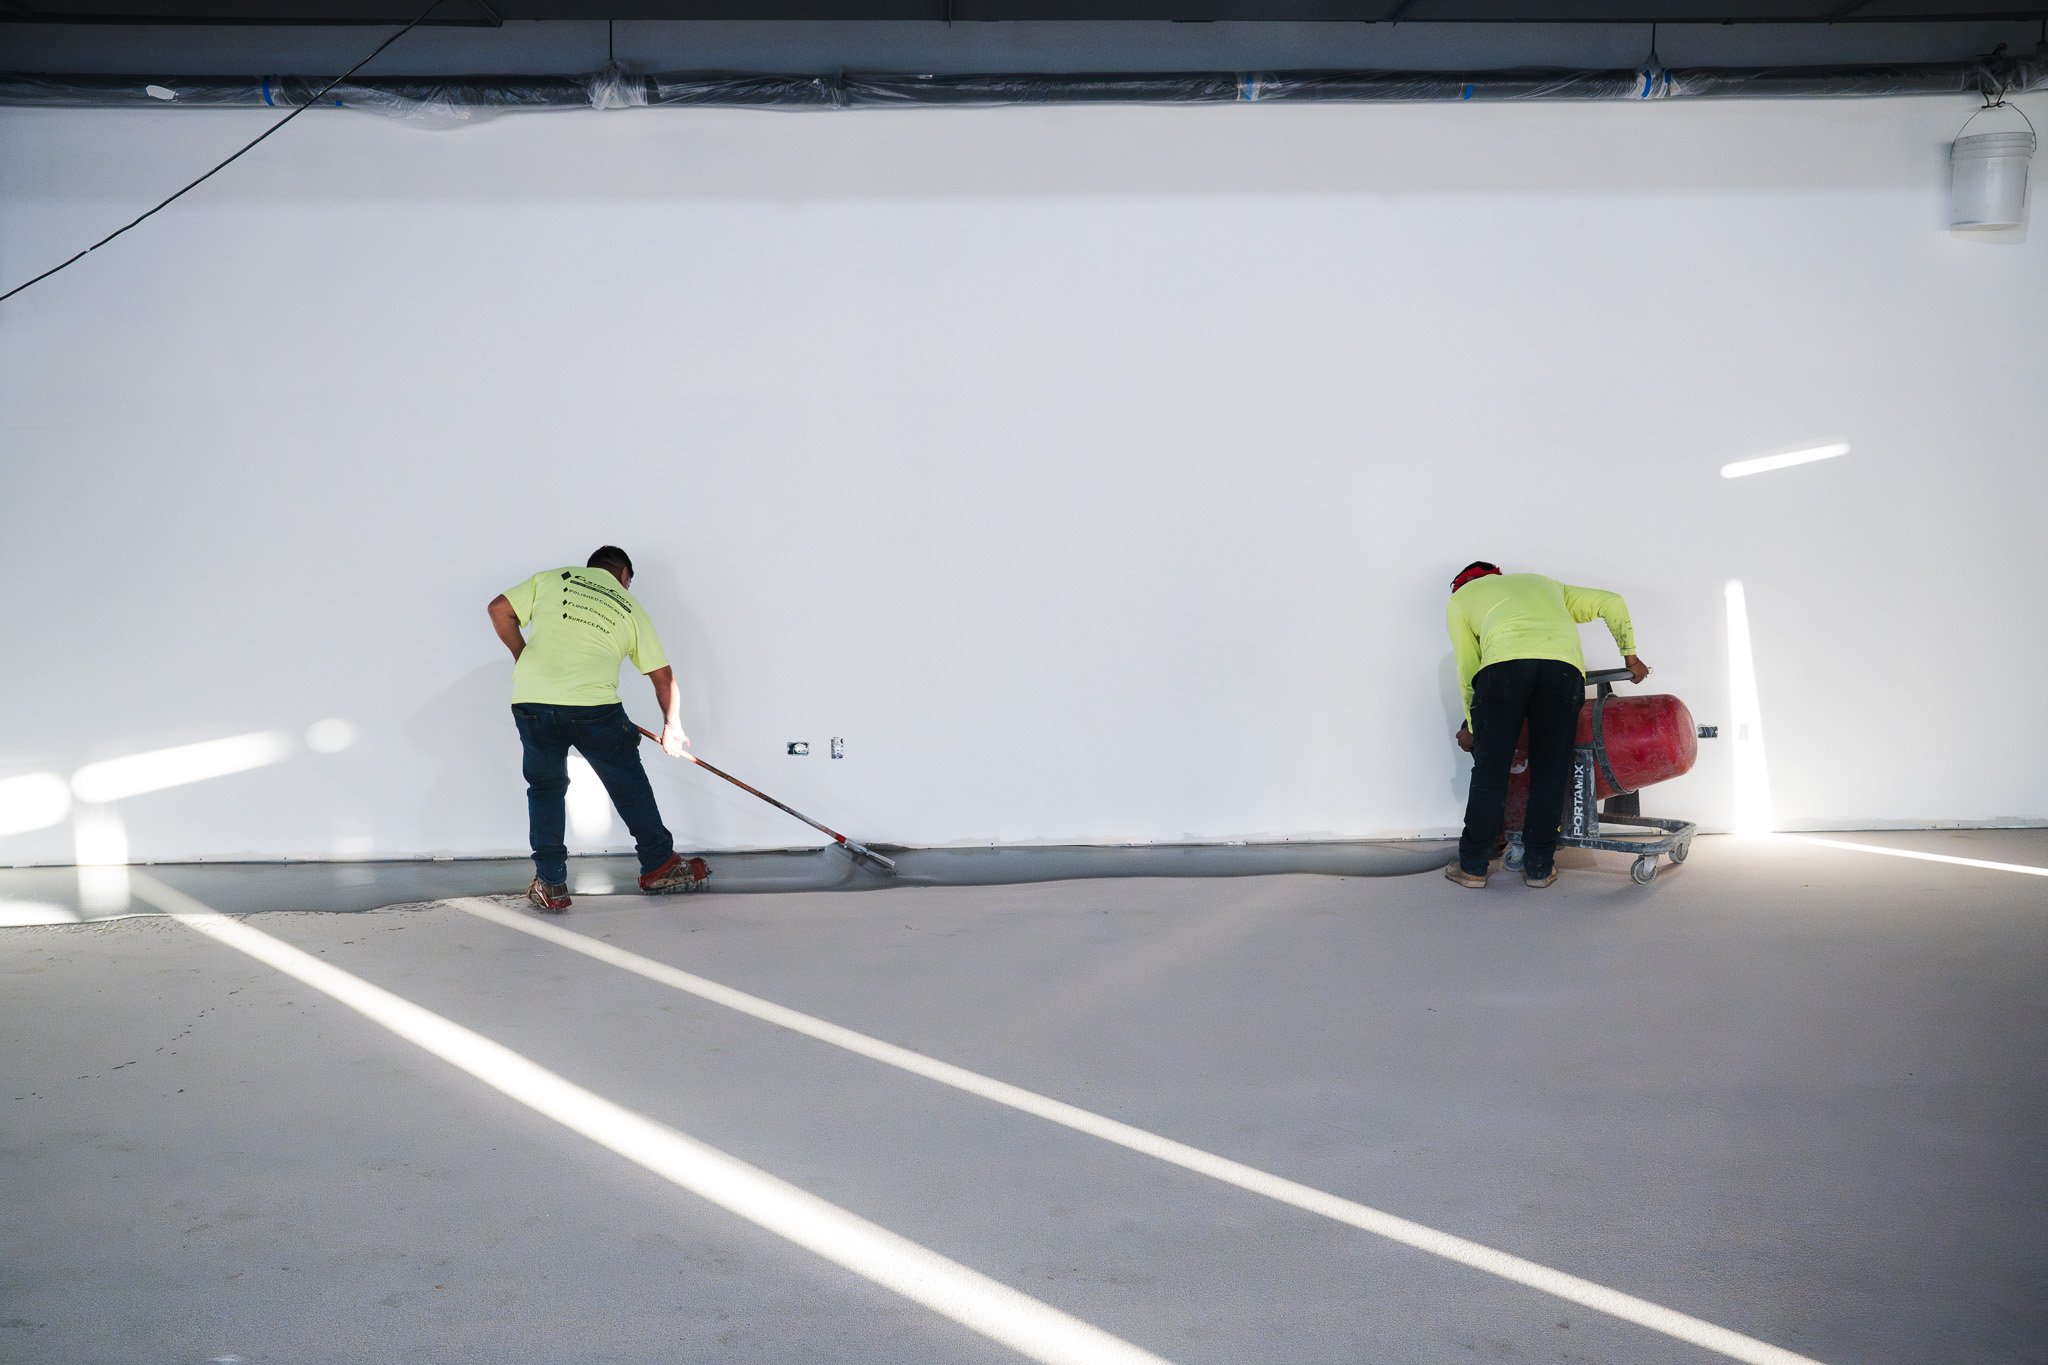
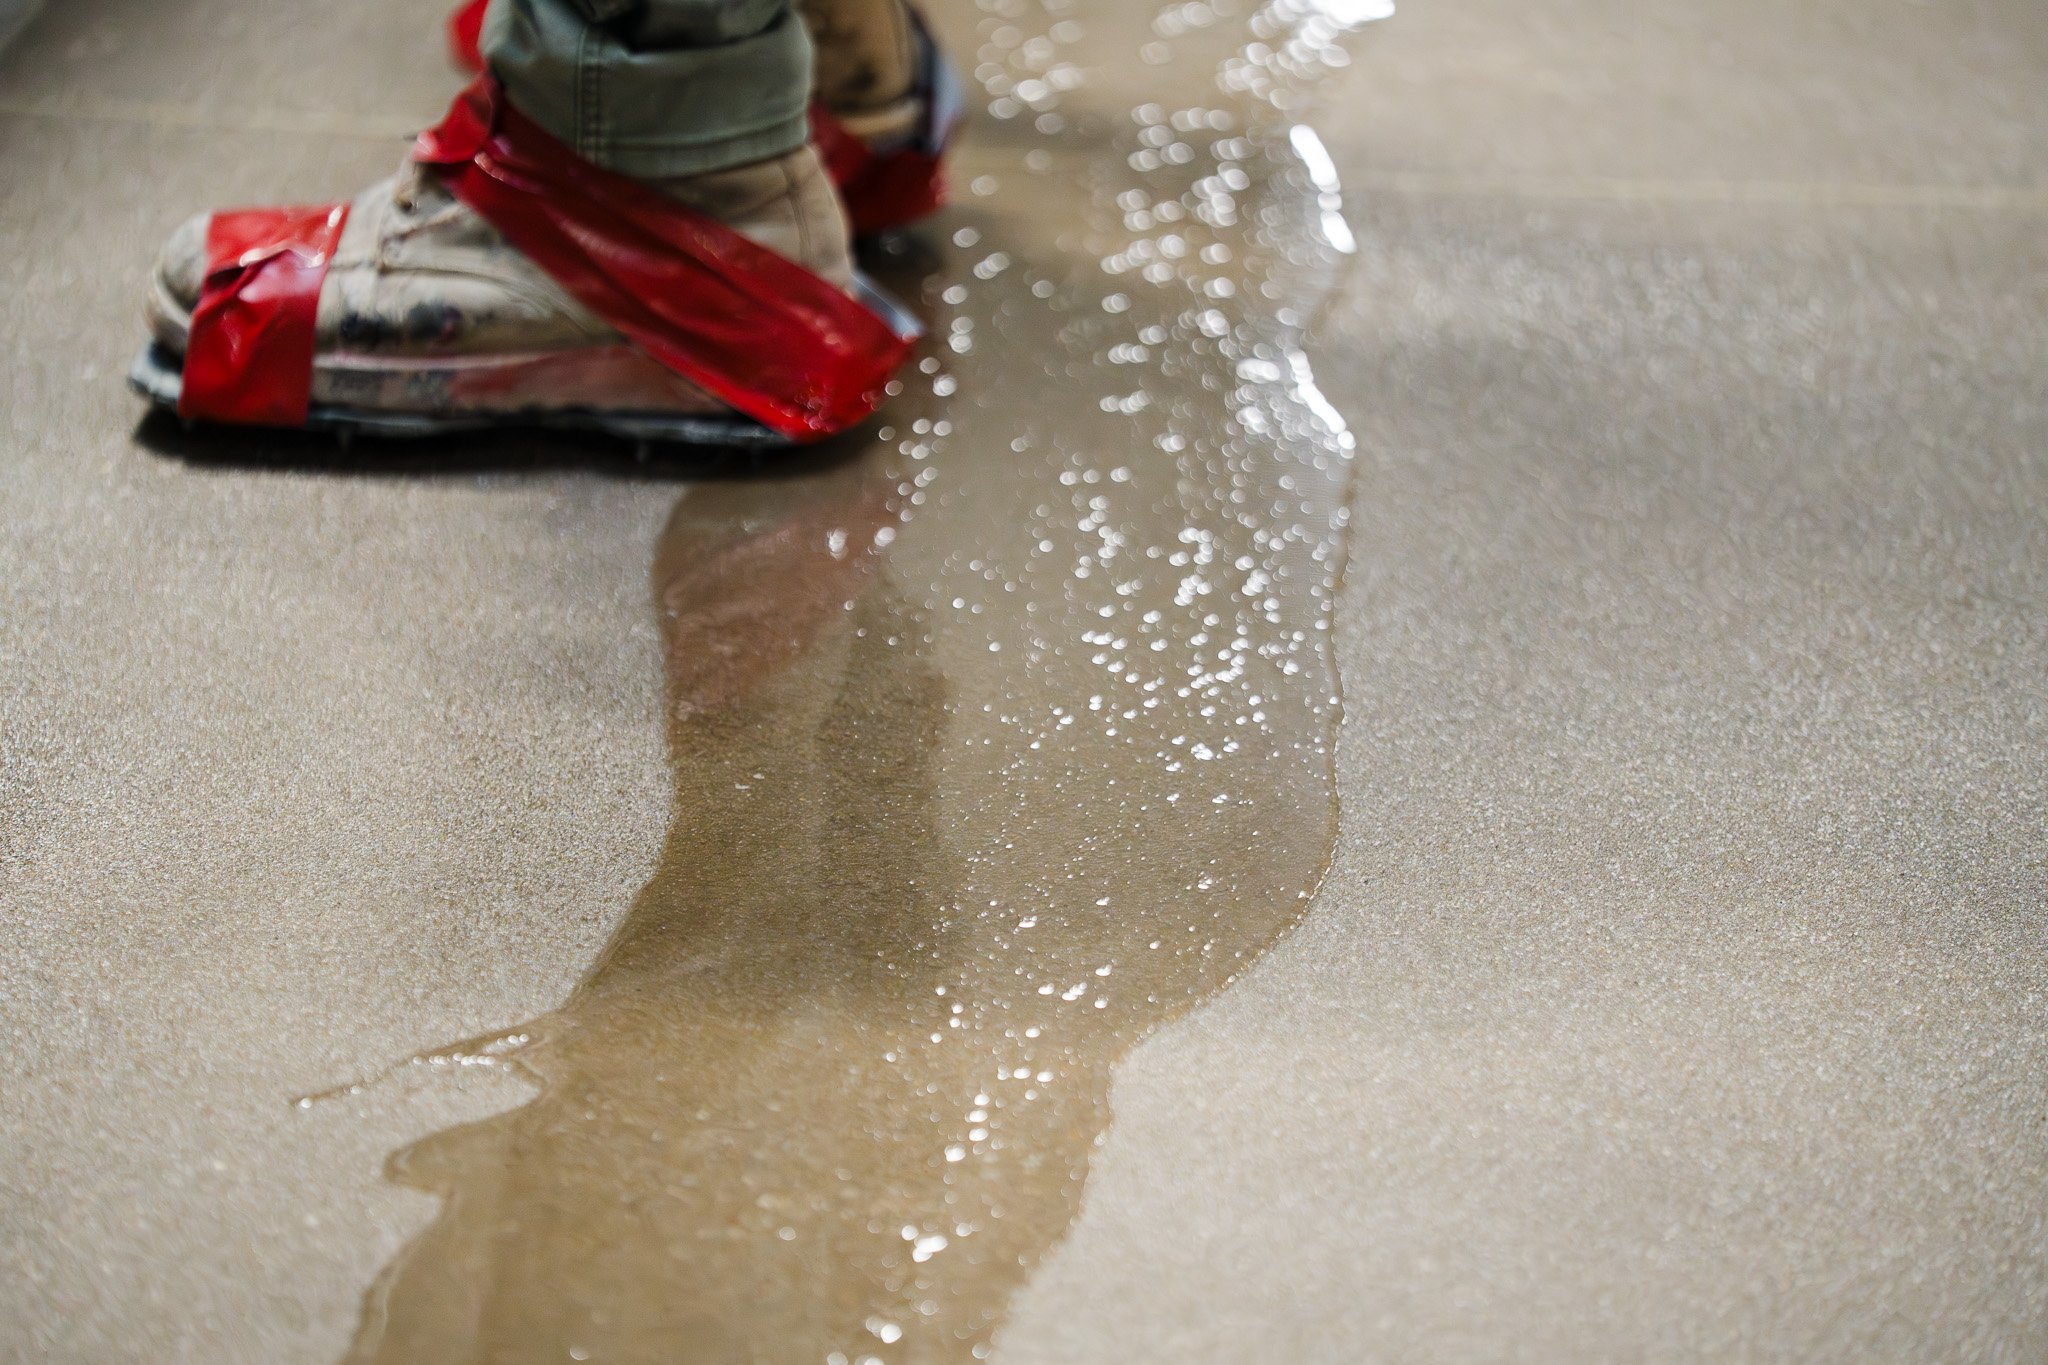
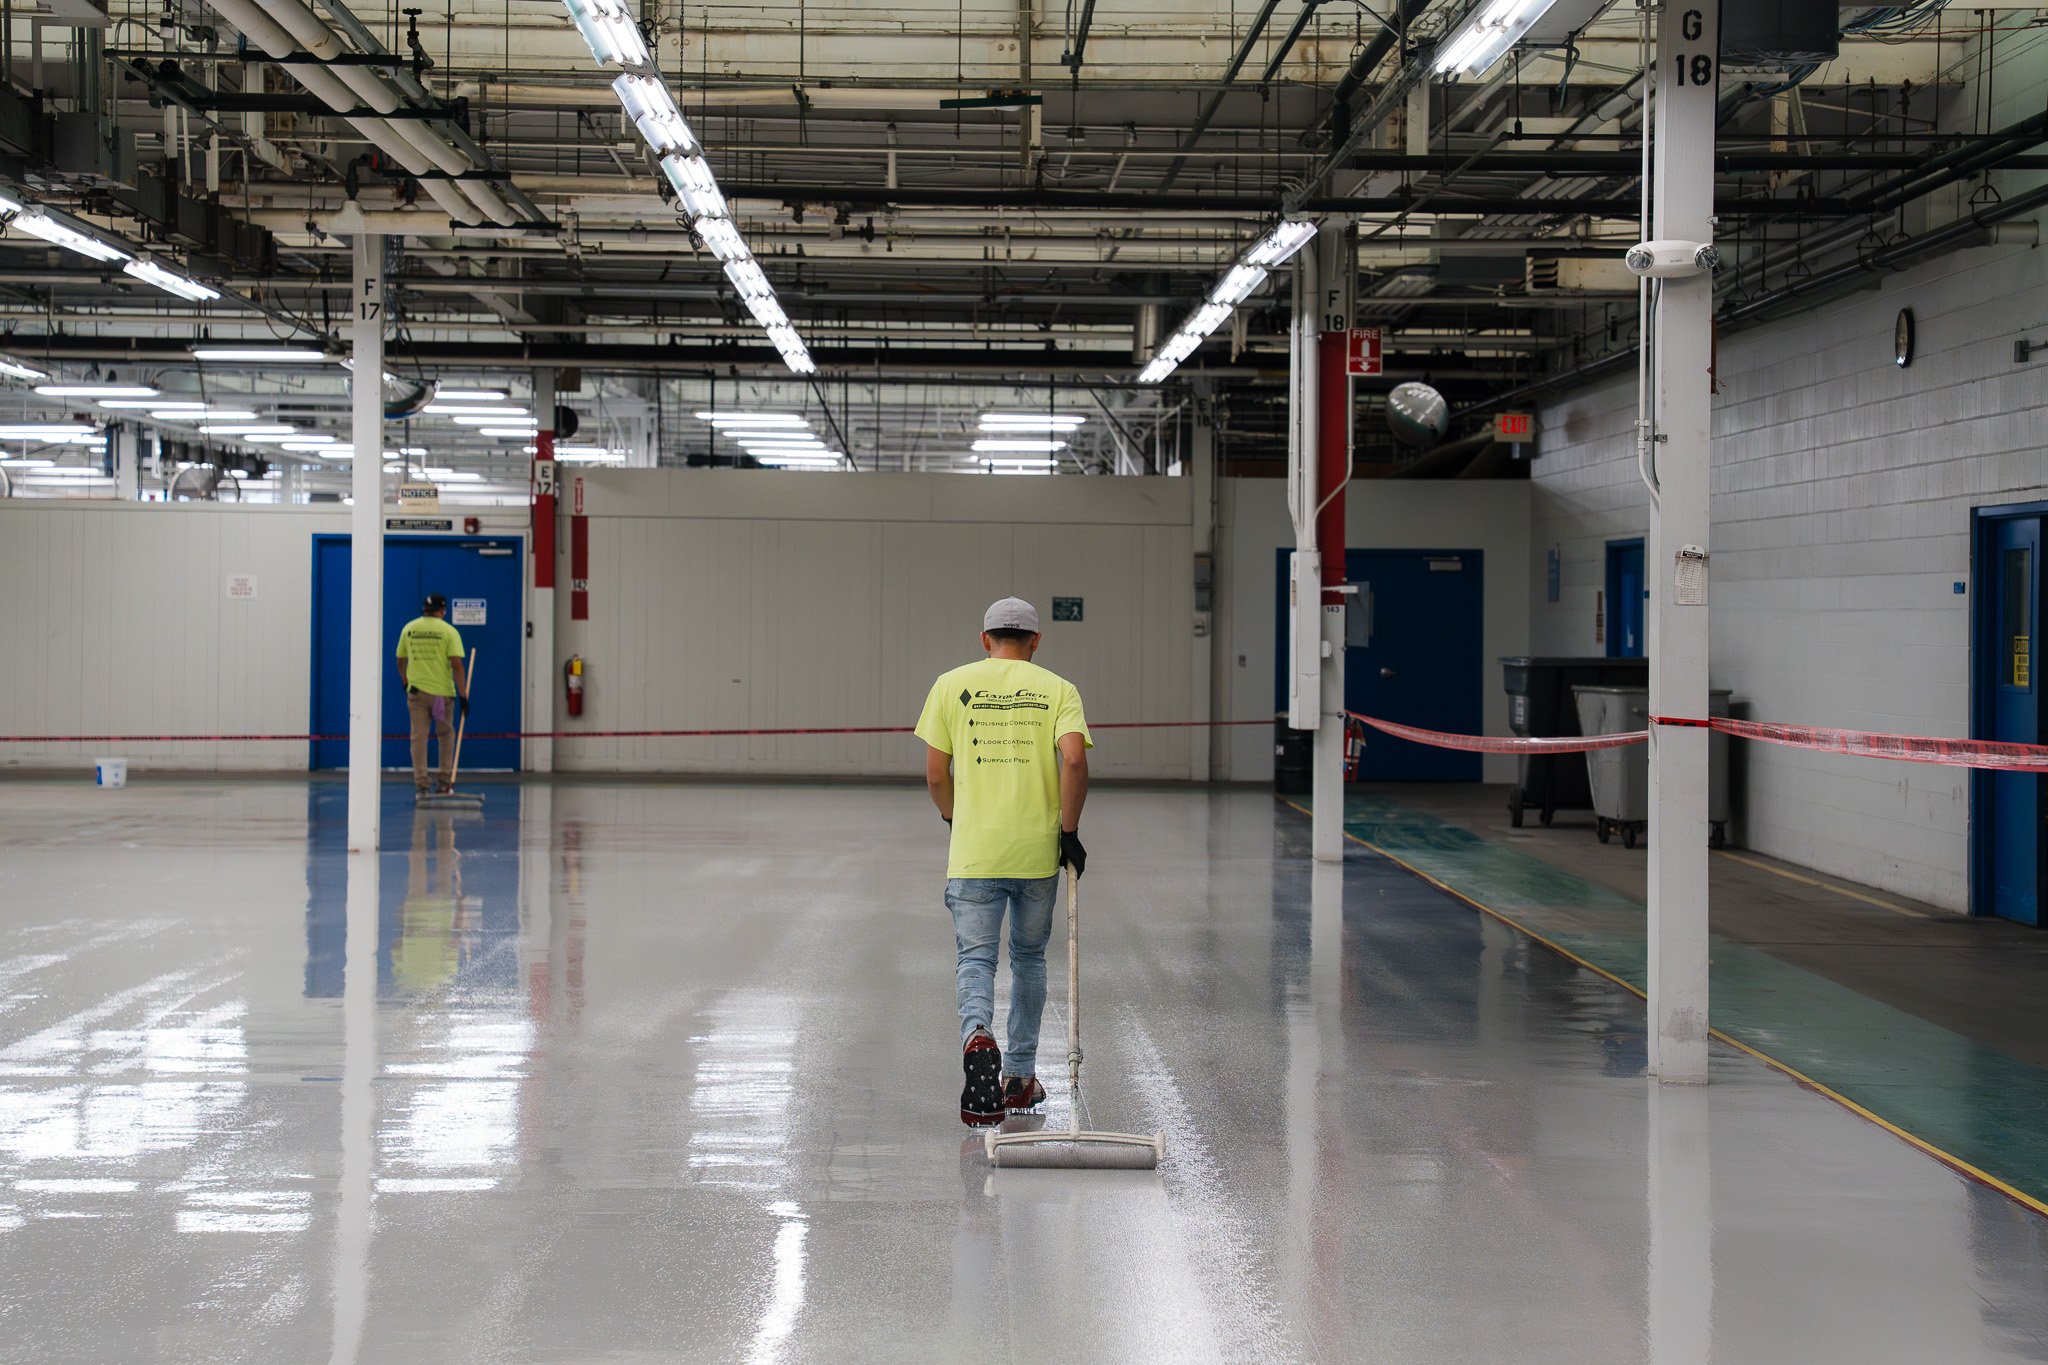
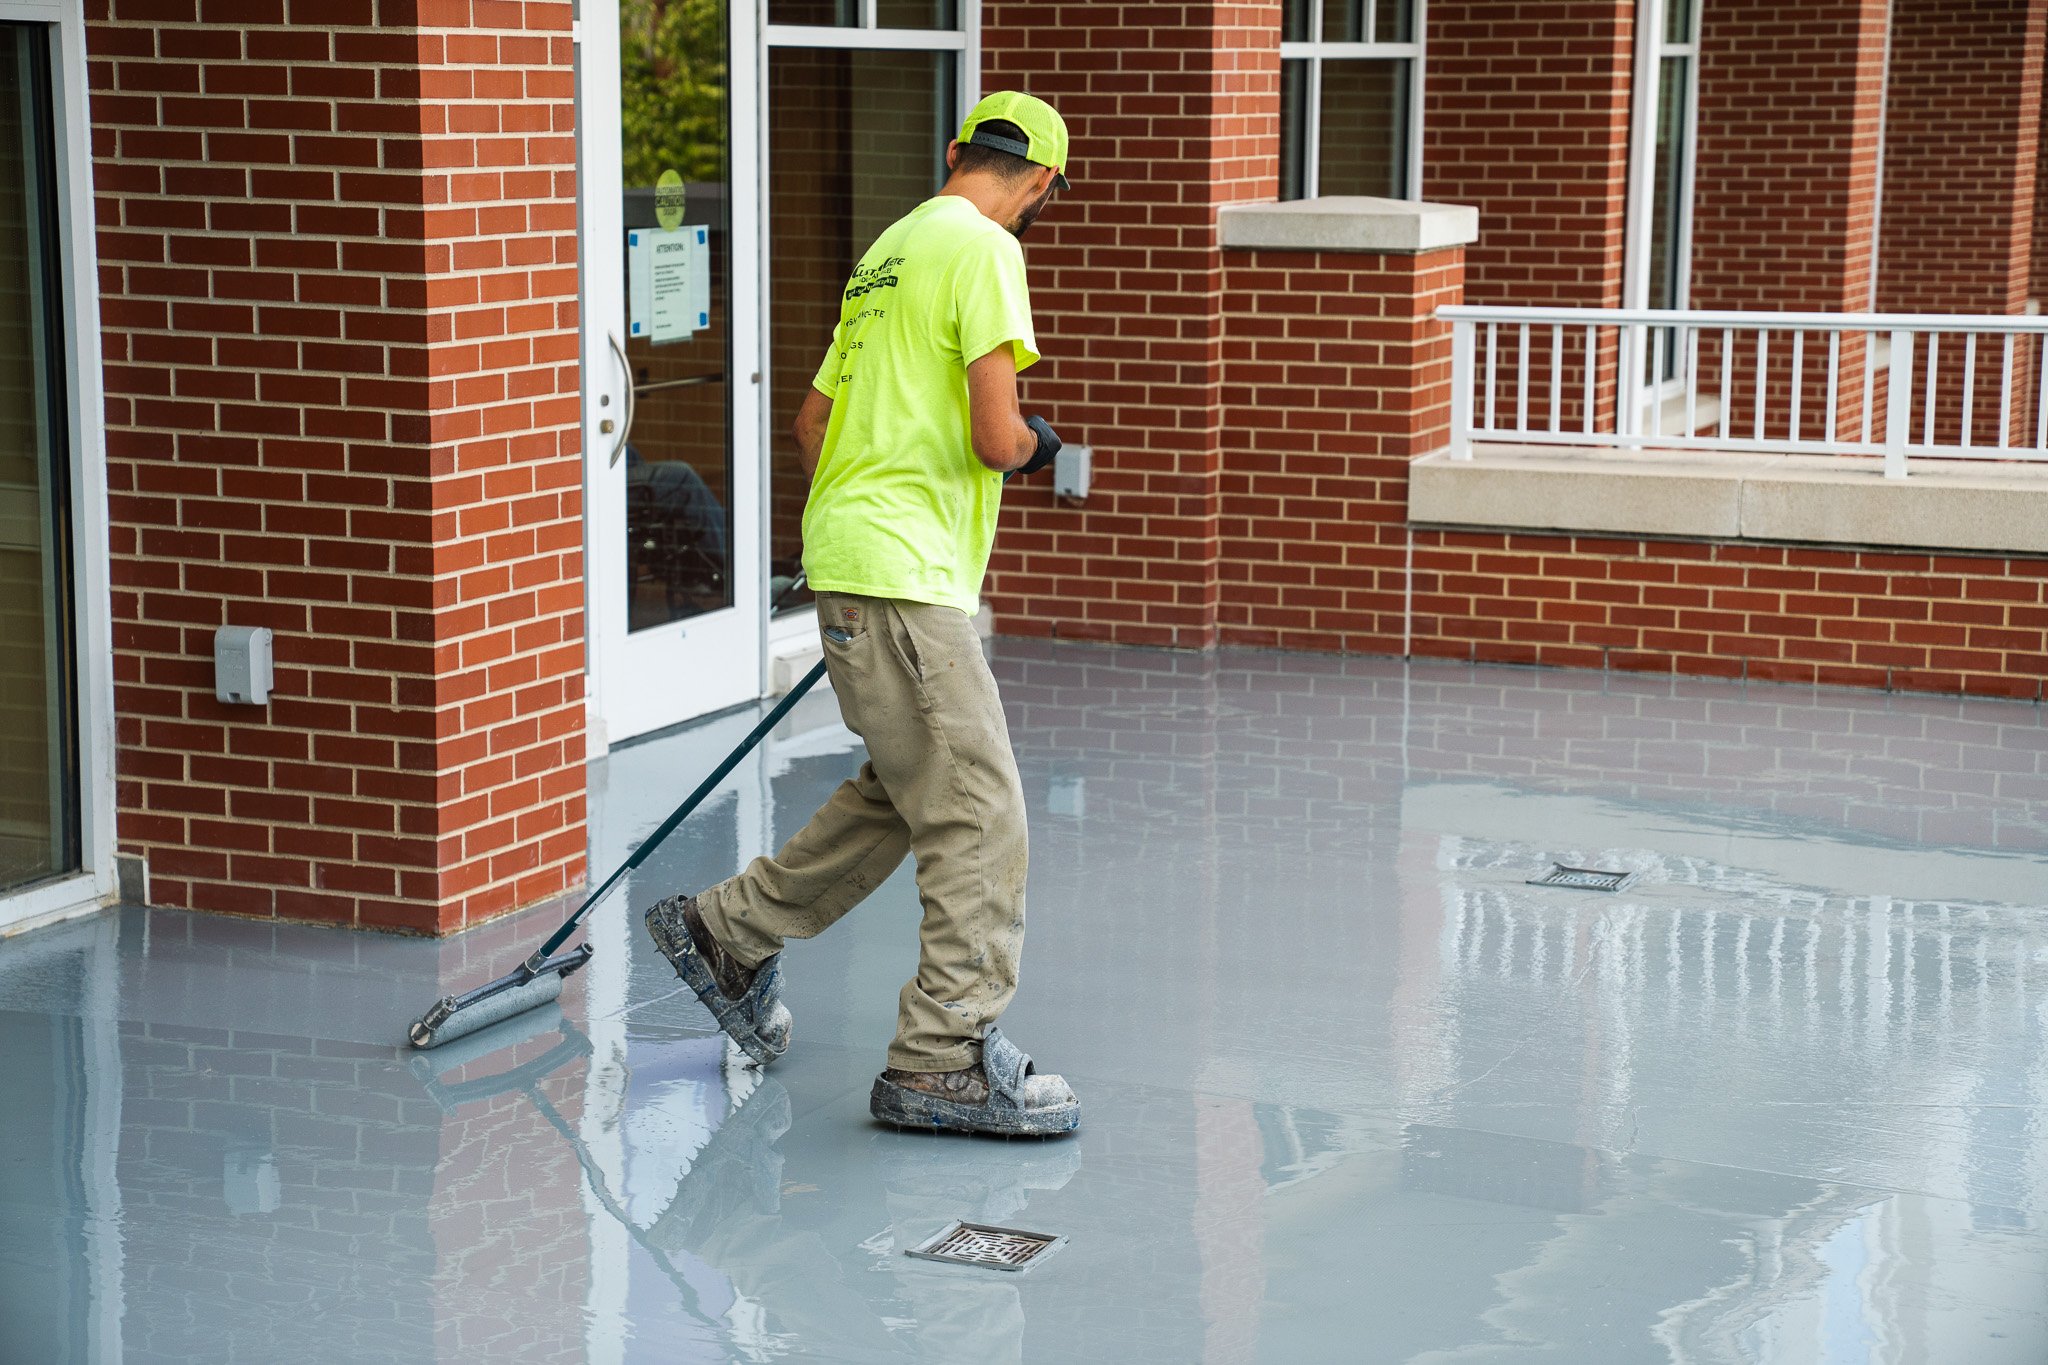
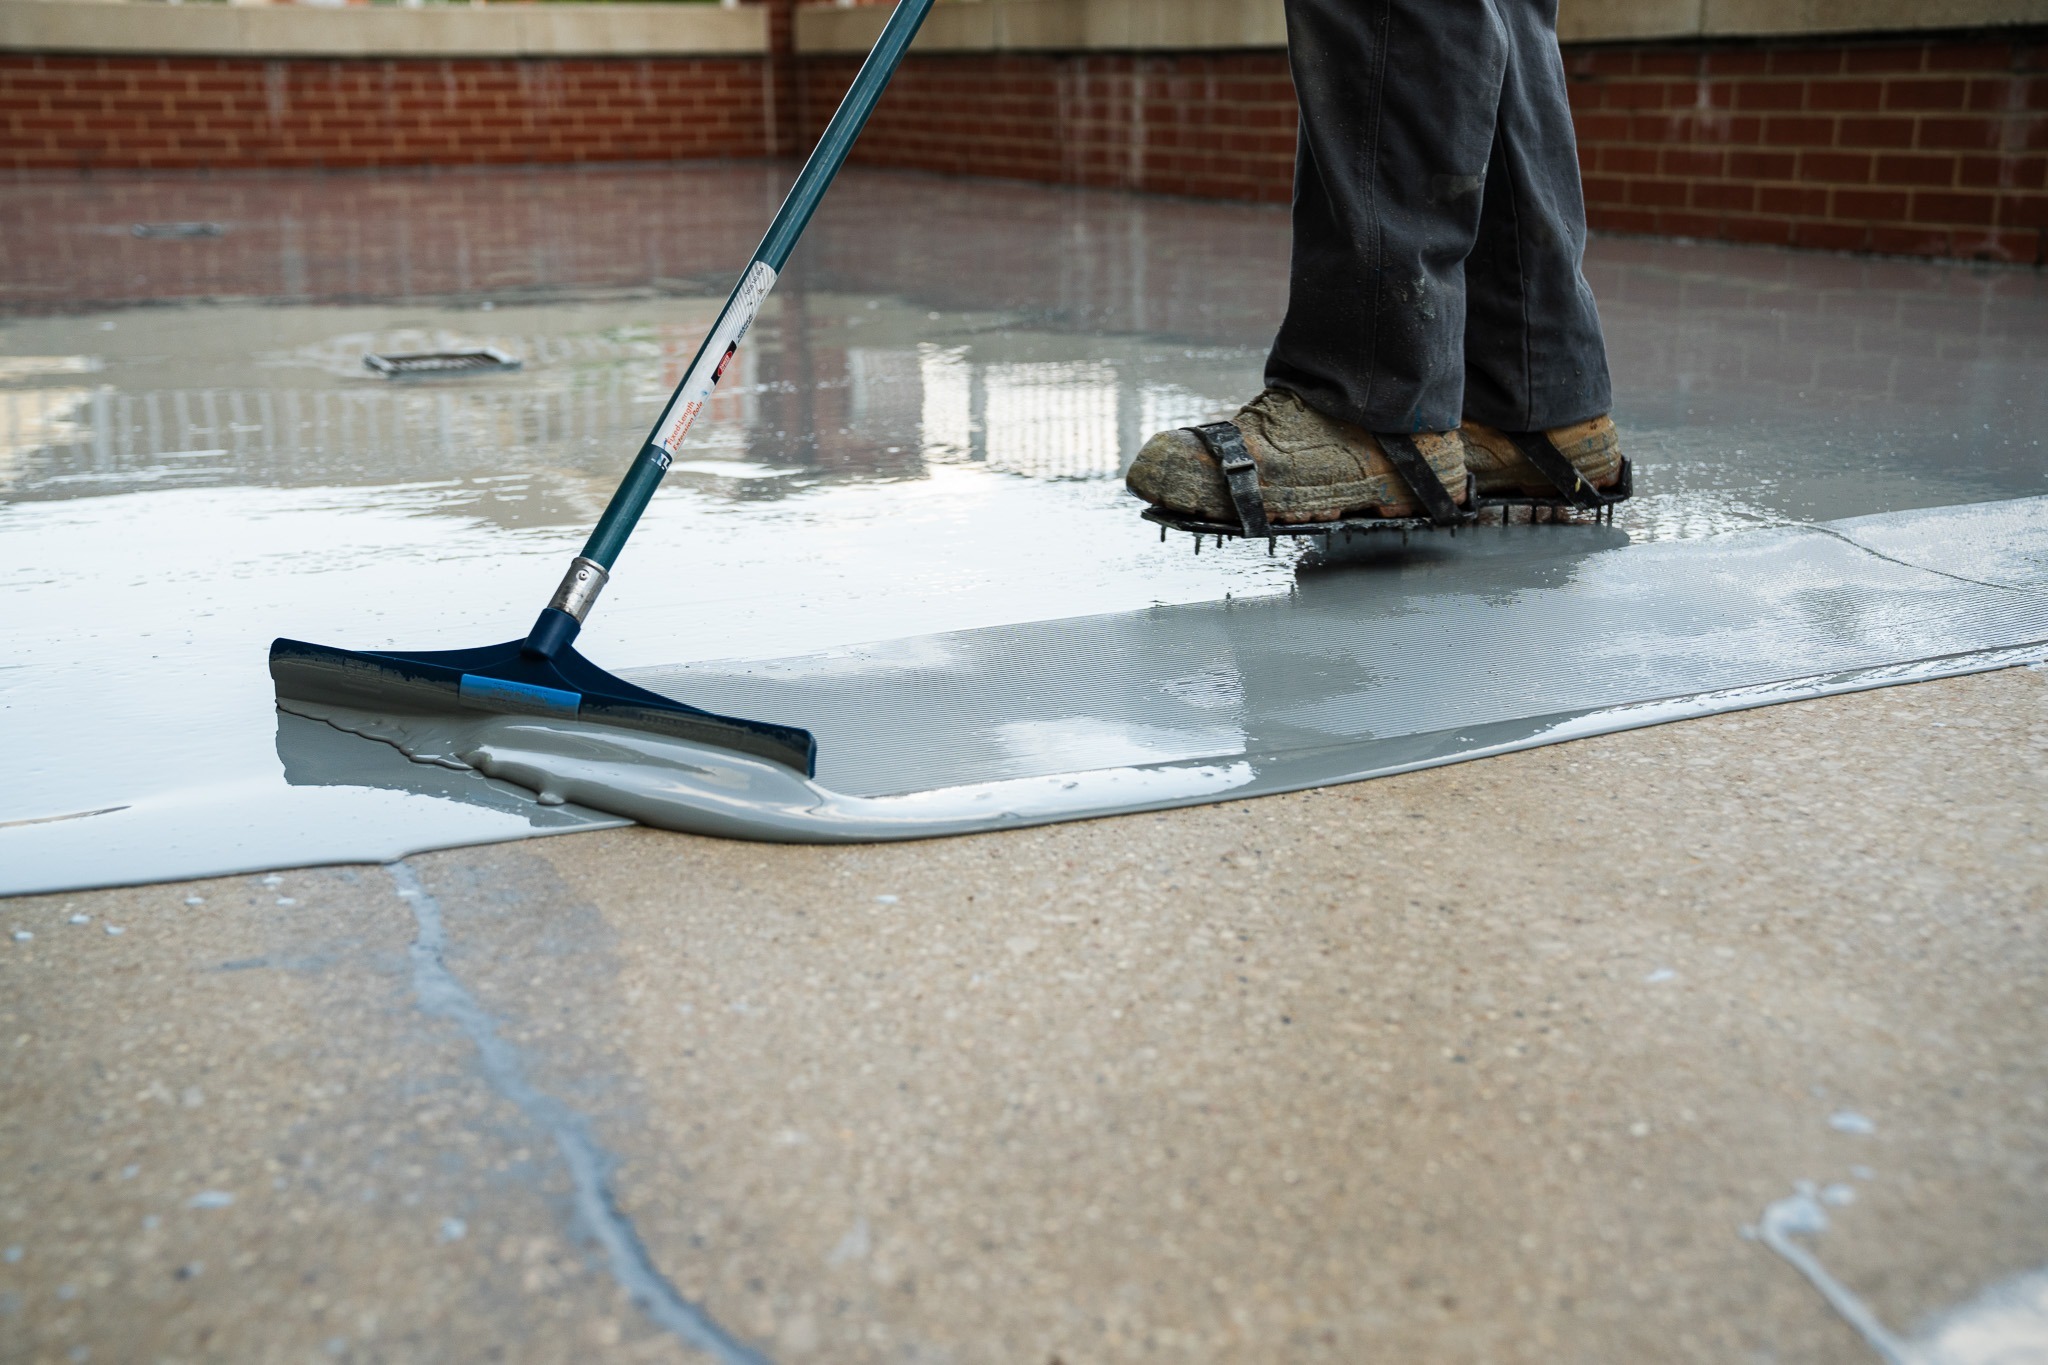
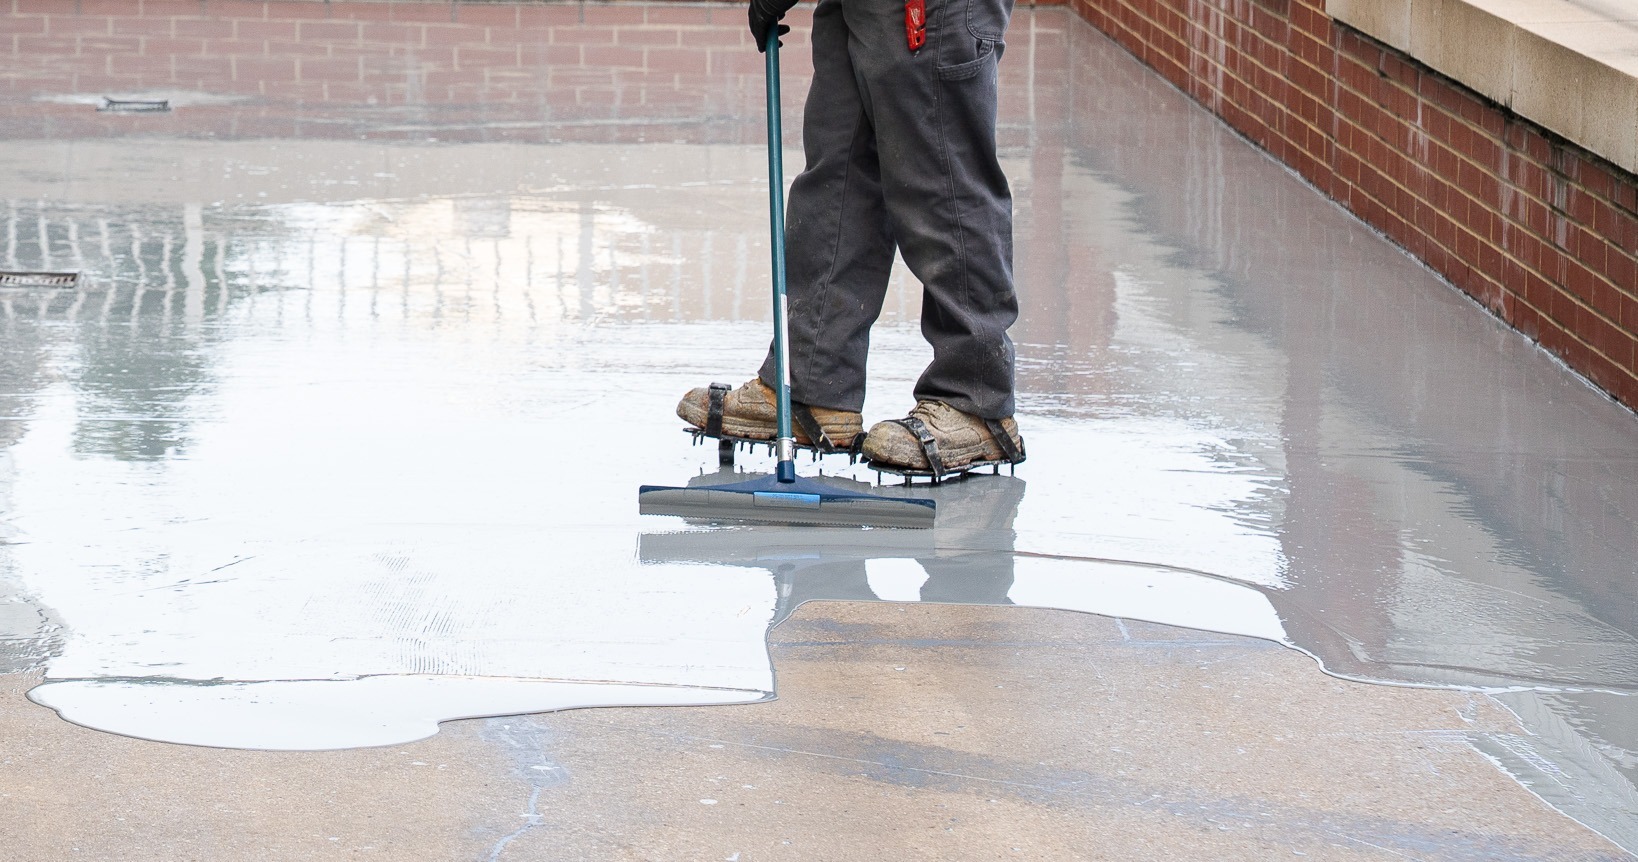
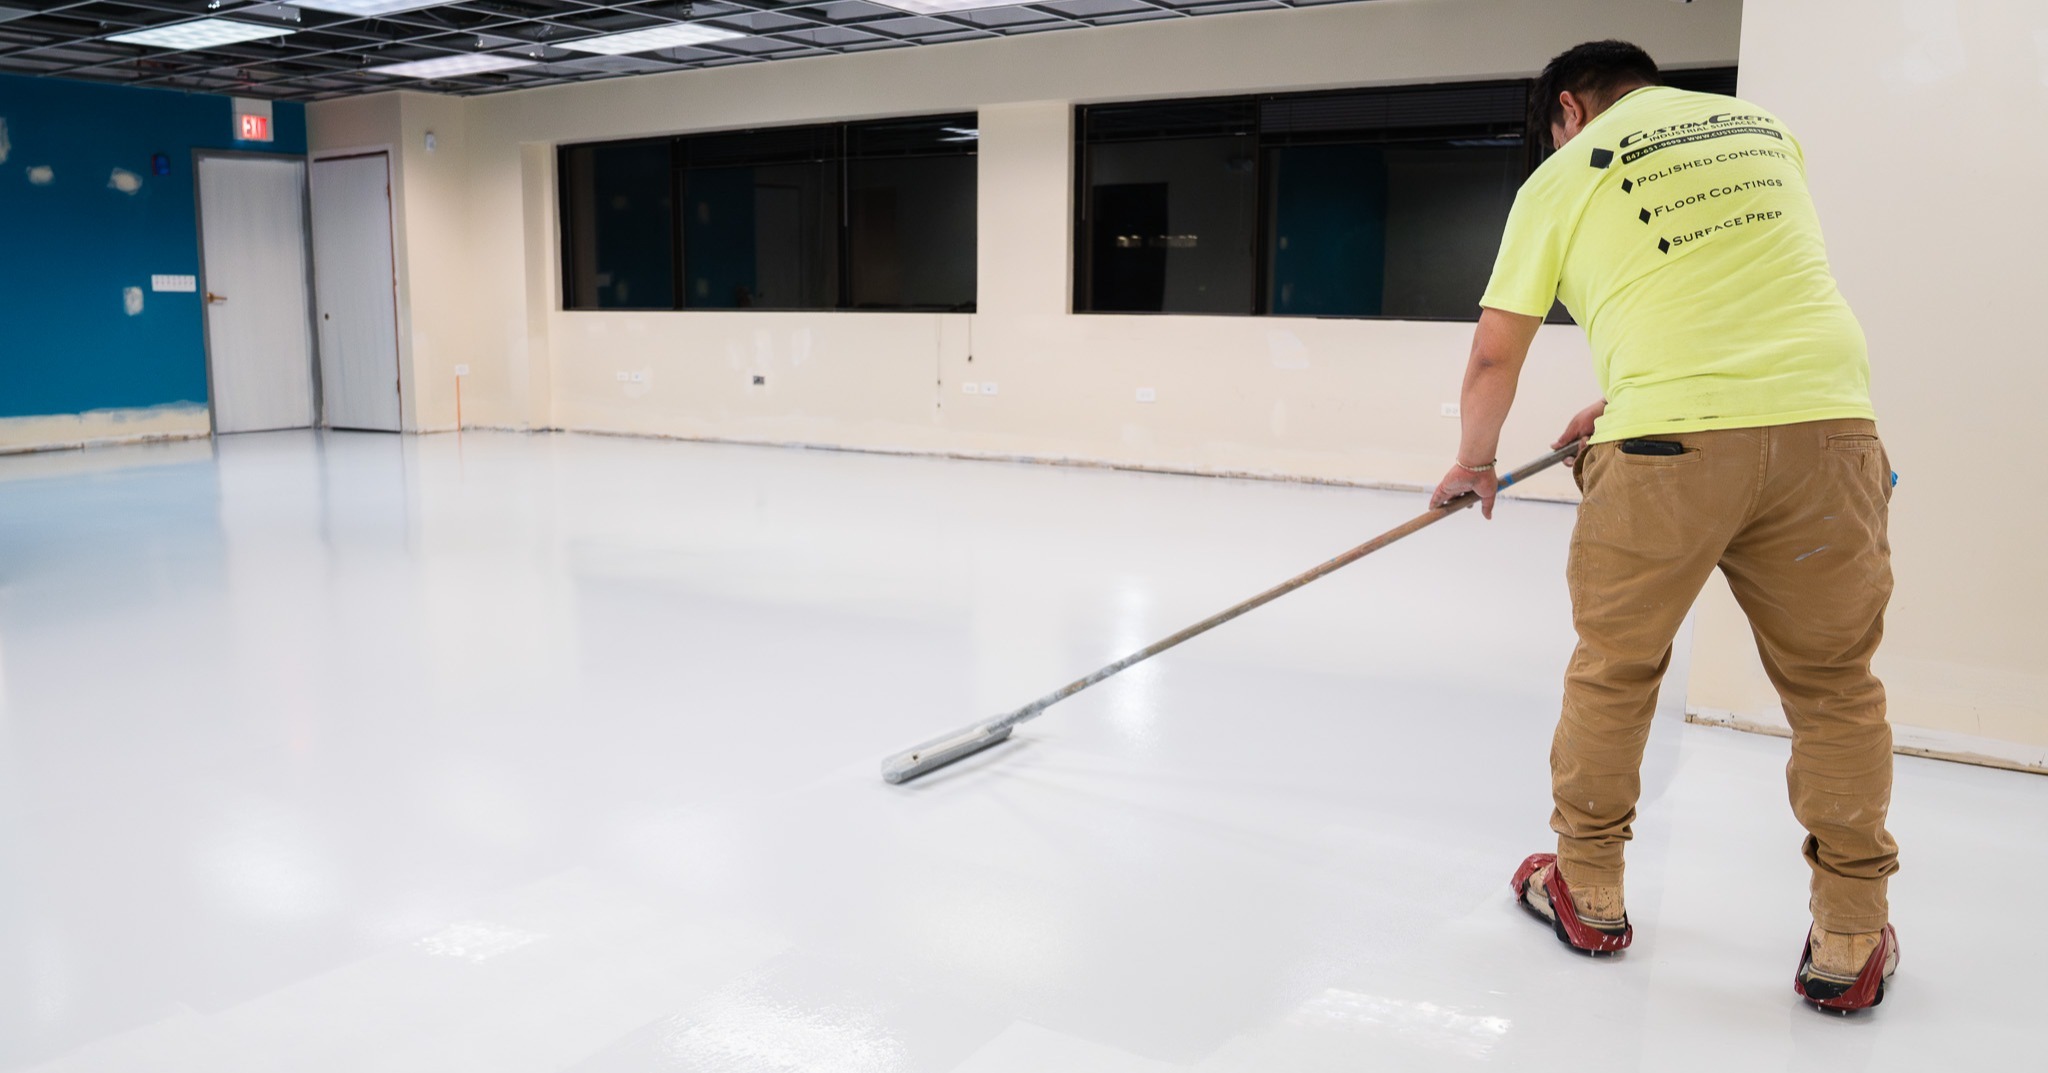
The membrane is then applied according to the manufacturer's specified method and thickness. Depending on the product, this may involve rollers, squeegees, notched tools, or other application equipment.
Consistent coverage is important. Thin areas may not provide the performance the membrane was designed for, while excessive material can create its own curing and installation problems.
Some systems may also require additional attention around cracks, drains, penetrations, floor-to-wall transitions, or other details. This is particularly important when the membrane is being used as part of a waterproofing system.
Step 6: Allow the Membrane to Cure
The next coating shouldn't automatically be installed as soon as the membrane looks dry.
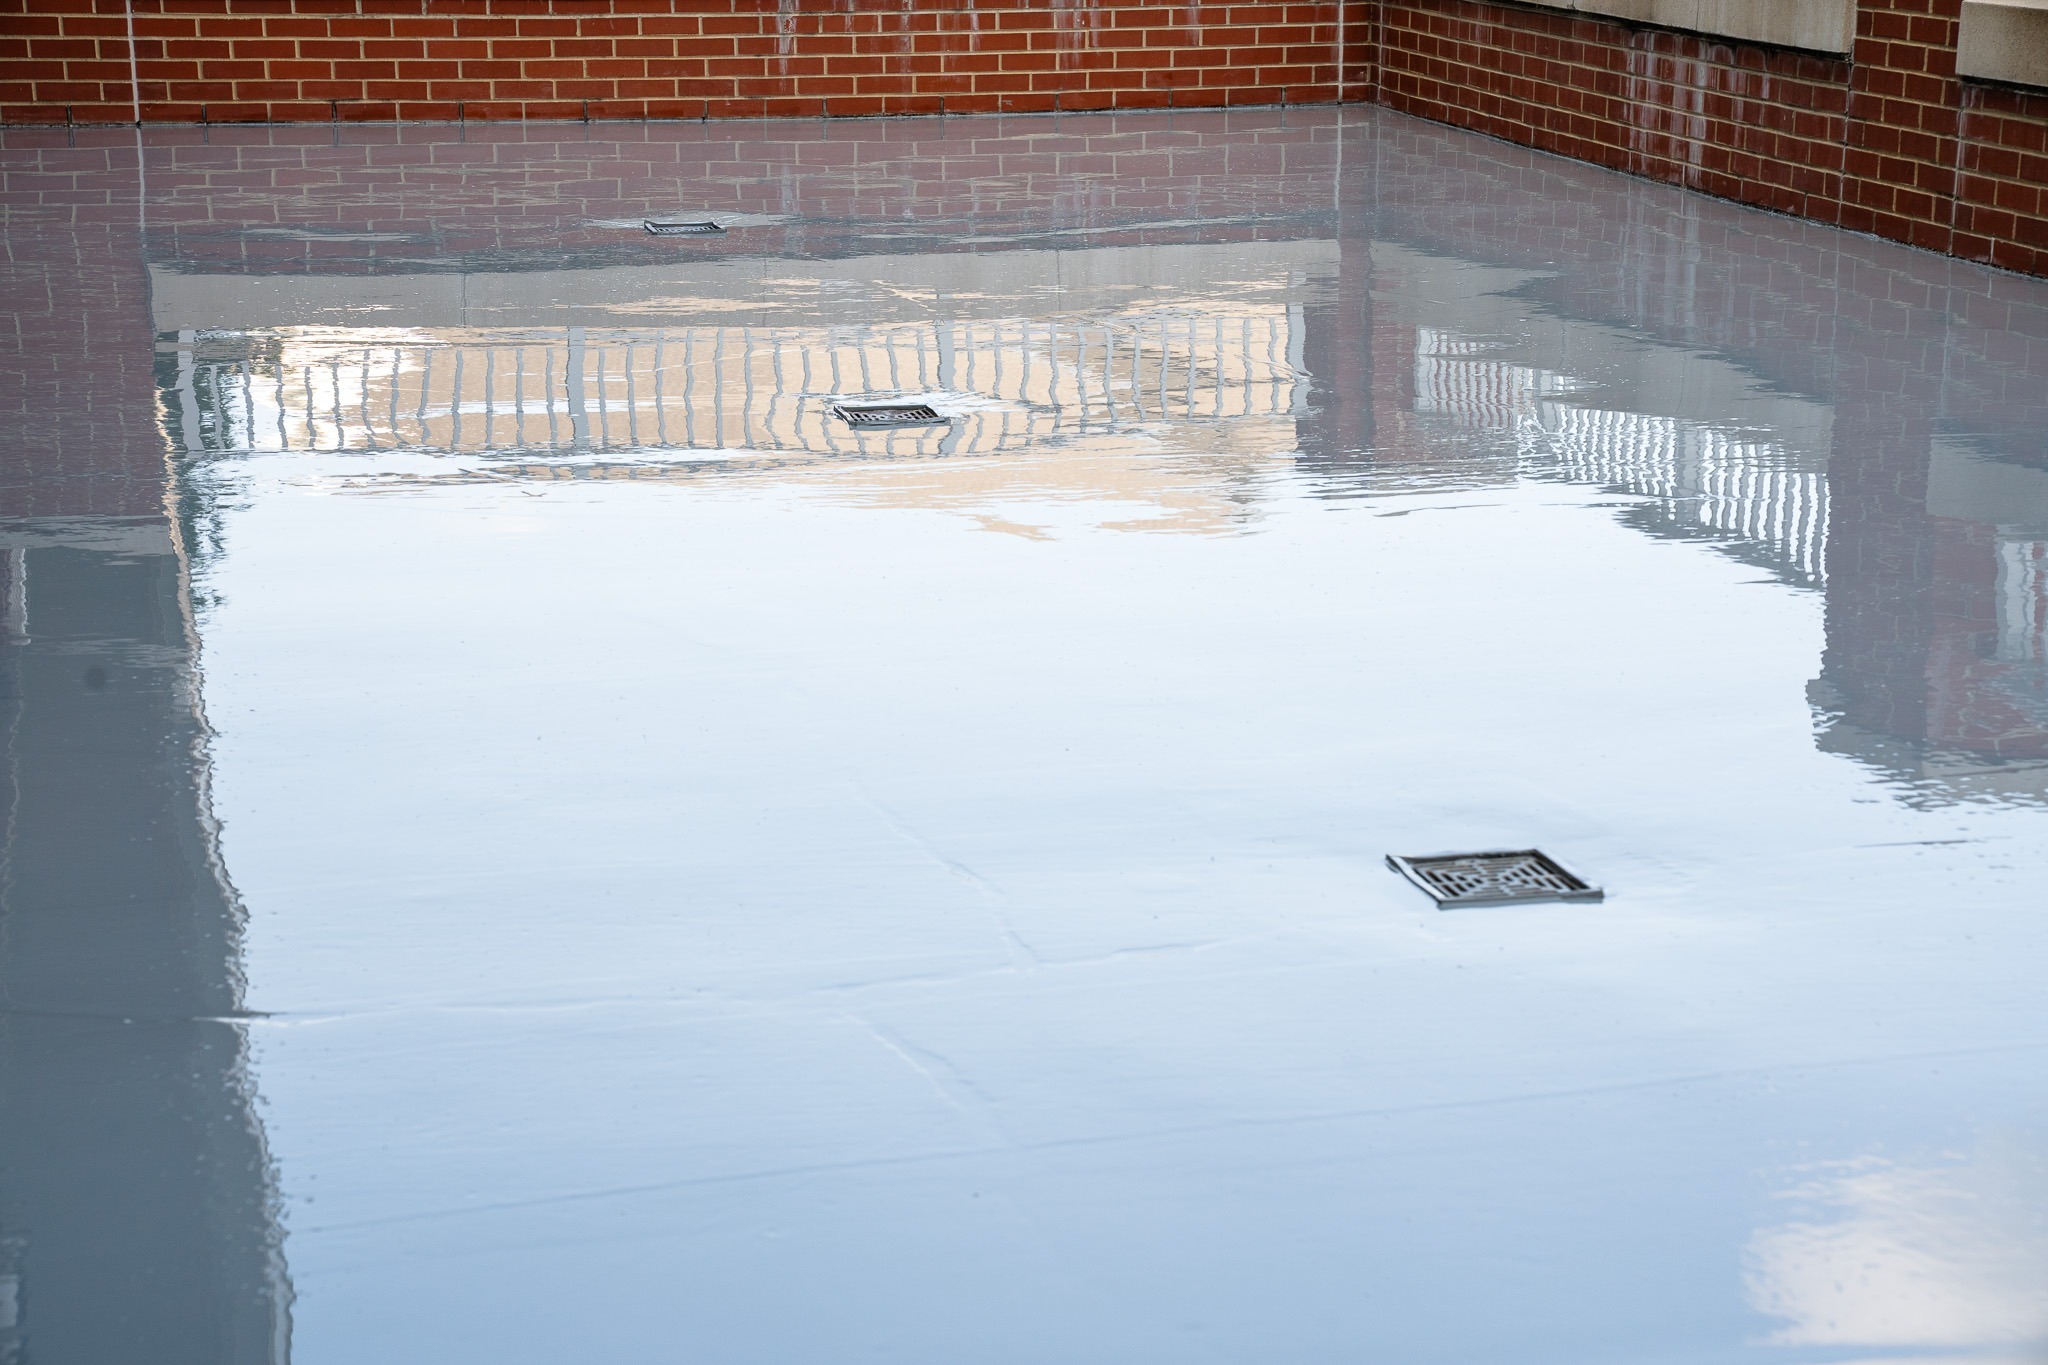
Membranes have specific cure and recoat requirements that can depend on product chemistry, thickness, temperature, humidity, and jobsite conditions. Installing the next layer too early can interfere with curing, while waiting too long may require additional preparation before recoating.
For that reason, contractors should follow the product's specified cure times and recoat windows rather than relying only on how the surface looks or feels.
Step 7: Continue Building the Flooring System
Once the membrane is ready, installation continues with the remaining layers of the specified flooring system.
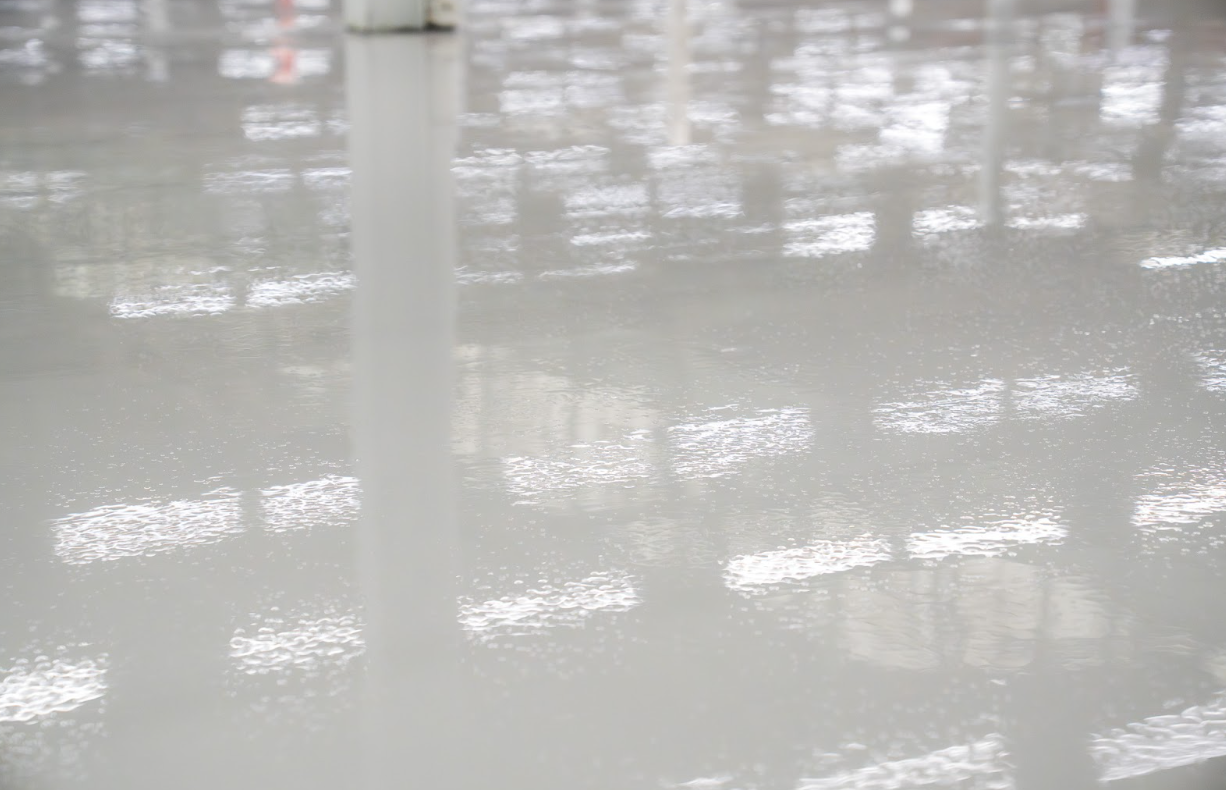
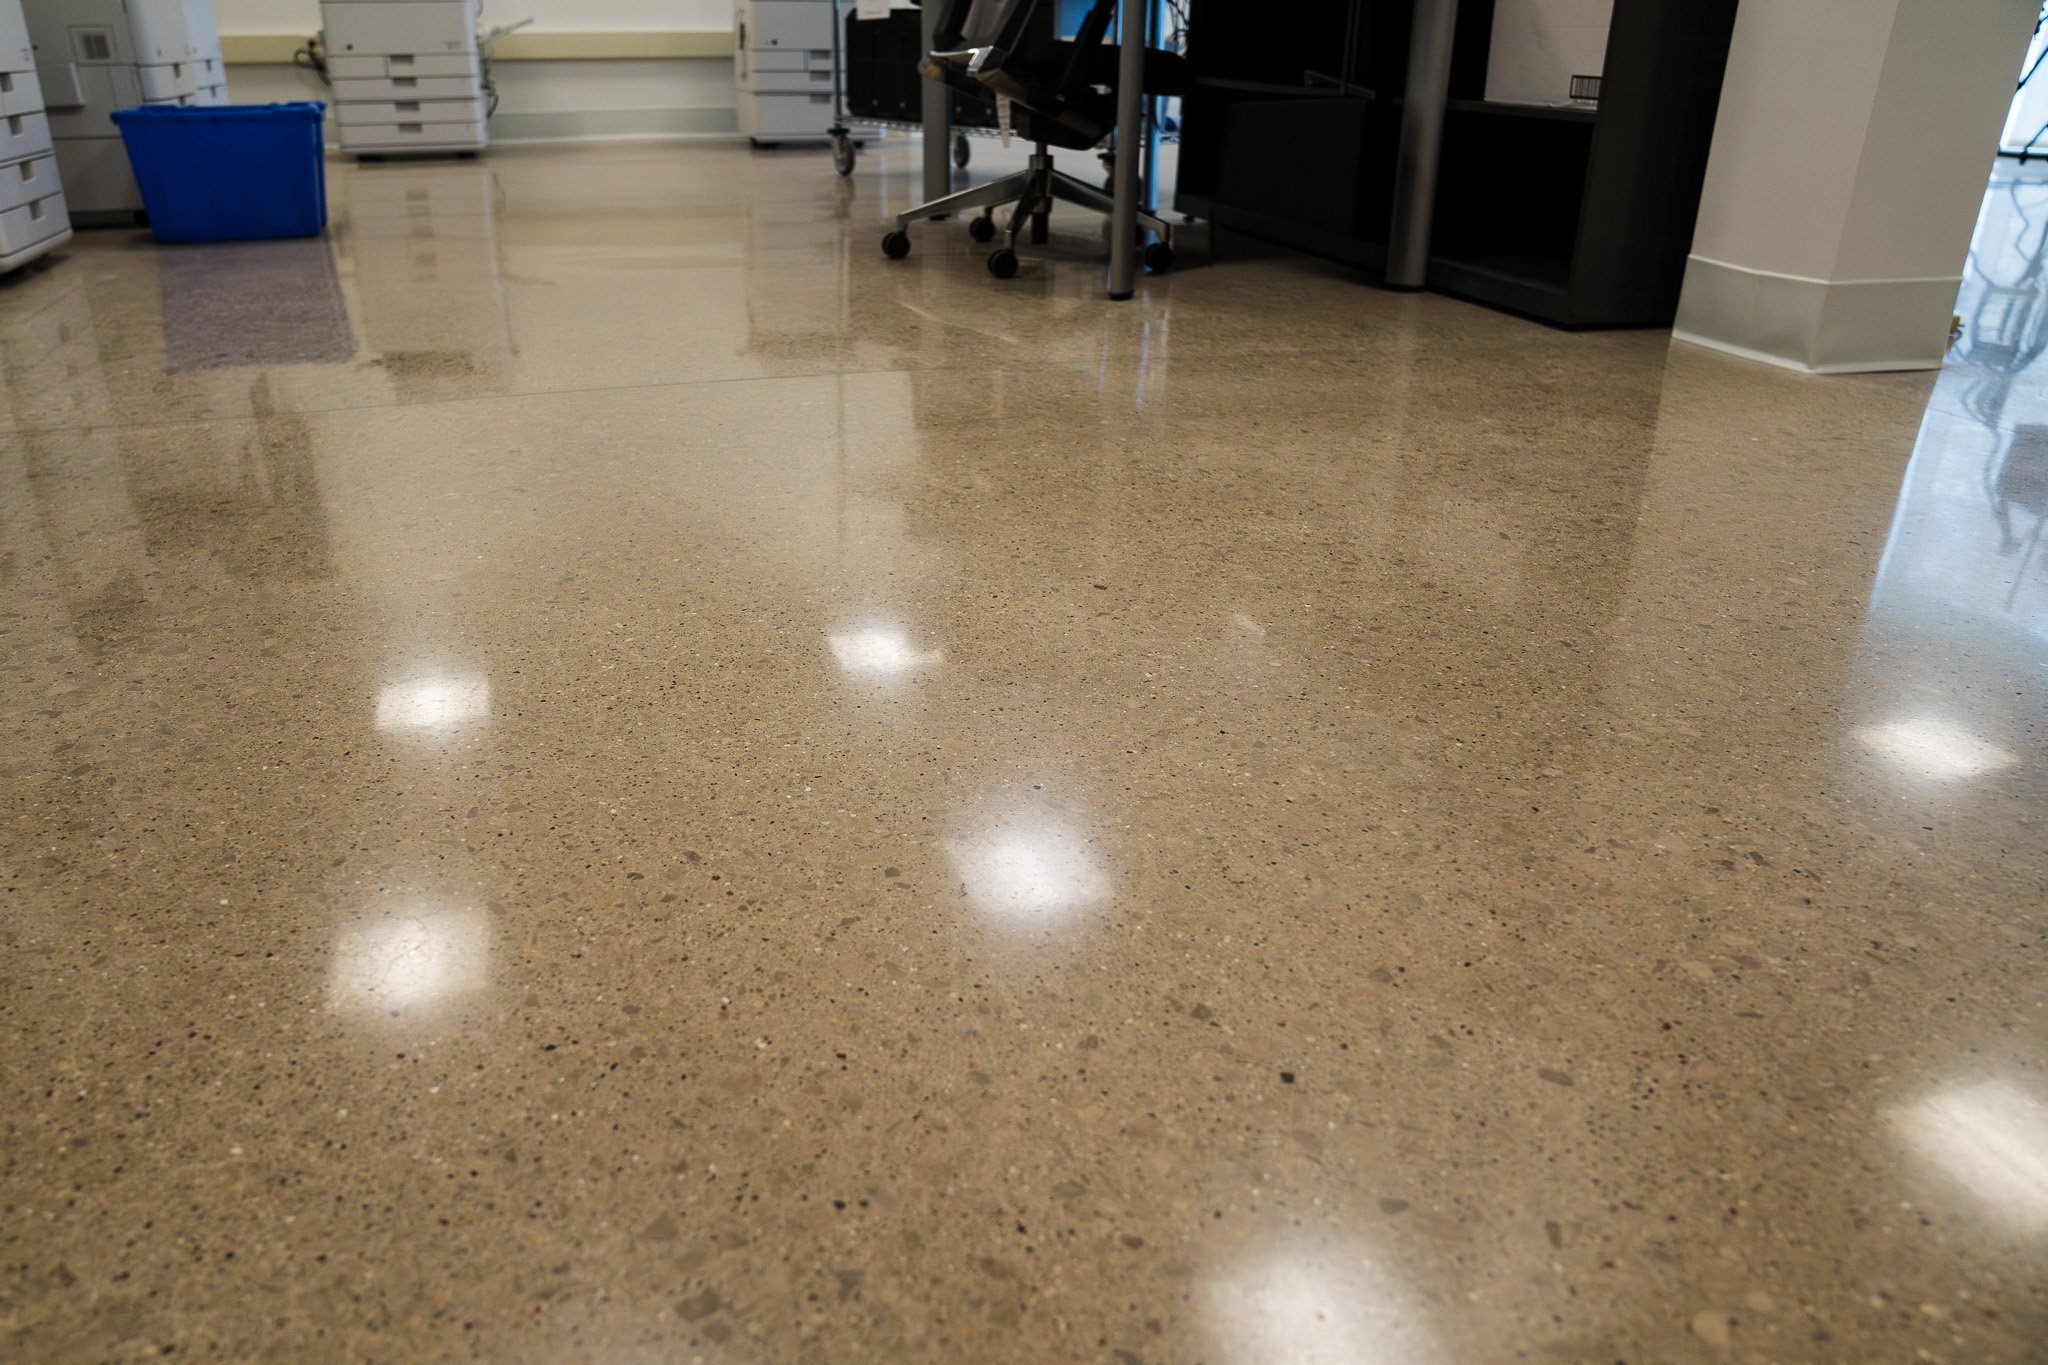
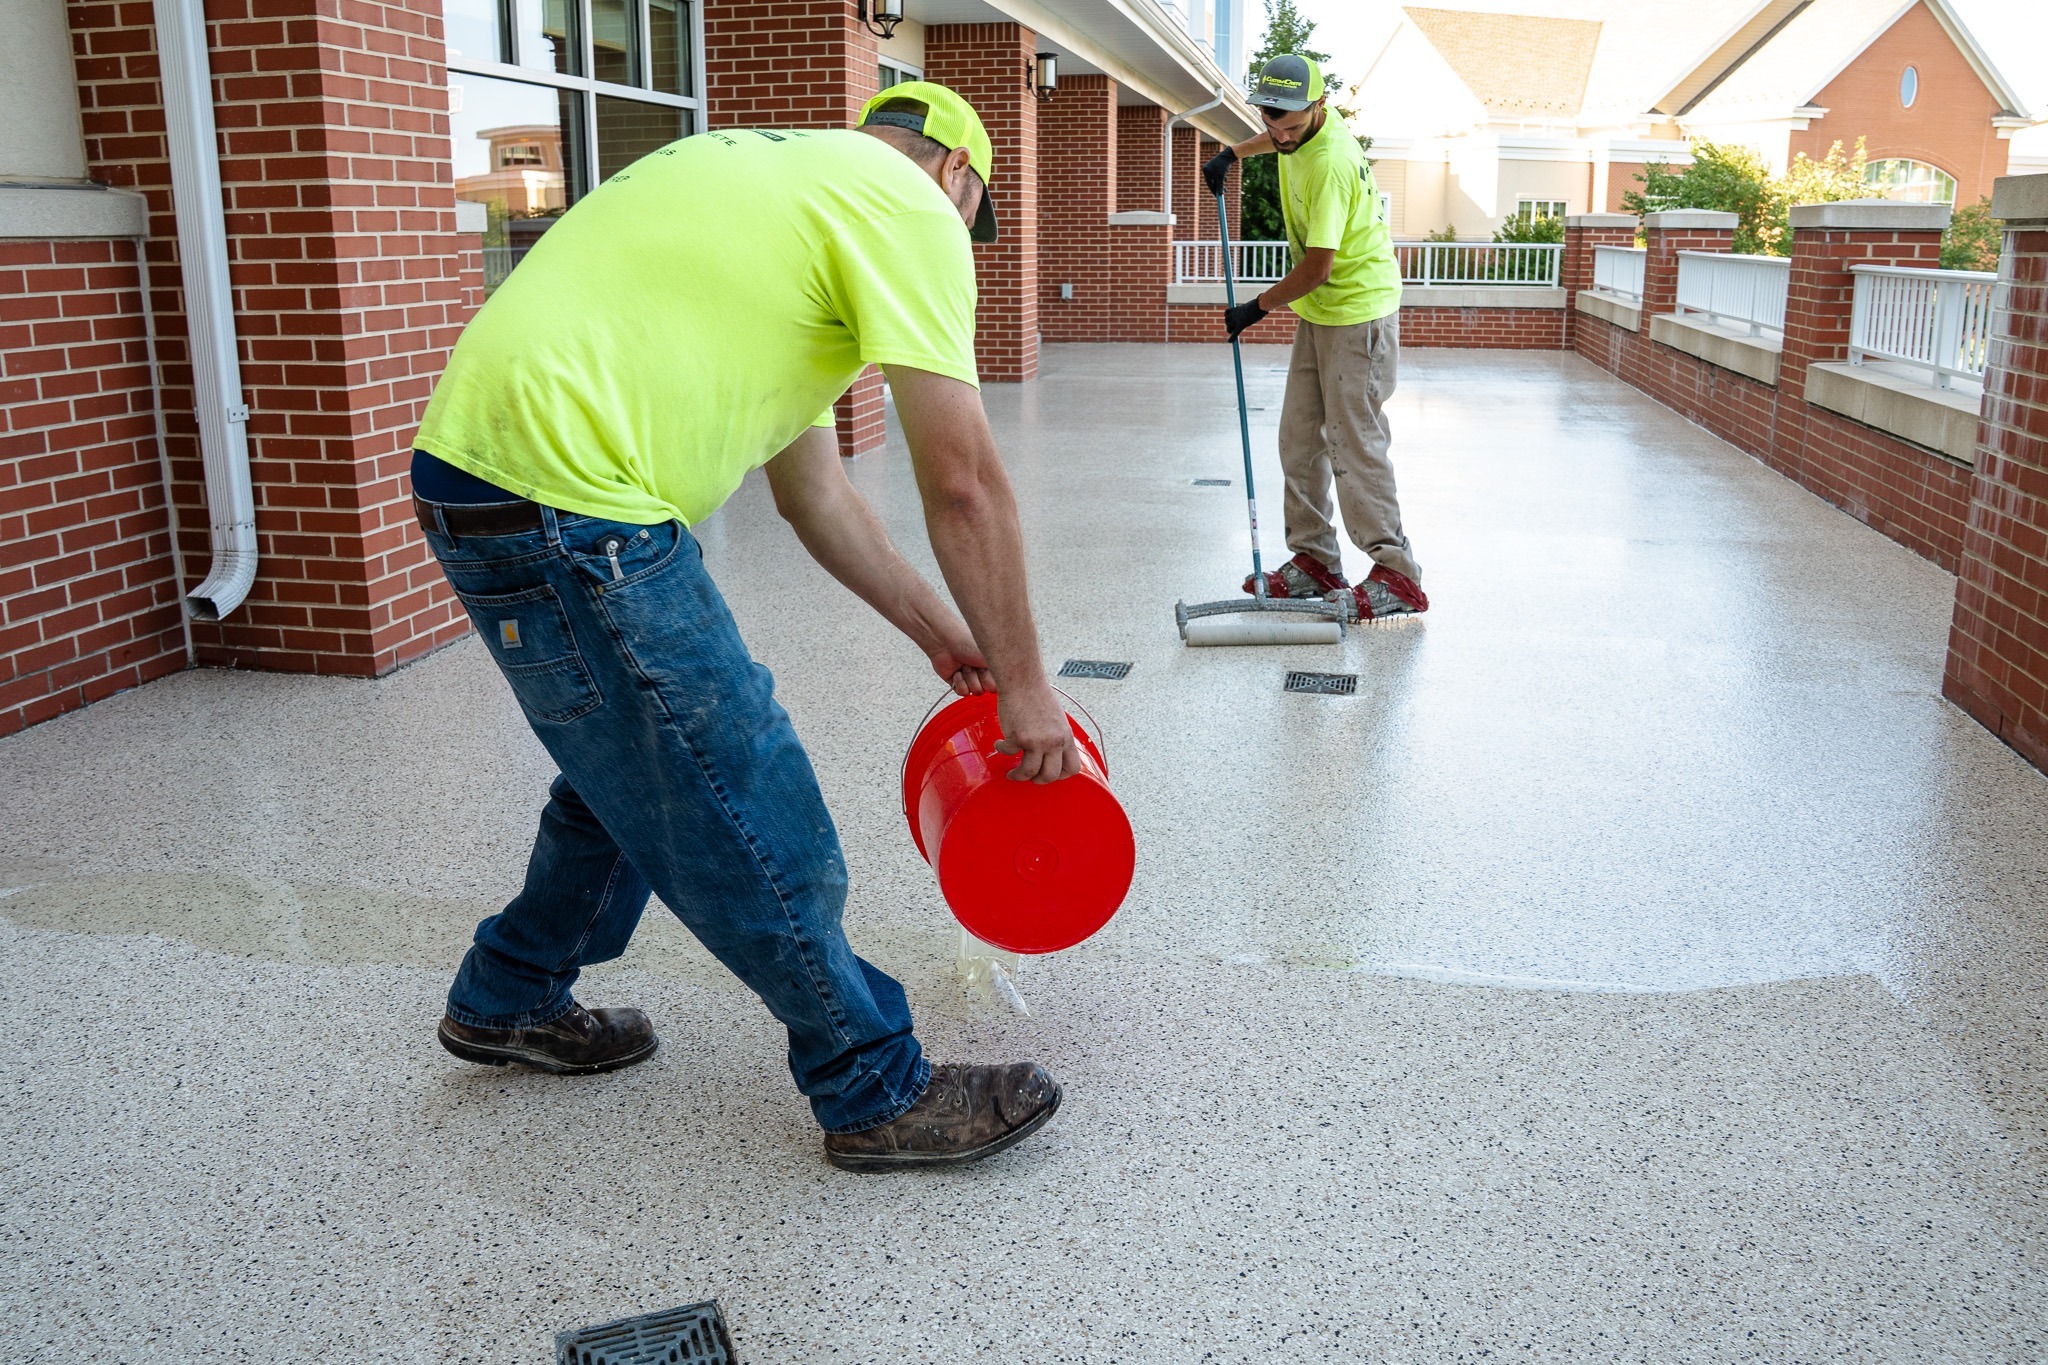
Depending on the project, that could include an epoxy or other resinous coating, aggregate or decorative flake broadcast, additional build coats, and a protective topcoat. The exact sequence depends on what the finished floor needs to withstand.
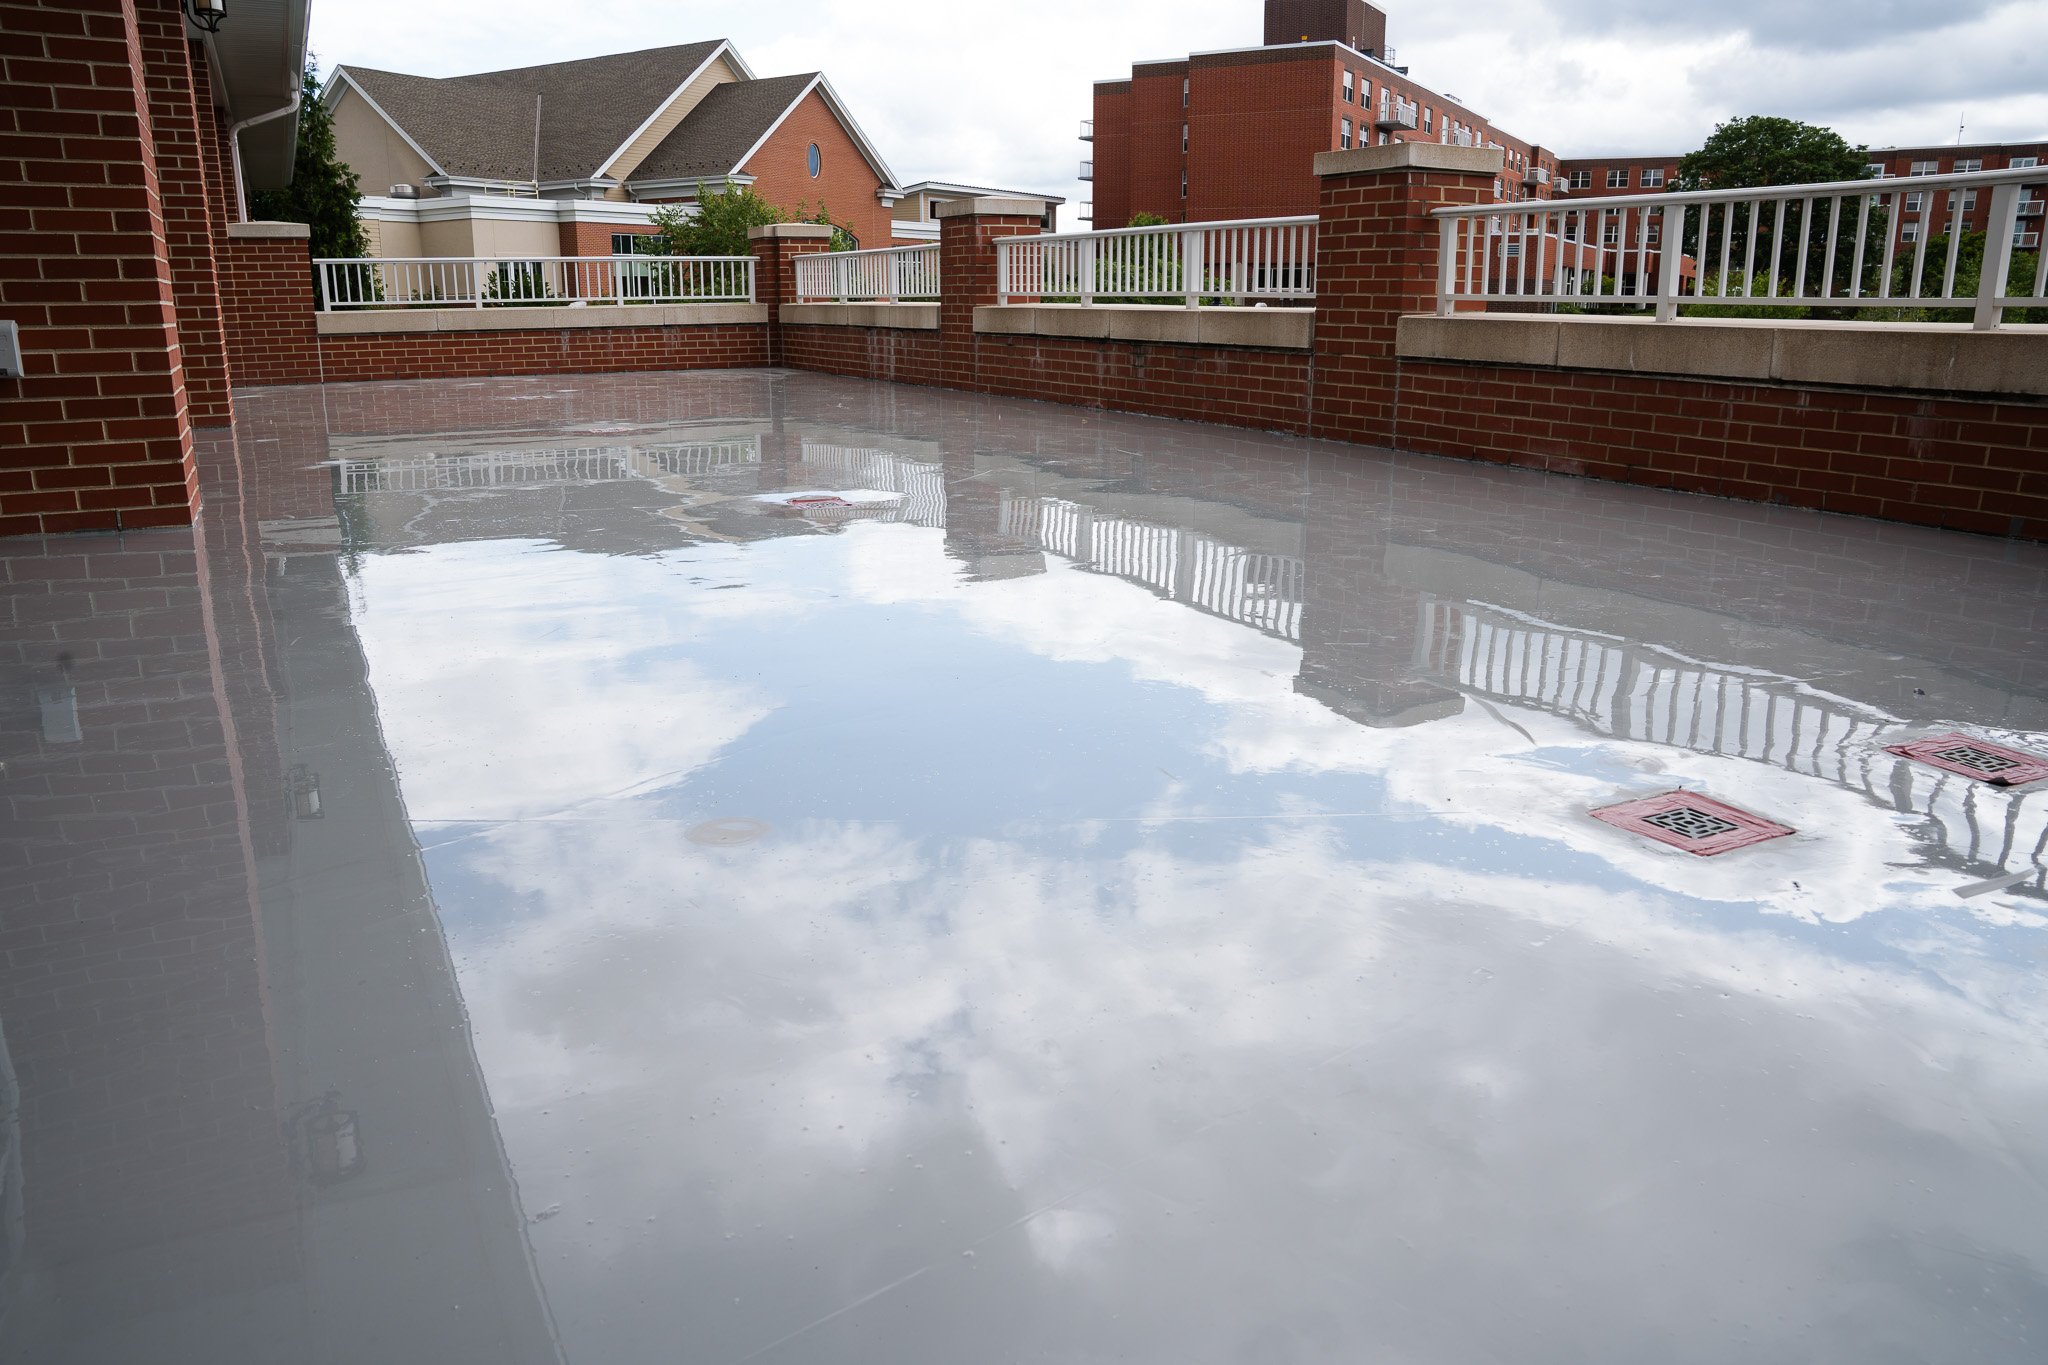
A commercial balcony, for example, may use a membrane as part of a waterproof, decorative system. An interior industrial floor may use a different membrane and coating combination to address specific substrate conditions.
This is why a membrane layer installation should be considered part of the complete flooring design rather than a standalone treatment.
Final Thoughts
Installing a membrane involves more than simply adding another coating to the floor. The concrete first needs to be evaluated, mechanically prepared, and repaired. Depending on the system, a primer may then be installed before the membrane is applied at the required thickness and allowed to properly cure. Only then can the remaining flooring layers be added.
The exact process will vary by product and project. Following the manufacturer's specifications for preparation, application, thickness, cure time, and compatible coatings is essential to getting the intended performance from the membrane.
If you're still getting familiar with what this layer actually does, read "CustomCrete FAQ: What is a Membrane Layer in a Concrete Coating System" next for a straightforward explanation of where membranes fit within a flooring system and why they may be specified.
Topics:
.jpg?width=6139&height=4093&name=CC100396%20(1).jpg)